The post A Senior Researcher’s Practical Guide to Safe Photoinitiator Handling appeared first on Changhong Chemical.
]]>A Senior Researcher’s Practical Guide to Safe Photoinitiator Handling
Don’t Let Light Hurt Your Cells:
A Senior Lab Researcher’s Field Notes on Safe Photoinitiator Handling
Introduction
Know Your Reagents: Don’t Be Fooled by “Non-Hazardous” Labels
This is classic skin and mucous membrane irritation.
And for cell-based work:
High concentrations of photoinitiators are inherently cytotoxic.
-
LAP (Lithium Phenyl-2,4,6-trimethylbenzoylphosphinate)
The “all-rounder” for aqueous systems, relatively cell-friendly — but keep it off your skin. -
Irgacure 2959 (2-hydroxy-1-[4-(2-hydroxyethoxy)phenyl]-2-methyl-1-propanone)
A classic UV photoinitiator, low water solubility, usually pre-dissolved in organic solvents (e.g., methanol). Relatively low cytotoxicity, but UV light itself stresses cells. - Ruthenium / Sodium-based Photoinitiators
The “new stars” of visible-light systems, very gentle to cells, but oxygen-sensitive with special handling needs.
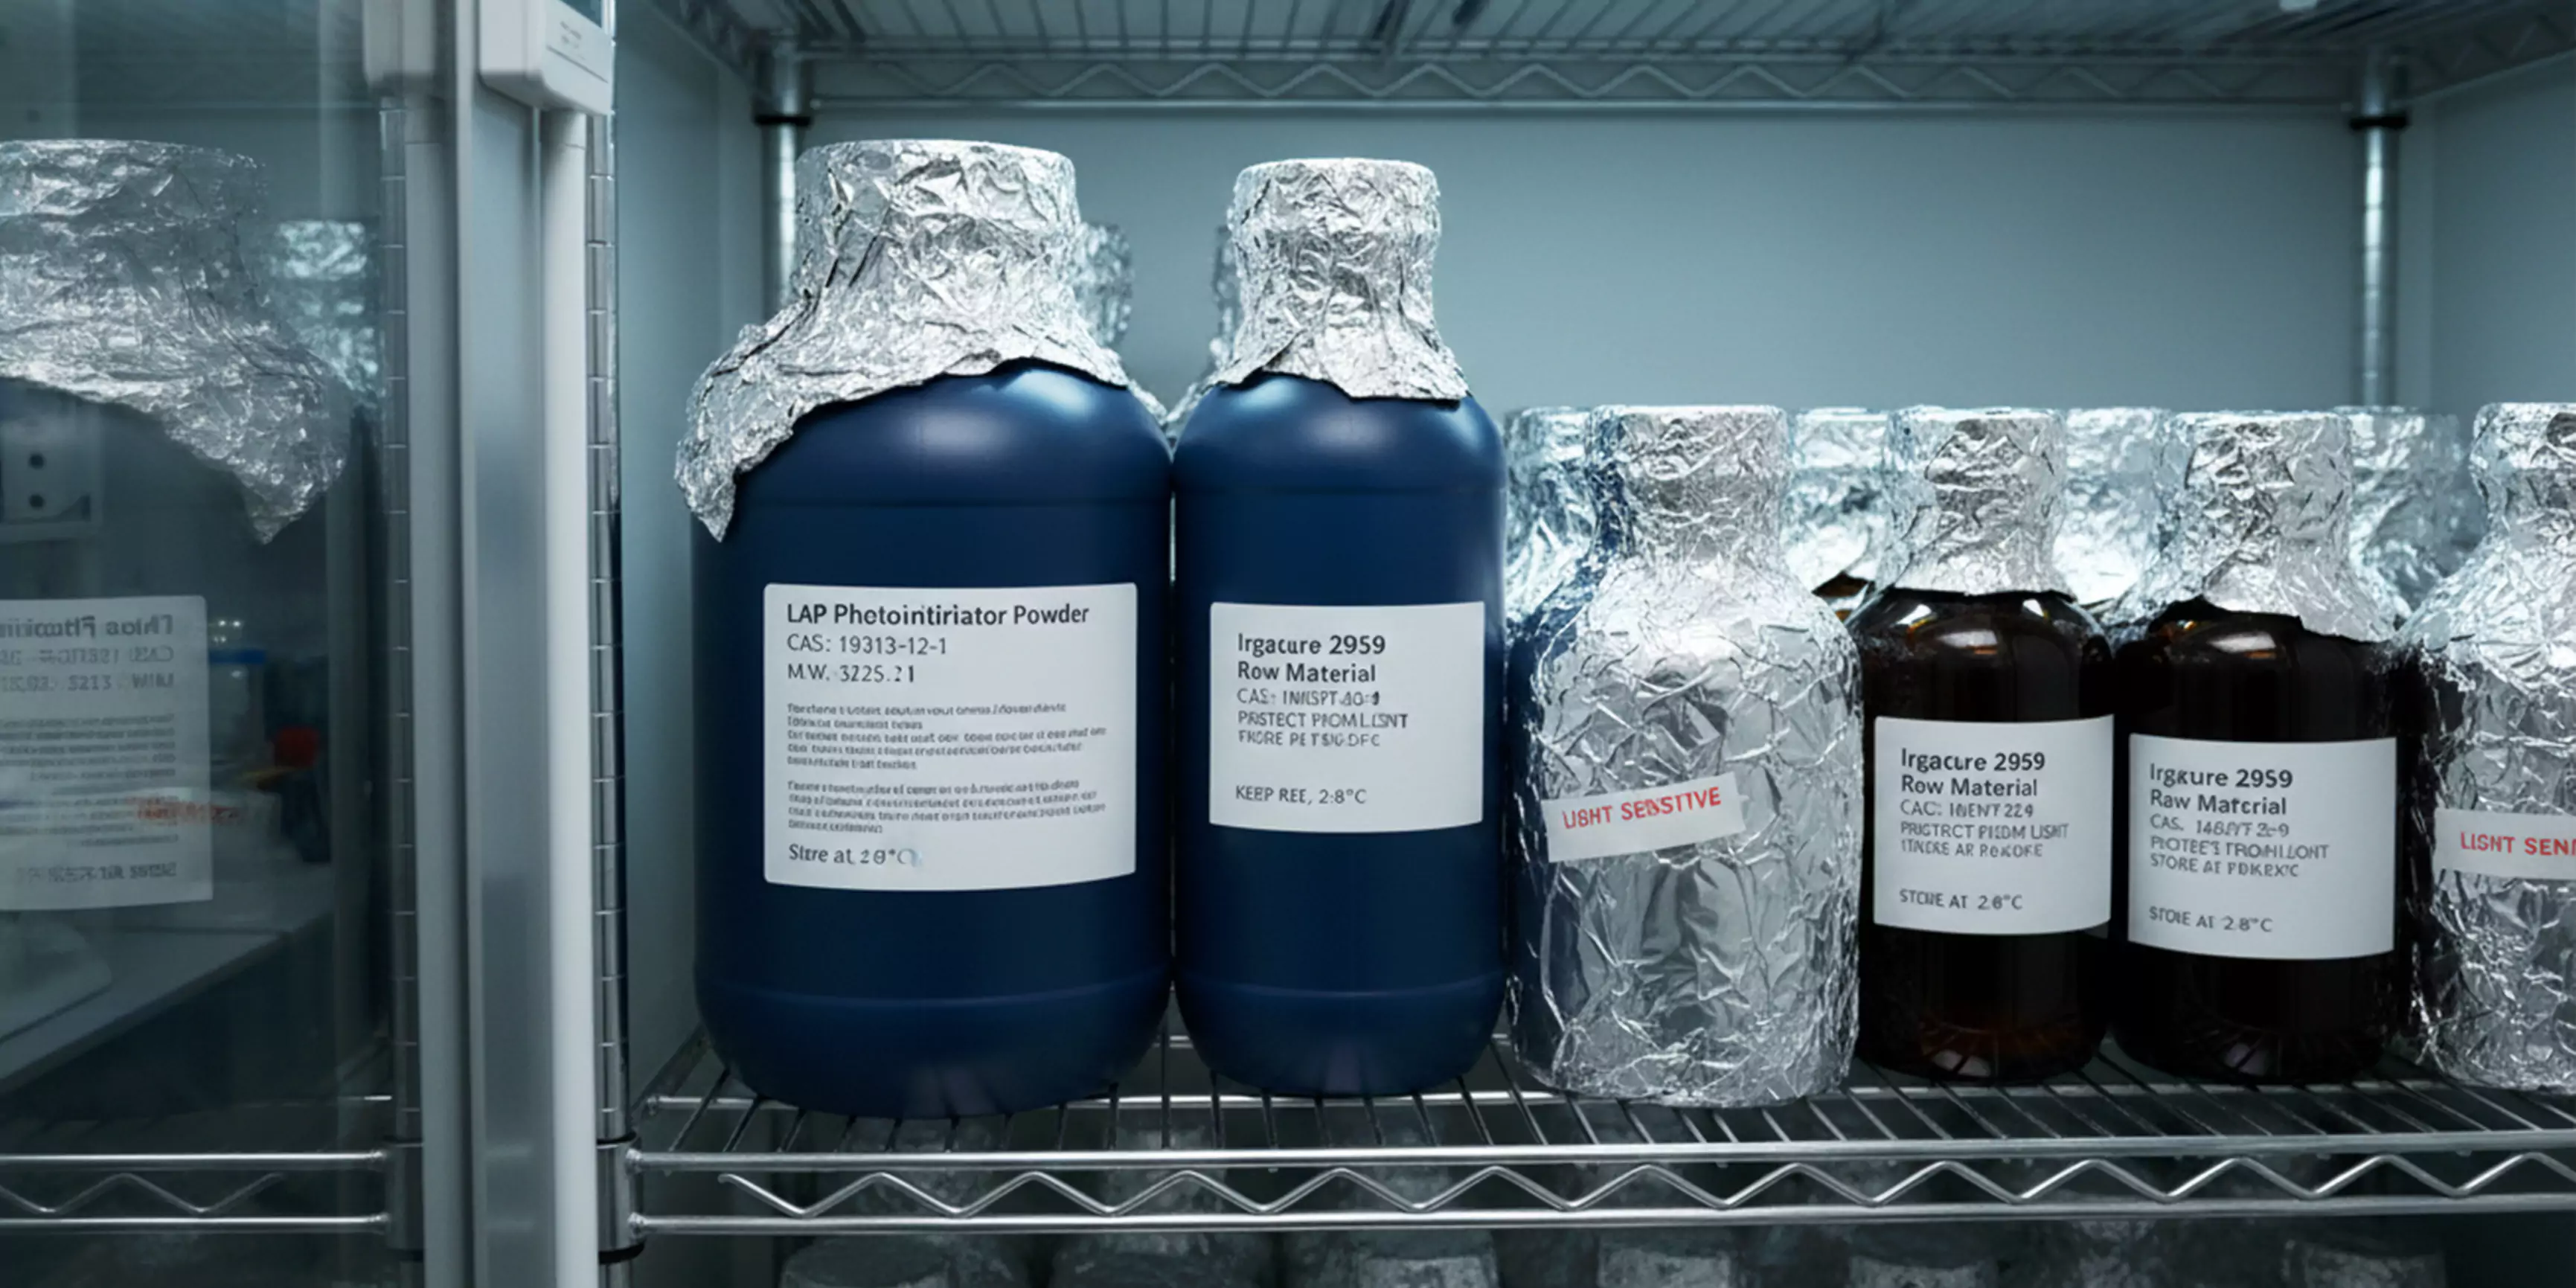
Proper Storage: Give These Photosensitive Molecules a Stable Home
- LAP and 2959 powders are always stored in the refrigerator at 2–8 °C, tightly wrapped in aluminum foil or in amber bottles.
- Ruthenium initiators, being more stable, go into a desiccator at room temperature.
The golden rule: Keep away from light and heat.
Even More Important: Handling Stock Solutions
A common mistake among new students:
My recommendation:
Aliquot your stock solutions.
As a general rule:
- Always use a dry, clean spatula.
- Open, sample, and seal quickly — moisture silently deactivates many initiators.
- Clean used spatulas immediately.
- Dispose of empty containers as chemical waste, not regular trash.
Safe Operation: Instill “Sterility” and “Protection” into Your Routine
Step 1: Protect Yourself
- Lab coat, nitrile gloves, and safety goggles are mandatory.
- If working with 365 nm UV light, use UV-protective goggles — regular plastic lenses are not enough.
- Always handle powders in a fume hood to avoid inhaling dust.
Step 2: Accurate Weighing & Dissolution
- Weighing: Use an analytical balance. For cell culture, small concentration differences can drastically affect viability.
- Dissolution:
- LAP: Dissolve directly in 1× PBS or cell medium. Stir gently — avoid vigorous vortexing, which creates aerosols.
- Irgacure 2959: Poor water solubility. Pre-dissolve in a small amount of methanol (e.g., 100 mg/mL stock), then dilute with PBS.
- Ruthenium initiators: Water-soluble, but handle in the dark to avoid premature activation.
Photoinitiator LAP
Step 3: Sterilization — Non-Negotiable for Cell Work
Real-World Best Practices: Protocols for Different Scenarios
Scenario 1: 3D Bioprinting
-
Concentration is a balancing act
For LAP, a typical working window is 0.03% – 0.5% (w/v).Too low: incomplete crosslinking, structure collapse.Too high: cytotoxicity.Optimize for your hydrogel and cell type. For primary neurons, we found 0.15% LAP with 405 nm blue light gave the best cure speed and viability. -
Choose your light wisely
Use blue light (405 nm) whenever possible instead of UV (365 nm).Blue light causes far less DNA damage to cells. - Post-print care
Immediately after crosslinking, wash 2–3 times with warm, fresh medium.This removes unreacted residual initiator that could slowly damage cells during culture.
Scenario 2: Photocatalysis (e.g., High-Pressure Reactors)
- Fill volume: Never exceed 80% of the reactor capacity — leave space for gas expansion.
- Heating rate: Ramp slowly, at ≤ 5 °C per minute.
- Cooling before opening: Only open the reactor after it naturally cools below 40 °C.
Emergency Response: Be Prepared, Not Afraid
- Skin contact: Immediately rinse with plenty of soap and water.
This stops nearly all issues early. If redness develops, seek medical attention and bring the reagent information.
- Eye exposure: Emergency! Use an eyewash or saline, hold eyelids open, flush continuously for at least 15 minutes, then go to the hospital immediately.
- Inhalation: Move to fresh air. If breathing is difficult, administer oxygen and seek medical help.
- Small spill: Cover with dry sand, diatomaceous earth, or absorbent wipes. Sweep gently into a sealed container and dispose as chemical waste.
Final Thoughts
Control concentration, regulate light exposure, and strictly follow sterile technique.
The post A Senior Researcher’s Practical Guide to Safe Photoinitiator Handling appeared first on Changhong Chemical.
]]>The post Yellowing of UV-Cured Coatings? appeared first on Changhong Chemical.
]]>Hi everyone, I’m Starry. I’ve been working in the chemical materials industry for over ten years, spending my days with UV-cured coatings, resins, and photoinitiators. The beakers in the lab and the coaters on the production line are like old friends to me.
Today’s article isn’t about abstract theories. It’s about solving your most pressing real-world problem—the yellowing of UV-cured coatings. Whether you’re a formulation chemist, production technician, or procurement/QC specialist, reading this will help you understand the underlying chemical logic of yellowing, avoid 90% of common pitfalls, and directly apply proven solutions to keep your products crystal clear and durable.
I. Facing Reality: Yellowing Isn’t Just a “Cosmetic Flaw,” It’s a Chemical “Warning Signal”
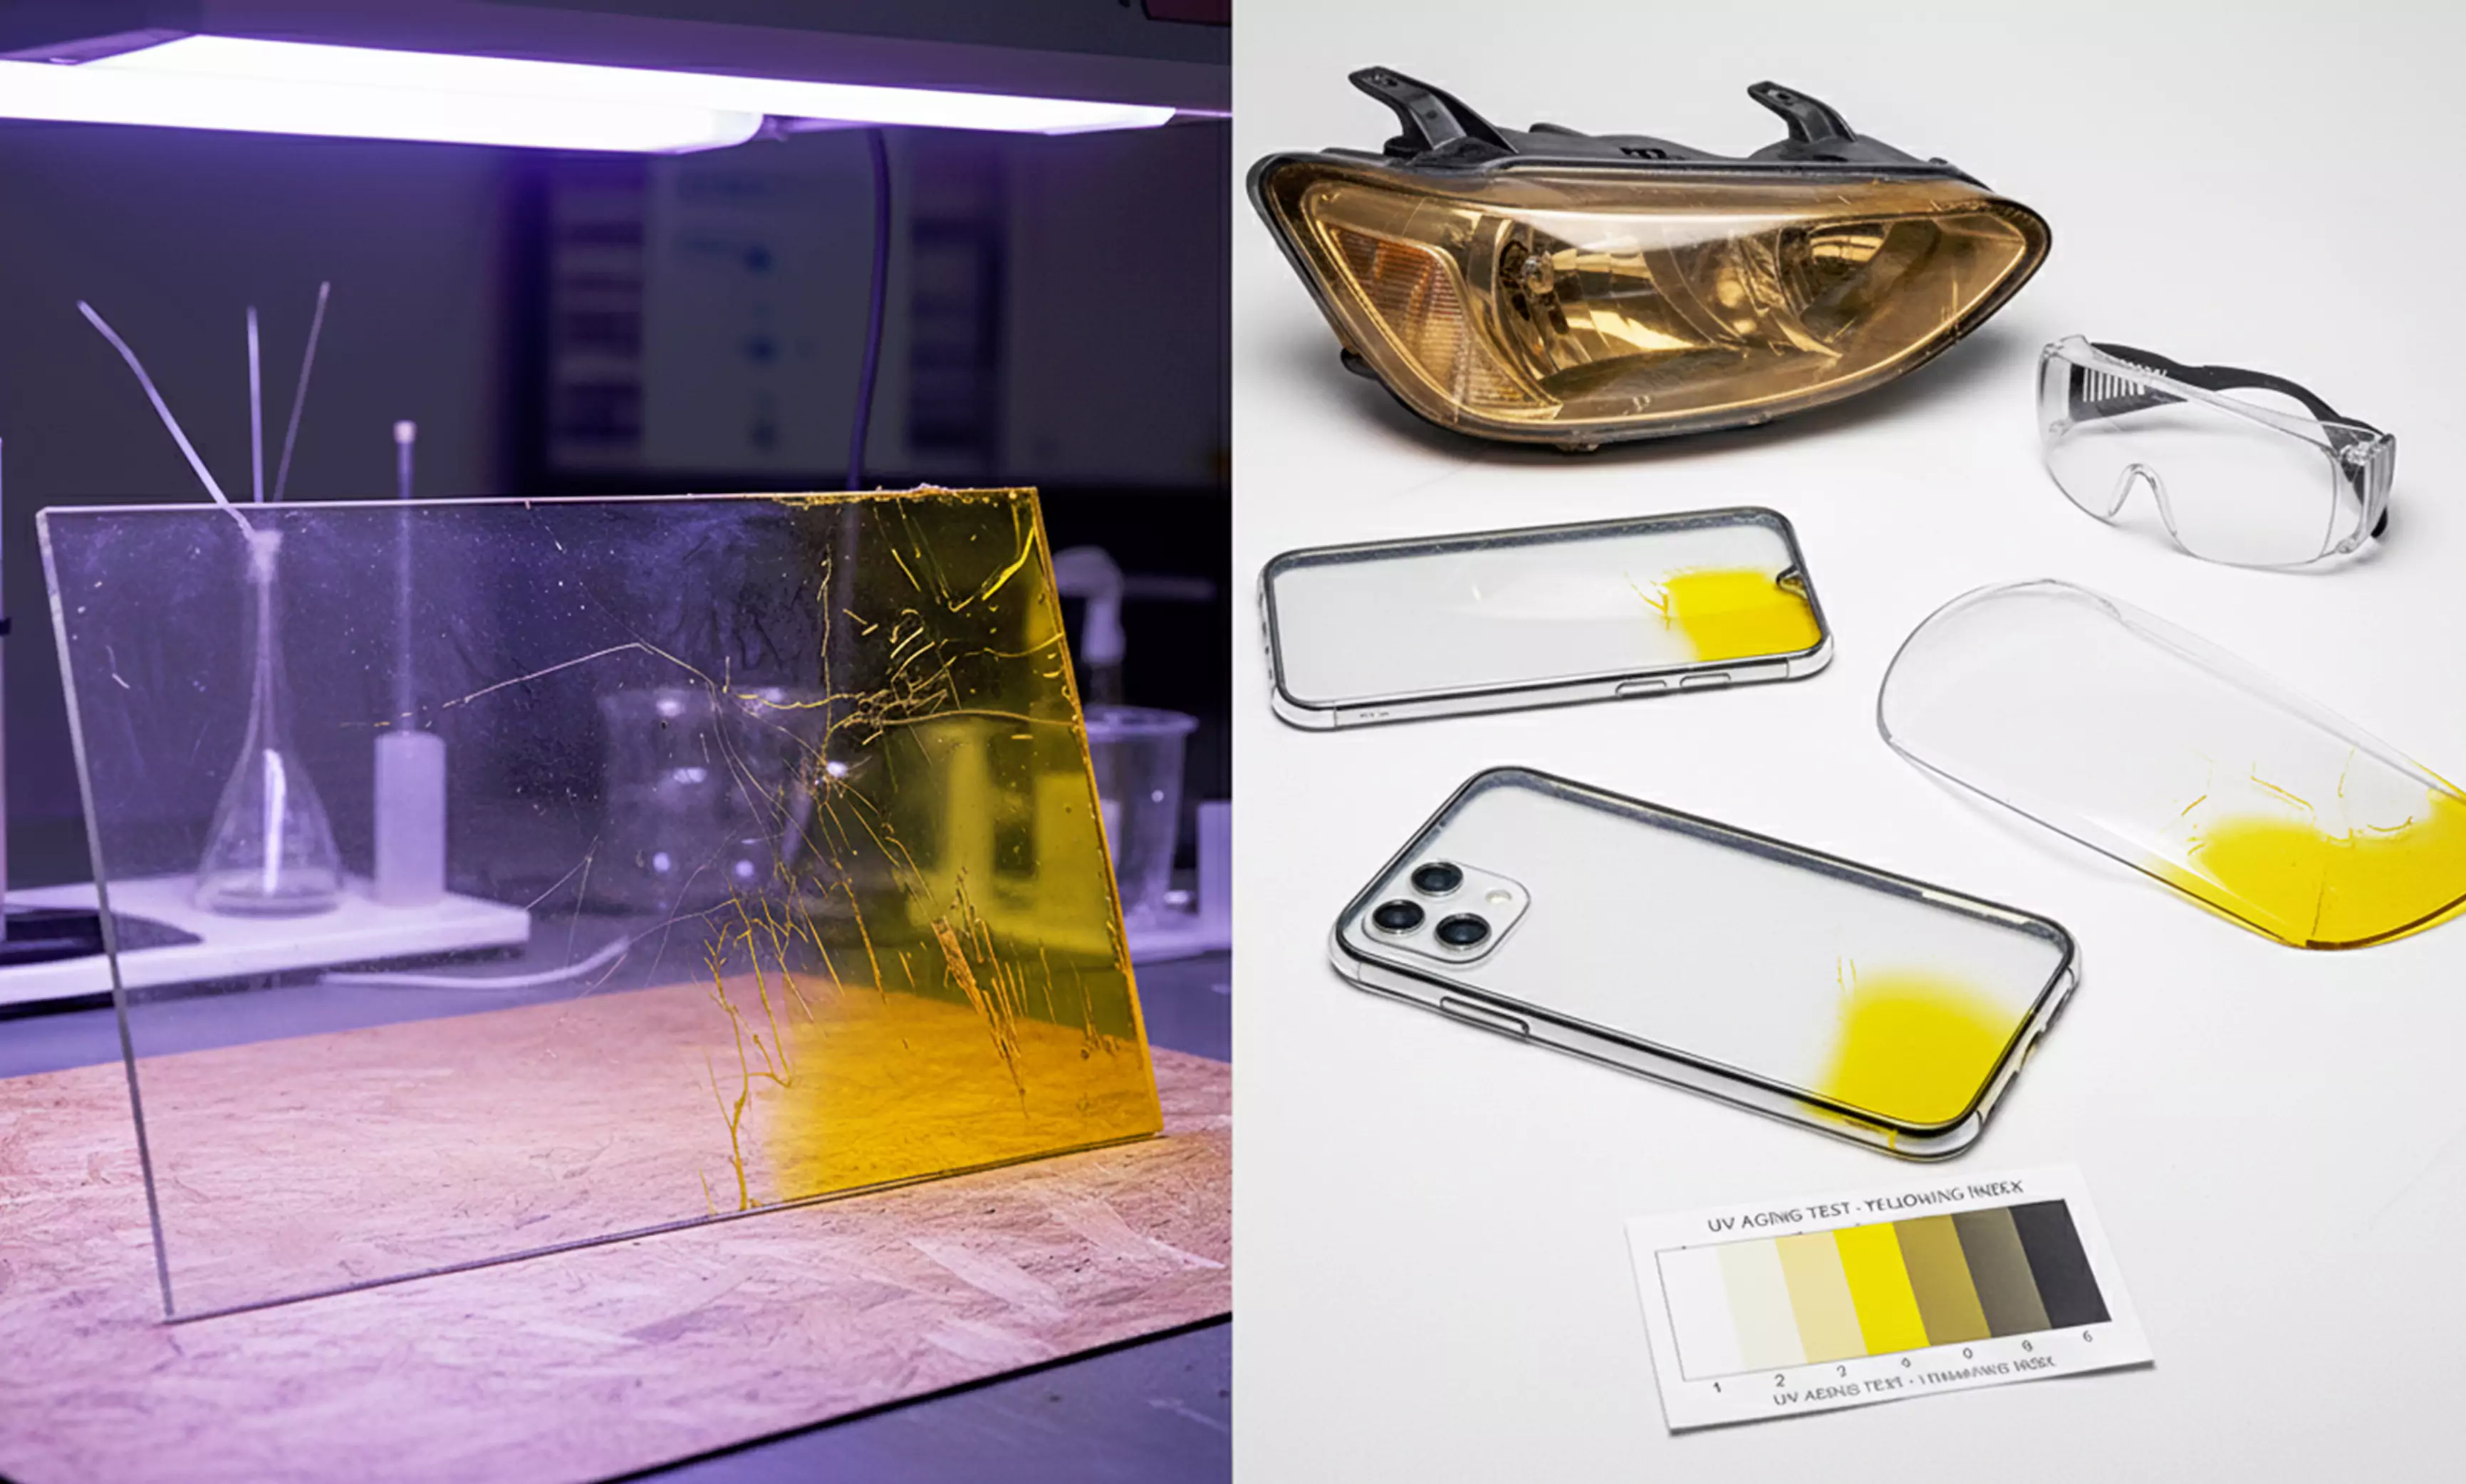
We’ve all been there: that moment of frustration when a perfectly clear, glass-like coating turns yellow after a few days. Even worse, customer feedback says, “Your product yellows after 3 months, impacting our shipments.”
Many see yellowing as just an “aesthetic issue,” but that’s a misconception. Yellowing is a visible sign of chemical degradation within the coating matrix under external stress. It indicates a chain reaction of polymer bond breakage and chromophore formation.
I remember a project for an electronics client making optical lens coatings. Lab tests were perfect, but mass production resulted in大面积 yellowing, causing significant losses. The culprit? Poor workshop ventilation allowed atmospheric NOx to react with aromatic amines in the coating. This highlights a key lesson: solving yellowing requires understanding both the formulation and the working environment.
Yellowing is particularly critical in high-performance applications:
-
Optical devices (lenses, mirrors): Yellowing reduces light transmission, compromising image quality.
-
Electronics (phone casings, screen coatings): Discoloration cheapens the product’s appearance, leading to customer complaints.
-
3D printing, high-end packaging: Prolonged light/heat exposure leads to yellowing, degrading performance and shortening product life.

Let’s start with a core concept: The essence of yellowing is the formation of “chromophores”—compounds that absorb visible light (in the yellow-brown spectrum). Once these form within the coating, yellowing appears. There are five primary pathways for chromophore generation, which we’ll dissect next.
II. Root Cause Analysis: 5 Yellowing Mechanisms with Real-World Cases
Many formulators struggle because they know that it yellowed, but not why. Different mechanisms require completely different solutions. Based on years of experiments and production experience, I’ve broken down the five most common mechanisms with real cases to help you quickly diagnose your problem.
1. Oxidative Degradation (Auto-oxidation): The Most Common Culprit (>60% of Cases)
This is the most prevalent cause. Simply put: under the combined action of oxygen, UV light, and heat, the coating undergoes a free radical chain reaction, ultimately forming conjugated carbonyl compounds (aldehydes, ketones). These are the primary offenders responsible for yellowing.
I ran a comparison: the same UV coating was exposed to UV light for 24 hours, one in an oxygen environment, one in nitrogen. The oxygen group yellowed significantly; the nitrogen group remained almost unchanged. This clearly shows oxygen’s catalytic role.
Simplified Reaction Pathway:
-
Initiation: UV/Heat causes polymer (RH) chains to break, forming free radicals (R• + H•).
-
Propagation: Radicals combine with oxygen to form peroxy radicals (ROO•), which then react with the polymer to form hydroperoxides (ROOH).
-
Decomposition: Hydroperoxides break down, forming alkoxy radicals (RO•) and hydroxyl radicals (•OH).
-
Chromophore Formation: Alkoxy radicals react further to generate conjugated carbonyl compounds (aldehydes, ketones), causing yellowing.
Key Takeaway: This type of yellowing is “progressive,” from slight to deep yellow over days or months. Common in UV coatings used outdoors.
2. Photochemical Reaction (Photo-oxidation): The “Achilles’ Heel” of Aromatic Resins
If you use aromatic resins like bisphenol-A epoxy acrylates, pay close attention here. UV light directly induces bond breakage in the resin, generating quinones or phenoxy radicals. These substances themselves are strong yellow-brown chromophores.
A memorable case: we helped a packaging client whose PET packaging film, made with bisphenol-A epoxy acrylate resin, turned yellow like old newspaper after just 3 days of sun exposure. We switched to an aliphatic resin, and under the same conditions, there was almost no yellowing even after 7 days.
Typical Reaction (using bisphenol-A epoxy acrylate as an example):
UV irradiation causes hydrogen abstraction from the ArOH (aromatic hydroxyl) group in the resin, generating ArO• (phenoxy radicals). These then rearrange to form p-quinone methide—a classic yellow chromophore. Even trace amounts cause noticeable yellowing.
3. Amine Oxidation (NOx Reaction): The “Invisible Killer” Often Overlooked in Workshop Conditions
This type of yellowing is insidious, often mistaken for resin or initiator problems. It’s actually a “environment + formulation” issue: aromatic amines (used as synergists or co-initiators) in the coating react with nitrogen oxides (NO, NO₂) in the air to form nitroso and nitro derivatives, which are deep yellow compounds.
The electronics client case mentioned earlier was exactly this: the workshop was near a boiler, NOx from combustion couldn’t vent properly, and the coating contained an aromatic amine like diethylenetriamine (DETA). The reaction caused rapid yellowing. We replaced it with an aliphatic amine and improved ventilation—problem solved.
Core Reaction: ArNH₂ (aromatic amine) + NO₂ (nitrogen oxide) → ArNO₂ (nitro derivative) + H₂O. The nitro derivative is the key chromophore.
4. Thermal Degradation: A Major Issue in High-Temperature Environments
Heat accelerates the decomposition of the polymer backbone, initiators, or additives. This either generates conjugated olefins or triggers Maillard-type reactions, ultimately leading to yellowing. Common in high-temperature curing, outdoor heat exposure, or products needing long-term heat resistance (e.g., automotive parts coatings).
I once encountered an automotive interior UV coating that yellowed directly during oven curing (temperature exceeded 80°C). Investigation revealed high temperature caused backbone scission, forming unsaturated aldehydes and dienes (chromophores), and also triggered Maillard reactions between carbonyls and amines, generating brown-yellow pigments.
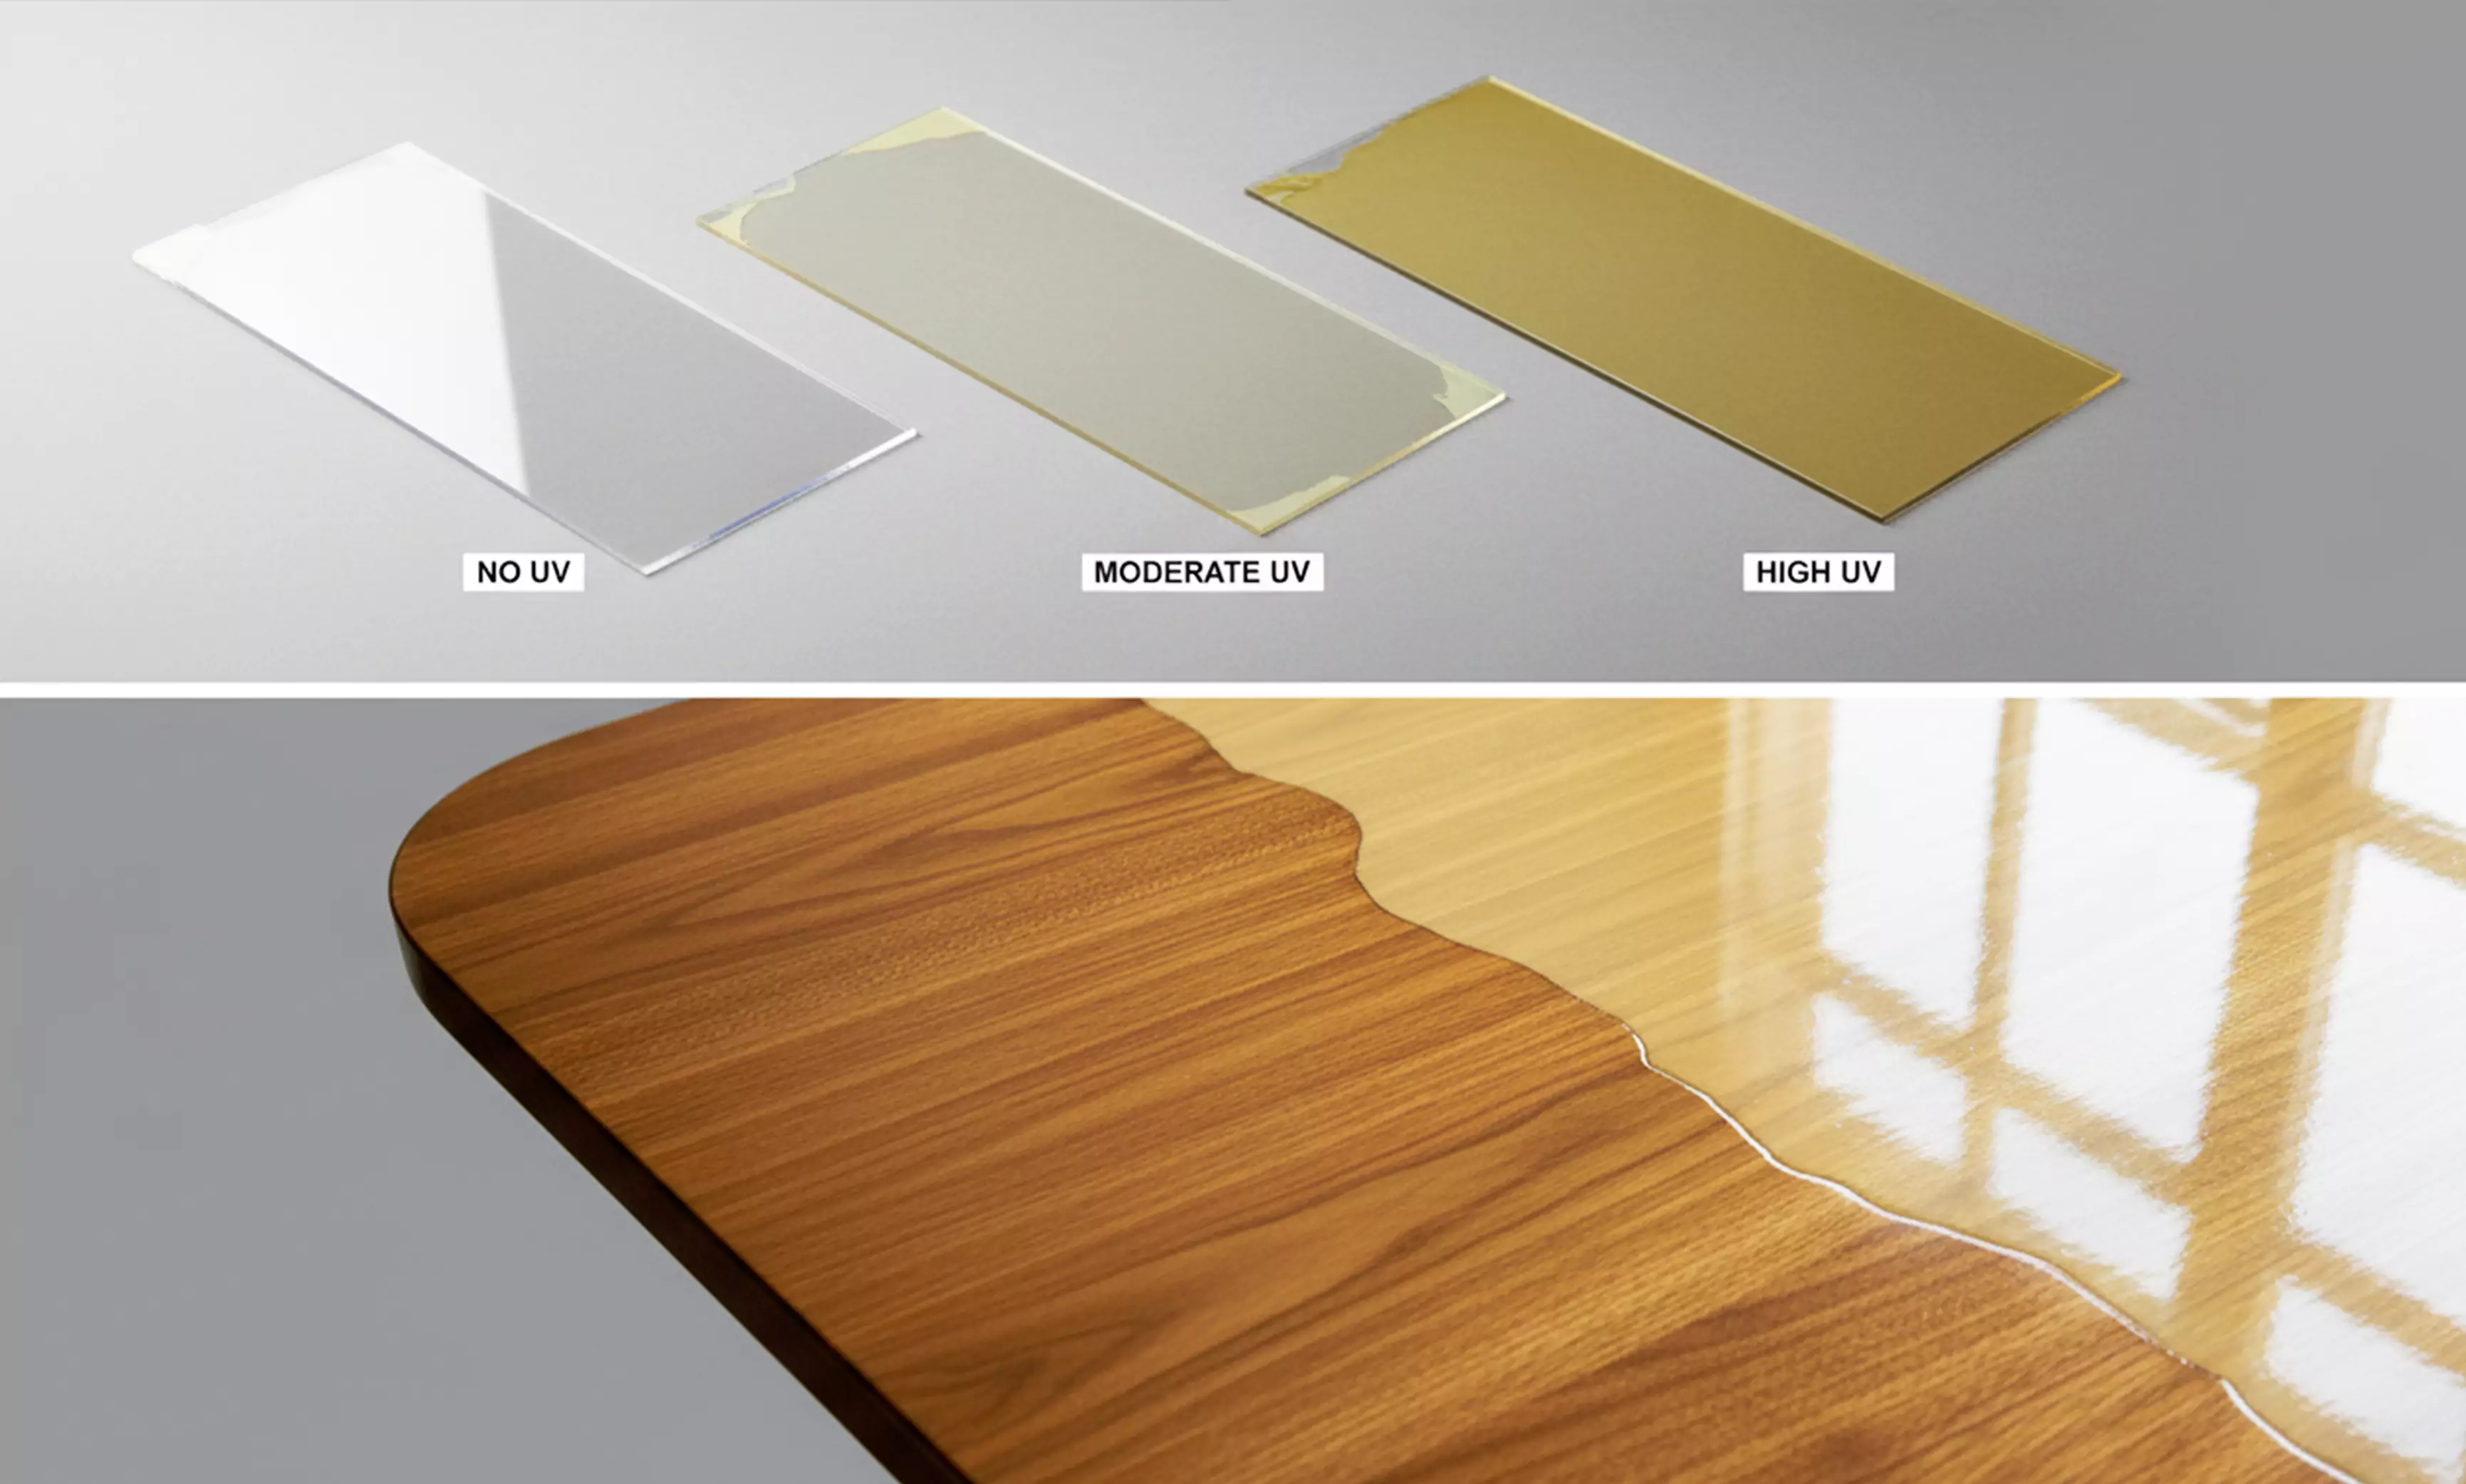
Two Main Pathways for Thermal Degradation:
-
Backbone Scission: Polymer main chain breaks, generating chromophores like unsaturated aldehydes and dienes.
-
Maillard-type Reactions: Carbonyl groups react with amines in the coating, producing brown-yellow pigments.
5. Additive Migration/Decomposition: The “Unassuming” Culprit
When adjusting formulations, many focus only on resins and initiators, overlooking additives. Residual photoinitiators, antioxidants, or stabilizers can migrate to the surface or degrade post-curing, generating colored byproducts (especially aromatic stabilizers), causing yellowing.
For example, I once used an inexpensive aromatic antioxidant in a UV coating. Initially fine, but after a month, slight yellowing appeared on the surface. Analysis showed the antioxidant had degraded, forming aromatic fragments that migrated. Switching to an aliphatic antioxidant solved the issue permanently.
III. Practical Solutions: A Comprehensive Approach from Formulation to Working Conditions
Understanding the mechanisms gives you direction. Based on years of hands-on experience, I’ve compiled a combination strategy of “formulation adjustment + process optimization.” Each point is lab and production-line verified.
1. Choose the Right Photoinitiator: Prioritize Non-Yellowing Types (Top 3 Recommendations)
Many yellowing problems stem from initiators degrading into colored byproducts. Traditional aromatic photoinitiators are prone to this. Non-yellowing, clean-cleavage initiators minimize the issue from the start.
Based on extensive use, here are my top 3 recommendations (balancing performance and cost), with application scenarios:
-
PI-TPO (Ethyl (2,4,6-trimethylbenzoyl) phenylphosphinate): Most versatile. Works well in transparent, thick, and pigmented systems. Degrades without forming colored byproducts, minimal long-term yellowing. My current workhorse.
-
PI-TPO-L: Liquid form of TPO, low odor. Ideal for odor-sensitive applications (electronics, food packaging). Fast curing, yellowing inhibition comparable to TPO.
-
PI-819 (Bis(2,4,6-trimethylbenzoyl)-phenylphosphineoxide): Top choice for high-end applications. Best anti-yellowing performance, suitable for optics and high-end electronics. Slightly higher cost but excellent value compared to similar high-end options.
Avoid: Steer clear of acetophenone-based initiators (e.g., BP – Benzophenone). They are prone to degradation and yellowing, especially problematic in transparent systems.
2. Avoid Aromatic Amines: Substitute with Aliphatic Amines or Use Amine-Free Systems
As the amine oxidation case showed, aromatic amines (e.g., DETA, EDA, substituted anilines) are major yellowing risks, especially in poorly ventilated workshops where they react with NOx.
Practical Advice:
-
Priority Substitution: Replace aromatic amines with aliphatic ones like triethanolamine or dimethylethanolamine. They are less prone to oxidation and don’t form colored byproducts.
-
Eliminate Completely: If formulation allows, use an amine-free photoinitiator system. This is the safest approach, especially for high-end transparent coatings.
3. Add Light Stabilizers: The “UV Absorber + HALS” Double Protection Combo
Even after curing, coatings are attacked by UV light. Relying solely on resin and initiator is insufficient for long-term resistance. Add UV absorbers (UVA) and Hindered Amine Light Stabilizers (HALS) for dual protection.
My Proven “Golden Combo”:
-
UV Absorber: “Blocks” UV light, preventing direct irradiation of the resin. Recommend Tinuvin® 400, Tinuvin® 384-2 (examples of Ciba/BASF products). Good compatibility, won’t affect transparency.
-
HALS: “Scavenges” free radicals, stopping the chain reaction of oxidative degradation. Recommend Tinuvin® 292, Chimassorb® 944 (examples of Ciba/BASF products). Good heat resistance, suitable for high-temperature curing.
Dosage Guide: Generally, UVA at 0.5%-1.5%, HALS at 0.3%-1.0%. Adjust based on film thickness and application—increase for thick films, decrease for thin films to avoid affecting cure speed.
4. Replace Resins: Prioritize Aliphatic and Cycloaliphatic Types
If your product faces prolonged outdoor, high-temperature, or intense UV exposure, resin choice is critical. Aromatic resins (bisphenol-A based, TDI based) inherently contain chromophore precursors and are prone to photo-oxidative yellowing. Aliphatic and cycloaliphatic resins, lacking aromatic structures, offer 3-5x better resistance.
Recommended Resins (in order of preference):
-
Aliphatic Polyurethane Acrylate: Top choice. Based on IPDI or HDI, offering excellent resistance, weatherability, and transparency. Ideal for most high-performance applications (optics, electronics, automotive).
-
Aliphatic Polyester Acrylate: Best value. Good anti-yellowing performance, suitable for mid-to-high-end packaging and 3D printing.
-
Cycloaliphatic Epoxy Resin: Suitable for applications needing high heat resistance and hardness. Good anti-yellowing, but slower cure speed; can be paired with TPO initiator to accelerate curing.
5. Optimize Curing Conditions: Complete Cure is Key to Avoid “Residual Risks”
A frequently overlooked detail: an incompletely cured coating leaves behind residual monomers and free radicals. These residues oxidize easily, leading to yellowing—even if you’ve chosen all the right ingredients, improper curing will still cause problems.
My Practical Optimization Tips (Proven to improve cure and reduce yellowing):
-
Control UV Parameters: Ensure sufficient intensity (typically 300-800 mW/cm²) and exposure time matching film thickness (thin films 3-5 sec, thick films 8-15 sec) to avoid “under-curing.”
-
Use Inert Curing: If possible, use a nitrogen inerting chamber. This eliminates oxygen inhibition at the surface, reduces free radical generation, and improves the degree of cure.
-
Match Lamp Spectrum: Ensure the emission spectrum of the UV lamp matches the absorption spectrum of your photoinitiator (e.g., TPO absorbs at 365-405 nm, use a 365 nm or 405 nm LED lamp). This ensures efficient initiation and complete cure.
6. Optional Solution: Add Optical Brighteners to Offset Slight Yellowing
If you have slight yellowing that can’t be fully resolved through formulation changes (e.g., in cost-sensitive, low-end applications), consider an Optical Brightening Agent (OBA). It doesn’t fix the root cause but emits blue fluorescence to optically neutralize the yellow, making the coating appear clearer.
Recommendations: Common OBAs include stilbene derivatives and benzoxazole compounds. Add at 0.1%-0.3%. Caution: Use sparingly in functional coatings (like optical lenses) to avoid fluorescence mismatches affecting performance.
IV. Summary + Practical Checklist: Quick Diagnosis & Application
My biggest lesson over the years: solving yellowing is never a “single-point fix.” It requires a holistic approach matching mechanism + formulation + process conditions. Many formulators struggle because they focus on one ingredient while ignoring the mechanism and environment.
For quick diagnosis and application, here’s a practical checklist. Match your symptoms to find the direction:
| Yellowing Cause (Mechanism) | Key Chemical Species | Practical Solutions |
|---|---|---|
| Oxidative Degradation | ROO•, ROOH, Aldehydes, Ketones | 1. Add antioxidants. 2. Optimize for complete cure. 3. Use nitrogen inerting. |
| UV Degradation (Photo-oxidation) | Quinones, Phenoxy radicals | 1. Add UVA + HALS. 2. Switch to aliphatic/cycloaliphatic resins. 3. Use non-yellowing photoinitiators. |
| Amine Oxidation (NOx reaction) | Nitroso, Nitro derivatives | 1. Replace aromatic amines with aliphatic amines. 2. Use amine-free systems. 3. Improve workshop ventilation, reduce NOx. |
| Thermal Degradation | Conjugated olefins, Carbonyls | 1. Use thermally stable resins/additives. 2. Lower cure temperature, control process heat. 3. Avoid simultaneous presence of carbonyls and amines. |
| Additive Migration/Decomposition | Aromatic fragments, Oxidation byproducts | 1. Choose low-migration, non-aromatic additives. 2. Control residual additive levels. 3. Use encapsulated reactive groups to minimize migration. |
| Incomplete Cure | Residual free radicals, monomers | 1. Adjust UV lamp parameters for thorough cure. 2. Match initiator absorption with lamp emission. 3. Minimize residual monomer. |
V. Food for Thought: Future Directions in UV Anti-Yellowing (Personal View)
With increasing demands from high-performance sectors (flexible electronics, aerospace), traditional anti-yellowing methods are sometimes stretched to meet requirements for long-term weatherability, heat resistance, and high transparency. Based on recent experiments and industry observation, here’s a hypothesis:
Integrating “biomimetic anti-aging structures” into UV coating formulations could enable more durable anti-yellowing. For instance, mimicking the hydrophobic, UV-blocking structure of a lotus leaf by incorporating biomimetic groups into the resin molecular chain. This could simultaneously block UV and oxygen ingress, reduce additive migration, and enhance both weatherability and abrasion resistance.
I’m currently running experiments, and initial results are promising: UV coatings with biomimetic groups show >2x better anti-yellowing than traditional formulations. After 30 days of intense exposure, light transmittance remained above 90%. While challenges like higher cost and complex processing remain, I believe biomimetic anti-yellowing will become a mainstream direction for high-end UV coatings as the technology matures.
Final Word: Let’s Interact and Learn Together
That wraps up my 8-years-in-the-trenches summary of solutions for UV coating yellowing—from mechanisms to practical steps, from case studies to a diagnostic checklist. Every point is based on lessons learned and solutions validated.
Honestly, UV yellowing isn’t scary. Once you correctly identify the mechanism and precisely adjust your formulation and process, you can solve it completely. Have you encountered any particularly tricky yellowing cases in your work? Or have questions about any of these solutions? Feel free to comment below. Let’s discuss, learn together, and make our UV coatings even better!
Meta Description
Veteran chemist Starry shares insights on the 5 core mechanisms of UV coating yellowing (with case studies), breaking down causes like oxidation and photodegradation. Provides practical solutions combining formulation adjustments and process optimization, including a selection guide for photoinitiators and resins. Helps formulators and technicians solve yellowing challenges for improved durability and clarity.
The post Yellowing of UV-Cured Coatings? appeared first on Changhong Chemical.
]]>The post Why are chemicals considered the next non-ferrous metals? appeared first on Changhong Chemical.
]]>The Apparent Contradiction: Stock Prices Skyrocket, But Product Prices Don’t Move
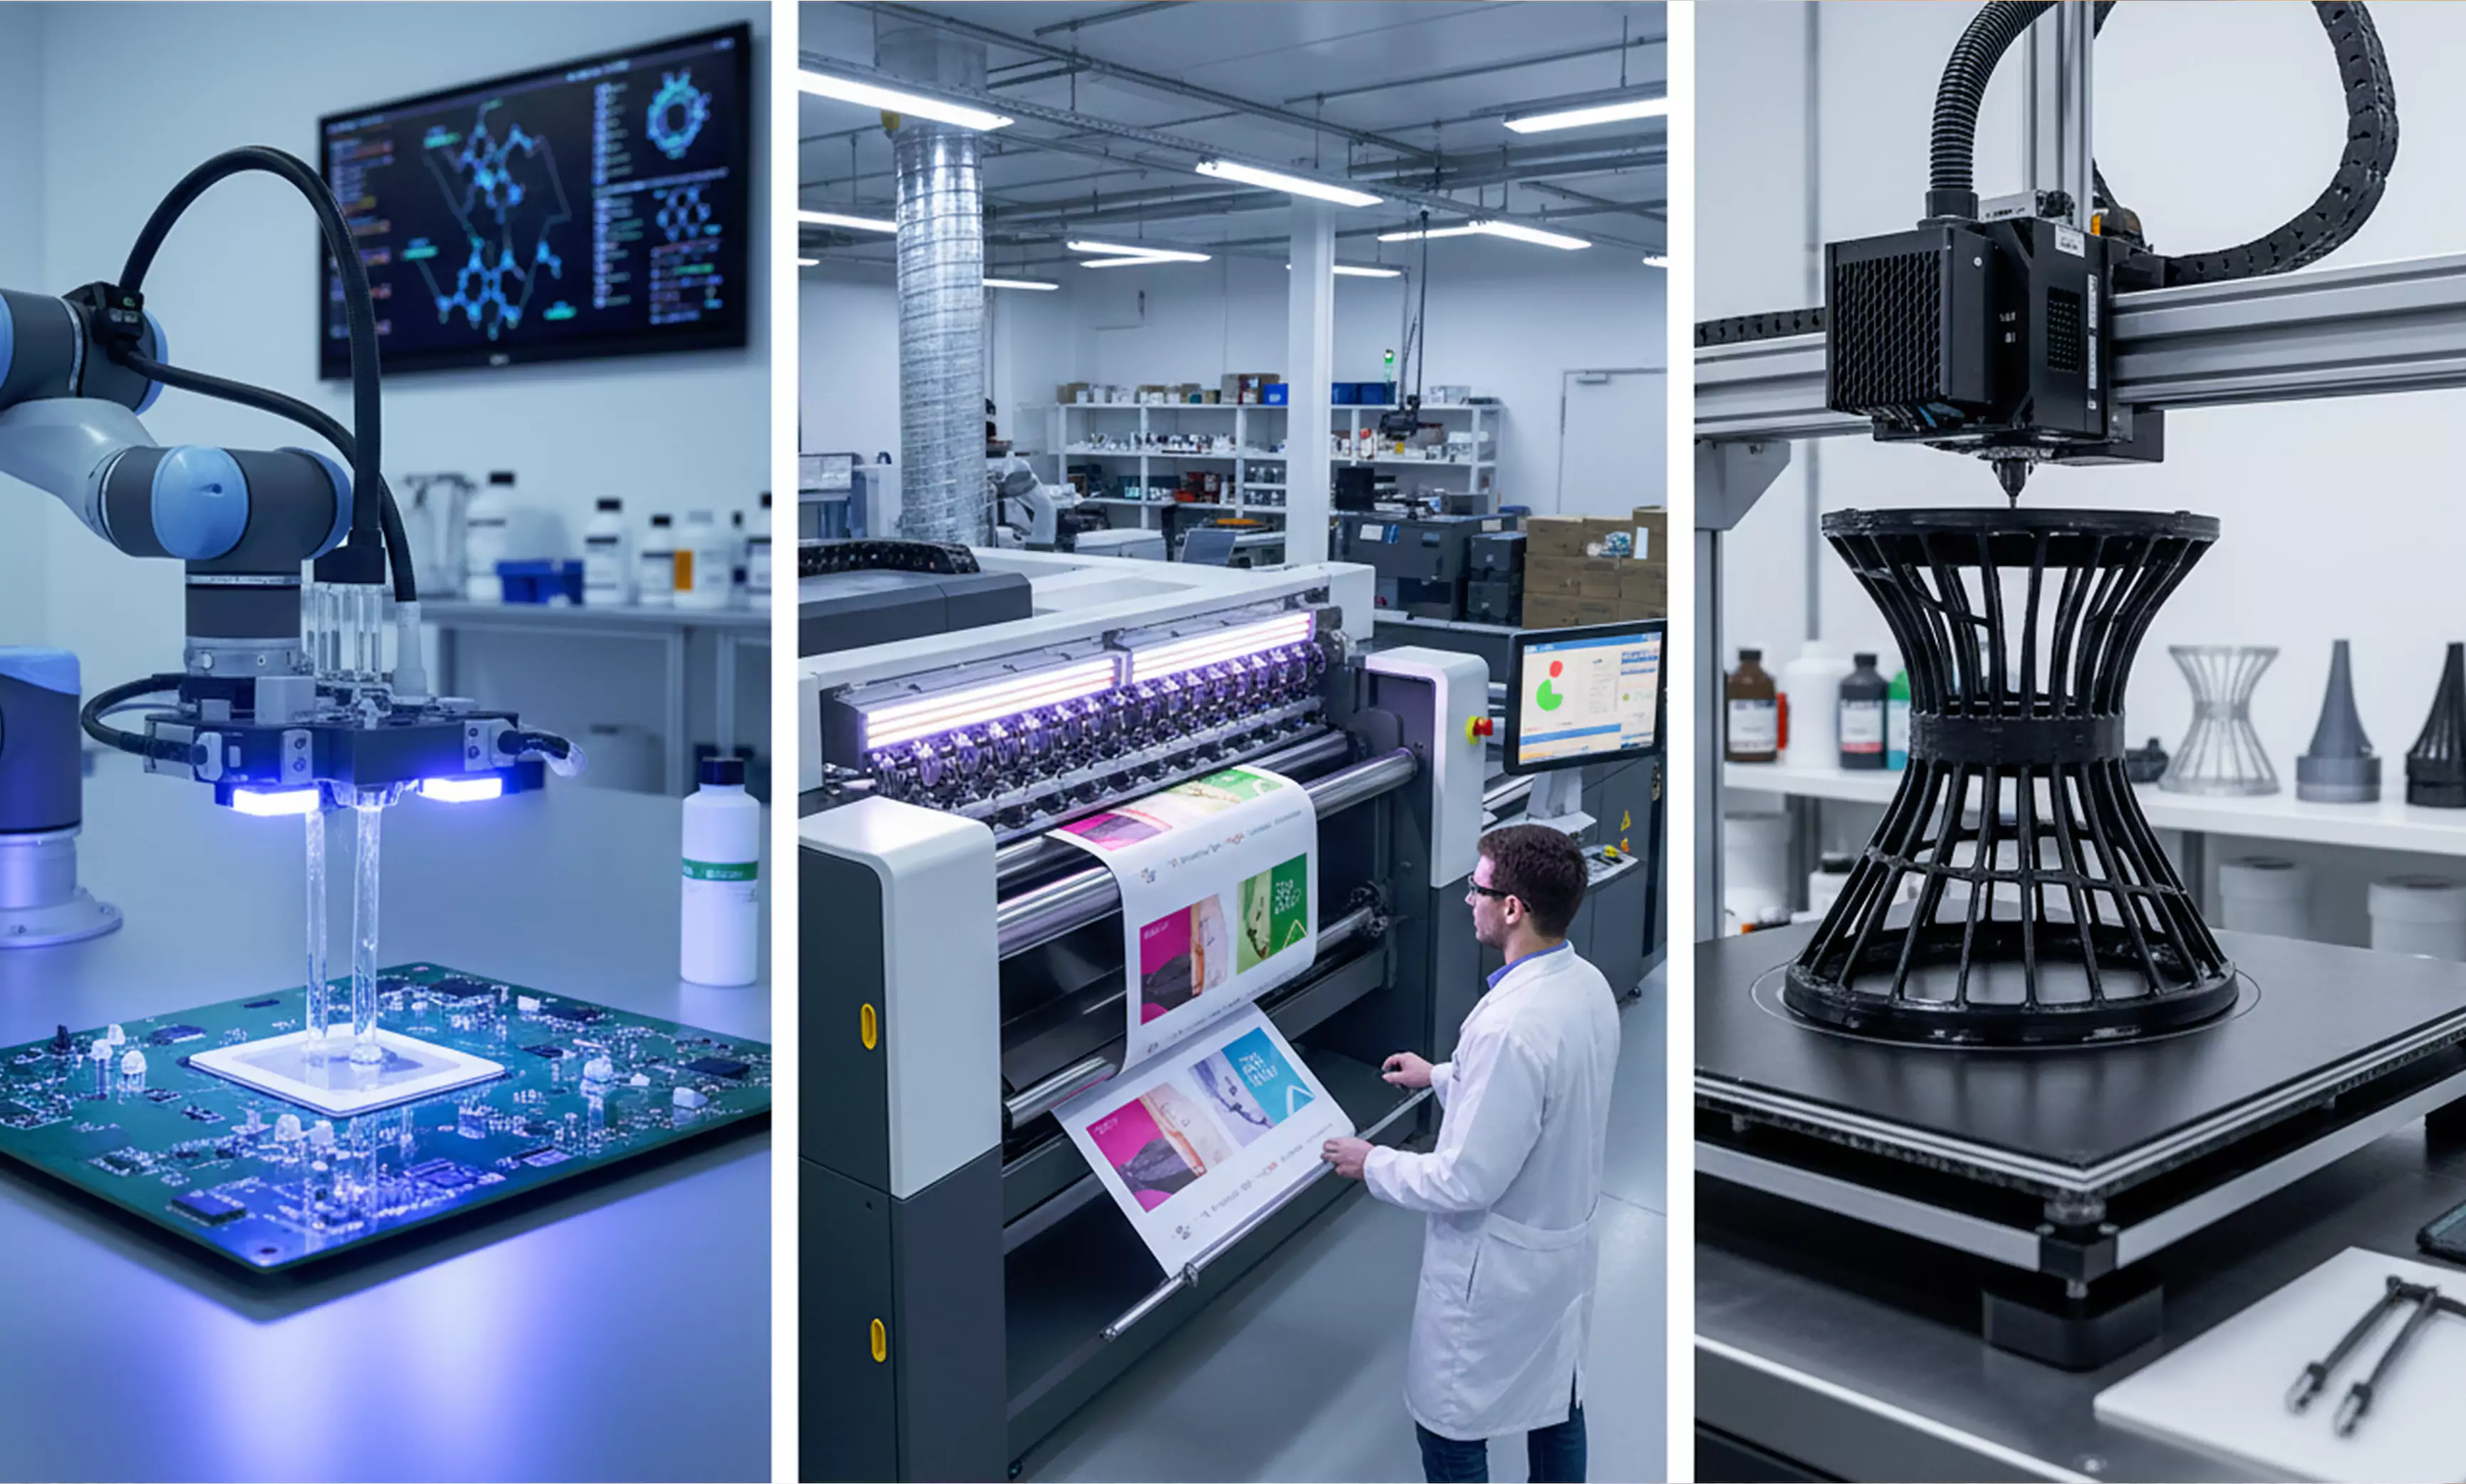
Let’s start with a striking observation. From May last year to now, the chemical sector has performed extremely well. But looking back at our lab’s purchasing records:- PTAin January 2026 cost around 5,200 yuan per ton — roughly the same as in May 2025.
- Soda ashhas weakened further, falling from 1,300 to 1,200 yuan per ton.
- MDI, TDI, and other key chemicals remain near historical lows.
To Understand Today, You Must Understand 2016
To grasp this rally, you first need to understand what happened in 2016. When I entered the industry in 2010, chemical plants operated under a brutal logic: “Whoever expands capacity dies, but whoever doesn’t expand dies faster.” Take one example. In 2014, we worked with a PTA producer running at only 60% capacity, yet they kept producing at a loss. Why? Because shutting down meant losing customers and market share. Everyone thought the same way, creating a vicious cycle of industry-wide losses. The 2016 supply-side reform broke this deadlock. I know the National Bureau of Statistics figures by heart:From 2016 to 2020, the chemical industry eliminated more than 30% of outdated capacity.But even more important: new capacity expansion was effectively capped. Starting in 2017, I led environmental impact assessment (EIA) applications for several new projects. I personally experienced how difficult approval became: layers of checks for environmental protection, safety, and energy consumption. A small project often took two years to approve — let alone large-scale facilities. Then, from 2022 to 2025, the chemical industry suffered consecutive years of losses. The result?Virtually no major new capacity is scheduled to come online in 2026–2027. What does this mean?Supply across the chemical industry is effectively locked down for years to come.Why Do Expectations Move Before Reality?
You might ask: I get that supply is constrained, but demand is still weak. Why are stocks rising first? Let me share a story. In 2016, shortly after I joined my current company, I led a technical upgrade on an old plant. A neighboring chemical factory had closed, and its equipment was being scrapped and sold as scrap metal. My boss at the time — a 30-year industry veteran — looked out the window and said something I still remember: “When prices rise later, we’ll be the ones calling the shots.” I didn’t fully understand it then. Now I know he was right. When only a few major players remain on the supply side, pricing power shifts completely.The old logic was: If you don’t cut prices, someone else will.The new logic is: If you raise prices, others will follow.This isn’t monopoly; it’s a natural evolution of market structure. Smart money doesn’t wait for prices to rise before buying.It buys when it sees the inevitability of a price rebound. That’s why expectations precede reality. Take soda ash as a real-world example. At 1,200 yuan per ton, it’s clearly at a low level. But think about this:If supply is locked, even a modest recovery in demand could trigger a sharp price jump. Chemicals have a U-shaped cost curve. The cost of marginal capacity is extremely high. Once demand picks up, prices can jump sharply above marginal cost. Institutions are betting on that “once.”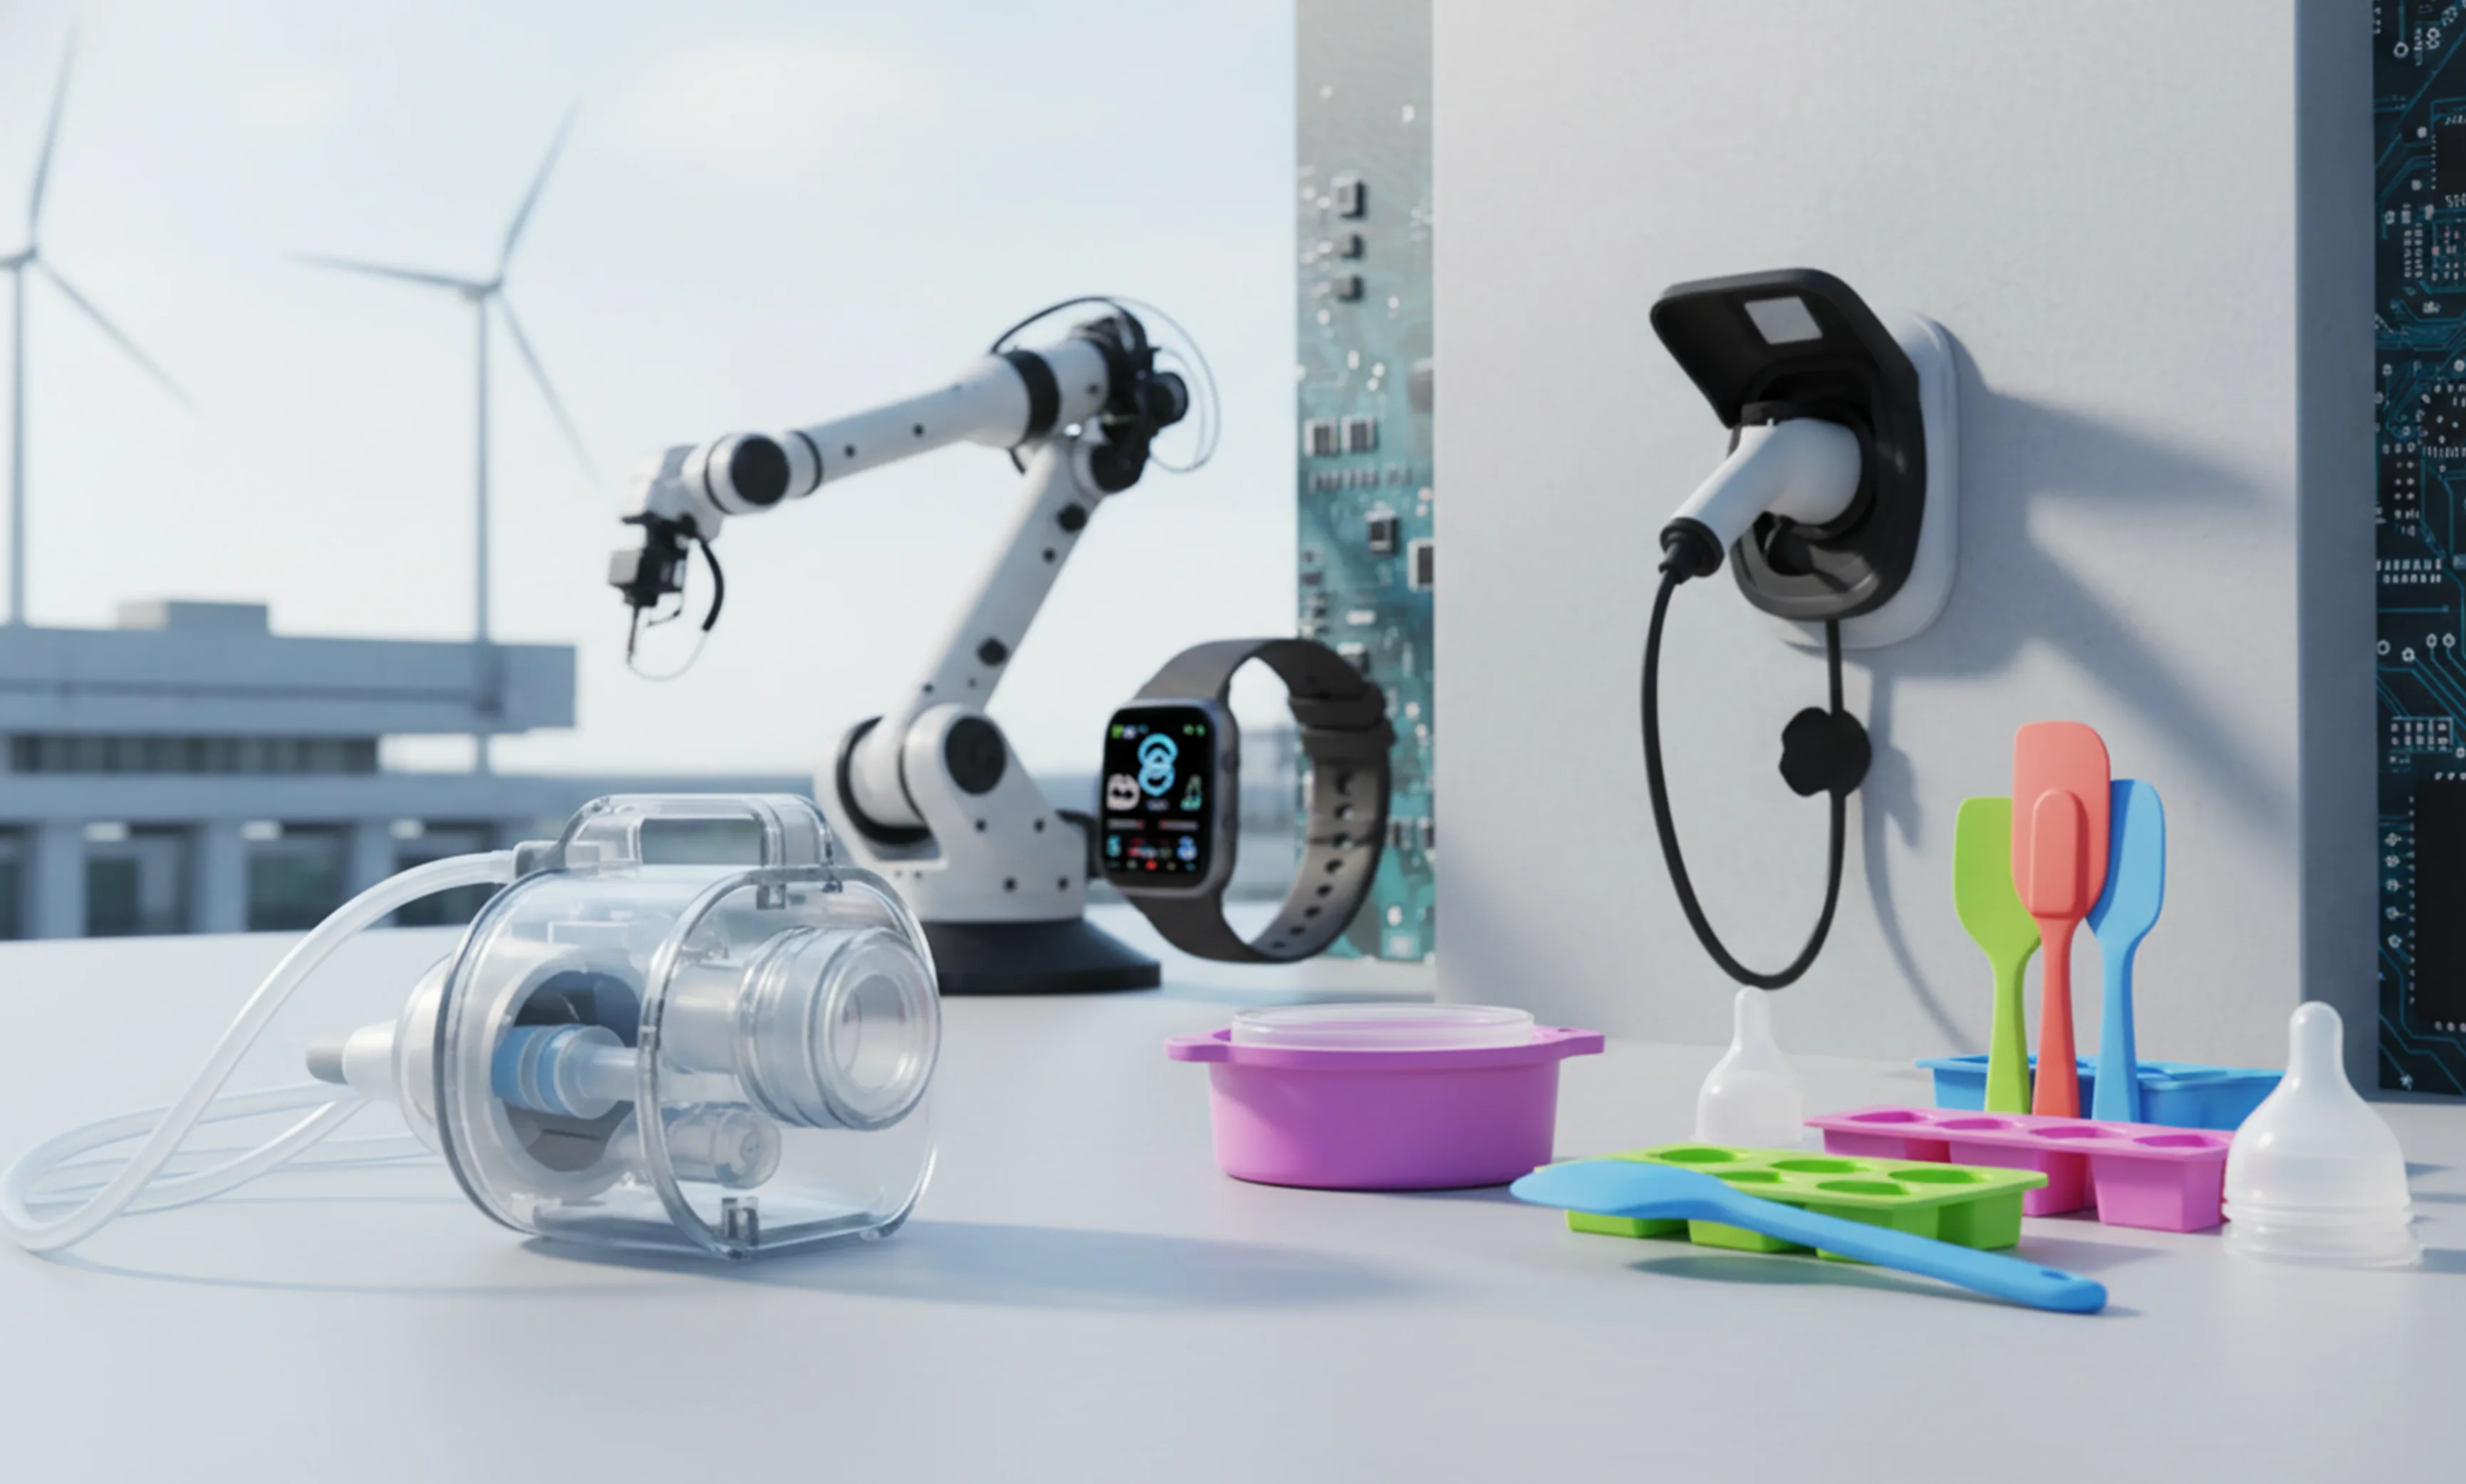
chemicals
How to Read the Current Rhythm
By now, you might think I’m blindly bullish. I’m not. Long-term logic and short-term price action are two different things. In my experience, cyclical sectors like chemicals never move straight up. They advance two steps, retreat one — sometimes even one up, two down. Why? When expectations become too unanimous, some investors rush in early, while others take profits. I saw a similar script in 2017. After supply-side reform was announced, optimism exploded and stocks surged. Then the 2018 trade war crushed demand expectations, and prices gave back most of their gains. But by 2019–2020, companies with real cost advantages and technical barriers hit new highs. Here’s my current approach:- I won’t chasestocks that have doubled but still operate at a loss.
- Instead, I focus on segments where capacity has been fully cleared, with no new supply in the next two years, and where players have cost or technical moats.
- MDI: Only a handful of global producers, almost no new capacity — massive upside if demand recovers.
- Certain specialty fine chemicals: Smaller market caps but high technical barriers, keeping new competitors out.
A Thought-Provoking Hypothesis
Finally, I’d like to propose a potentially bold hypothesis. Viewing this rally only as a “cyclical reversal from locked supply + recovering demand” may be too simplistic. Could the valuation framework of the chemical industry be undergoing a complete restructuring? In the past, chemicals were treated as pure cyclical stocks, often valued at a P/E ratio of around 10x.But going forward, if supply remains constrained long-term, leading companies will see much narrower profit volatility, more stable cash flow, and stronger dividend capacity. Will they still be cyclical stocks?Or could they gradually shift toward a valuation logic closer to utilities or consumer staples? I’ve already started allocating part of my holdings based on this view. Of course, this is only a hypothesis — time will tell if it proves correct.Related product references: For formulation review or sourcing comparison, see CHLUMIAO HO-17/17EH and CHLUMIAO HS-502/503/504/603/605/608/101.
The post Why are chemicals considered the next non-ferrous metals? appeared first on Changhong Chemical.
]]>The post What is the core role of photoinitiators in modern industry? appeared first on Changhong Chemical.
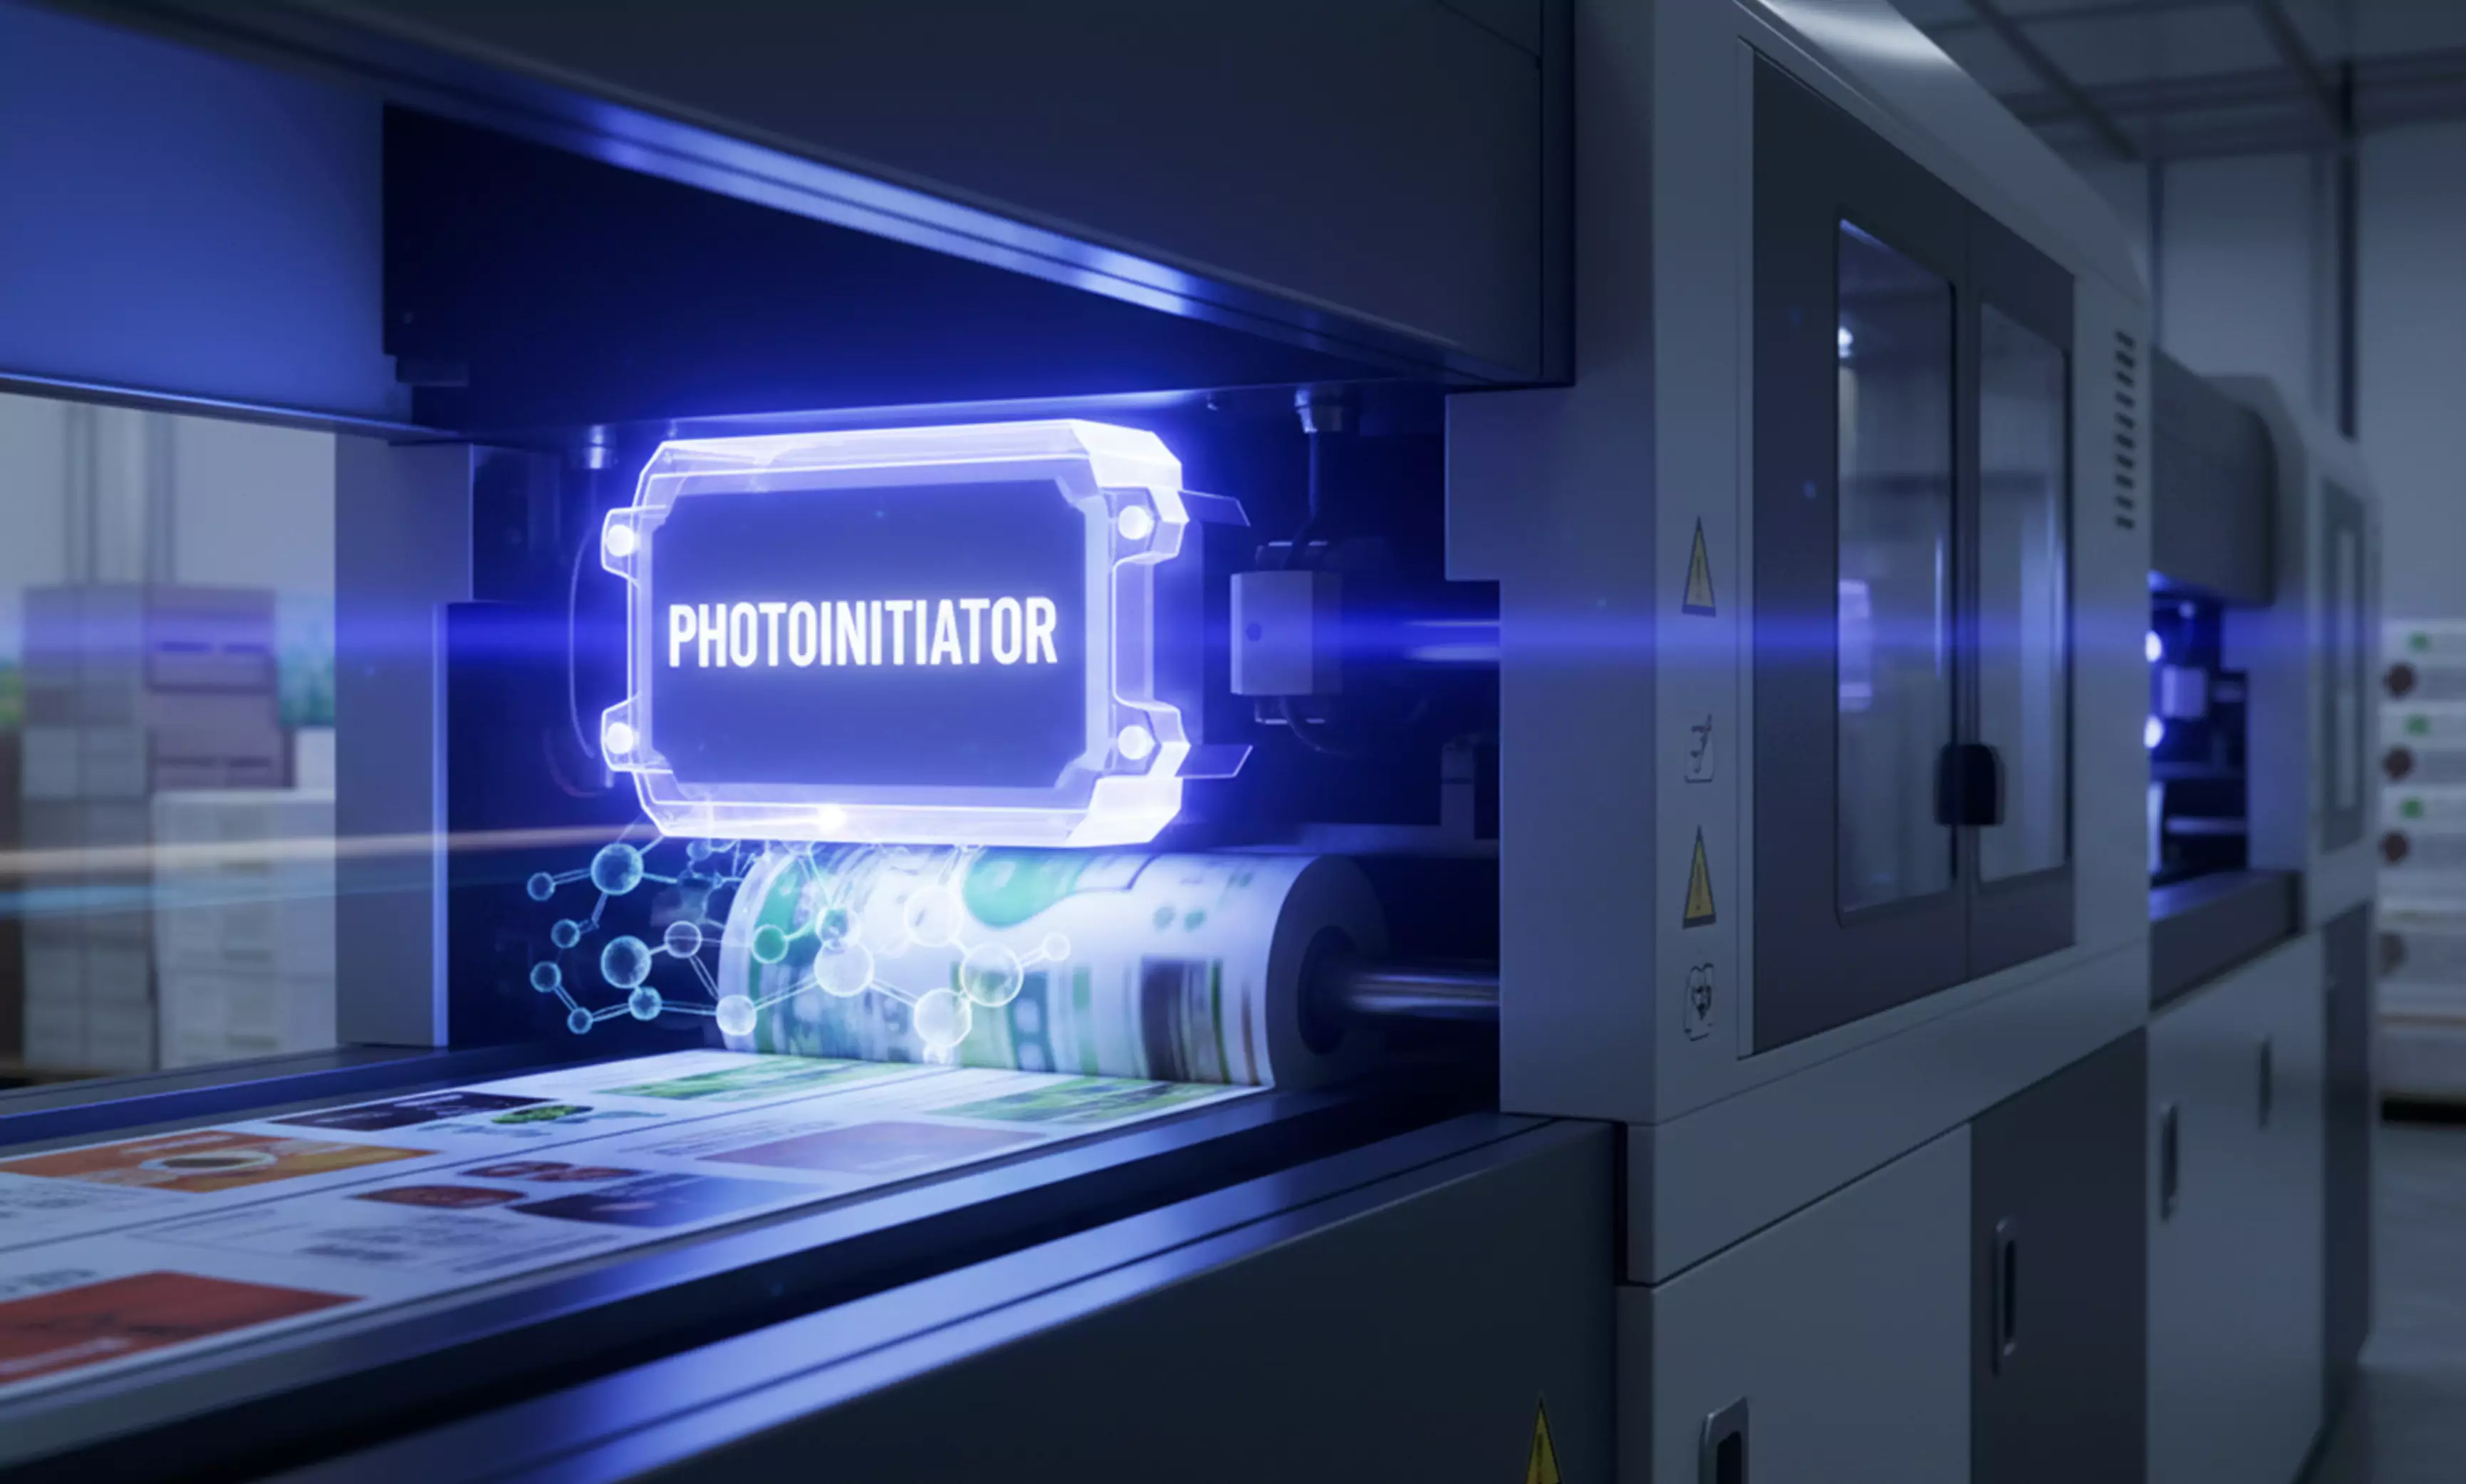
]]>In today’s rapidly advancing landscape of UV curing technology, photoinitiators act as the “engine” of photocurable systems. Their performance directly determines the final product’s quality, efficiency, and safety. Whether for packaging printing, automotive coatings, electronic components, or 3D printing, selecting the right photoinitiator has become a key challenge for formulation engineers and technical decision-makers. This article delves into 20 core questions about photoinitiators to help you make informed choices in a complex market.
Part 1: Fundamental Principles & Selection Criteria
Q1: What is a photoinitiator? What role does it play in a UV curing system?
A photoinitiator is a compound that absorbs light of specific ultraviolet or visible wavelengths, generating active free radicals or cations, thereby initiating the polymerization reaction of monomers or prepolymers. In simple terms, it’s the “switch” that converts light energy into chemical energy.
Key Roles:
-
Determines curing speed and efficiency.
-
Influences cure depth and surface finish.
-
Affects the final product’s weatherability, yellowing resistance, and mechanical properties.
Q2: What are the fundamental differences between Free-Radical and Cationic Photoinitiators? How to choose?
Free-Radical Photoinitiators (e.g., TPO, ITX, 184/Irgacure 184):
-
Advantages: Fast curing speed, wide variety, relatively lower cost.
-
Limitations: Susceptible to oxygen inhibition, higher shrinkage, potential for odor.
-
Typical Applications: UV inks, wood coatings, high-speed printing.
Cationic Photoinitiators (e.g., Iodonium salts, Sulfonium salts):
-
Advantages: No oxygen inhibition, low shrinkage, odor-free after cure.
-
Limitations: Sensitive to moisture, slower curing speed, higher cost.
-
Typical Applications: Food packaging, electronic encapsulants, products requiring deep-section cure.
Selection Advice: Weigh four dimensions: curing environment (presence of oxygen), substrate characteristics, cost budget, and performance requirements.
Q3: Why is my UV coating tacky or incompletely cured? How can photoinitiators solve this?
This is one of the most common curing issues, typically caused by:
Potential Causes & Solutions:
-
Oxygen Inhibition → Choose oxygen-insensitive photoinitiators (e.g., TPO) or add amine synergists.
-
Mismatch between PI Absorption Spectrum and Light Source → Verify the initiator’s absorption peak aligns with your UV LED wavelength (e.g., 365nm, 395nm).
-
Insufficient Dosage or Poor Dispersion → Optimize additive amount (typically 1-5%), ensure thorough mixing.
-
Insufficient Light Intensity → While not a PI issue, it must be considered alongside light source parameters.
Pro Tip: Employ a blended system, such as combining a “surface cure” type (e.g., TPO) with a “deep cure” type (e.g., Irgacure 819/BAPO), for uniform curing.
Part 2: In-Depth Analysis of Application Scenarios
Q4: For packaging printing inks, how to select low-migration, low-odor photoinitiators?
Packaging inks are in direct contact with food or the human body, demanding extremely high safety standards.
Key Purchase Considerations:
-
Prioritize Low-Migration Types: Such as Ethyl (2,4,6-trimethylbenzoyl) phenylphosphinate.
-
Avoid Volatile Components: Steer clear of traditional initiators like ITX that can cause odor.
-
Consider Regulatory Compliance: Ensure conformity with regulations like FDA CFR and EU 10/2011 for food contact materials.
Recommended Formulation: A blend of TPO-L (low-odor TPO) and Irgacure 819, maximizing curing efficiency while minimizing migration risk.
Q5: UV LED curing is a major trend. Which photoinitiators are best suited for this new light source?
UV LEDs offer advantages like energy efficiency, low heat, and long life, but their narrow-band output (mainly 365nm, 385nm, 395nm) challenges traditional photoinitiators.
Characteristics of LED-Compatible Photoinitiators:
-
Strong Absorption Peak within LED Wavelength Range: e.g., TPO (max absorption ~380nm) is an ideal choice.
-
High Molar Extinction Coefficient: Ensures efficient response to the lower power output of LEDs.
-
Good Photobleaching Effect: Avoids yellowing from residual initiator.
Market Trend: New initiators optimized for 395nm LEDs (e.g., the Genocure series) are rapidly gaining market share.
Q6: What special requirements do 3D printing resins have for photoinitiators? How to balance speed and precision?
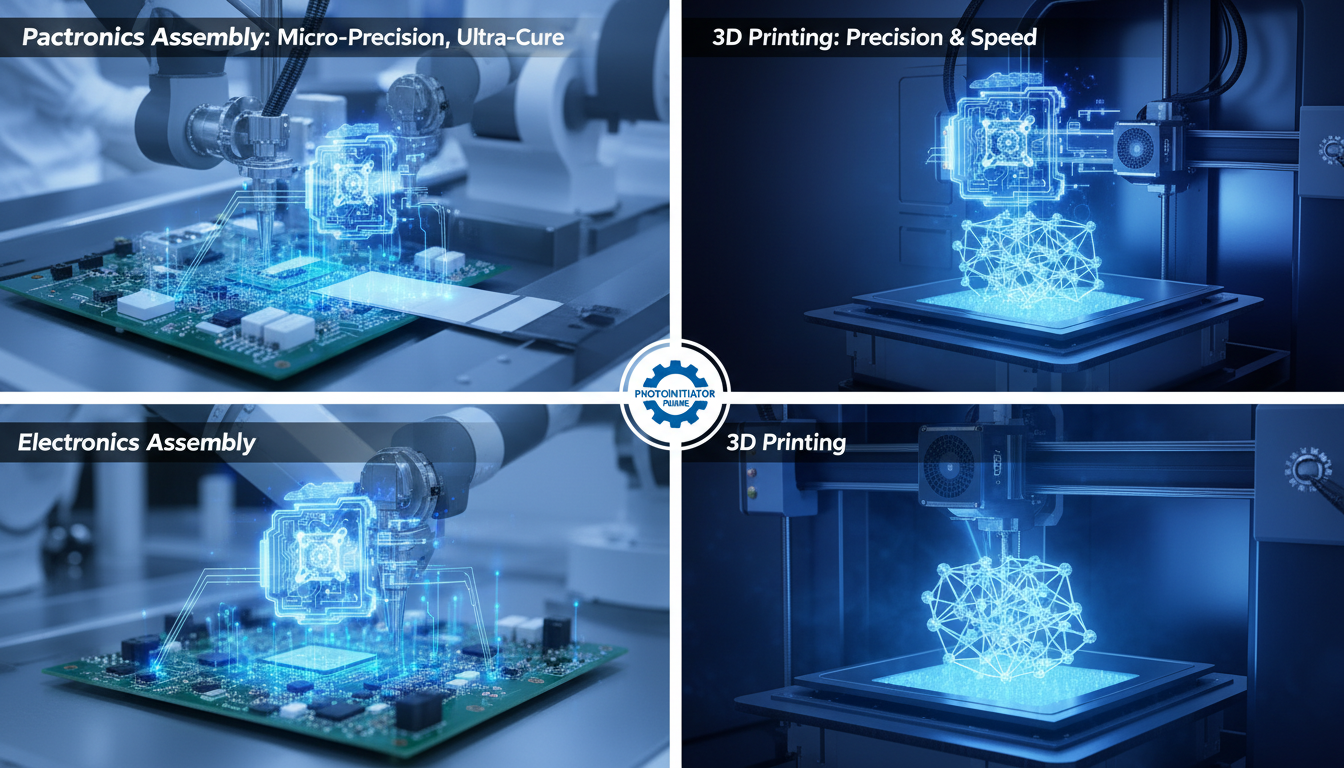
Photopolymerization 3D printing (SLA/DLP) requires initiators that respond rapidly at specific wavelengths while ensuring layer accuracy and final mechanical properties.
Critical Parameters:
-
Cure Depth Control → Requires precise adjustment of PI concentration to control layer thickness.
-
Low Yellowing Requirement → Choose initiators like BAPO types to minimize long-term yellowing.
-
Post-Cure Characteristics → Some cationic systems enable “dark cure,” enhancing final strength.
Professional Advice: For high-precision model printing, a single-component photoinitiator system is recommended to avoid resolution issues caused by differing migration rates in blends.
Q7: What kind of photoinitiator solutions are needed for automotive coatings and industrial finishes?
Automotive and industrial applications demand exceptional weatherability, chemical resistance, and mechanical strength.
Performance Requirements:
-
Excellent Yellowing Resistance: Choose initiators with low yellowing grades like 184 (1-Hydroxycyclohexyl phenyl ketone).
-
High Hardness and Abrasion Resistance: Requires complete initiator conversion to form a dense cross-linked network.
-
Weatherability: Must avoid degradation of initiator residues under UV exposure.
Special Challenge: For pigmented systems, photoinitiators need greater light penetration. This often requires pairing with photosensitizers or using long-wavelength absorbing initiators.
Part 3: Technical Challenges & Solutions
Q8: How to solve yellowing in UV-cured materials? Which photoinitiators contribute the least?
Yellowing is a common defect, primarily caused by:
-
Subsequent reactions of residual photoinitiator groups.
-
Photo-oxidation of amine synergists.
-
Photodegradation of the polymer itself.
Low-Yellowing Photoinitiator Recommendations:
-
184 (HCPK): A classic low-yellowing initiator, suitable for clear coats.
-
1173 (2-Hydroxy-2-methyl-1-phenyl-1-propanone): Cost-effective with slight yellowing.
-
New Macromolecular Initiators: e.g., high-molecular-weight TPO derivatives, offering low migration and minimal yellowing.
Systematic Solution: Beyond selecting the right initiator, adding UV absorbers (e.g., benzotriazole types) and light stabilizers (HALS) can suppress yellowing at the system level.
Q9: What special challenges do water-based UV systems pose for photoinitiators? How to address them?
Water-based systems are gaining popularity due to environmental benefits, but water presents challenges for traditional PIs.
Main Challenges:
-
Solubility & Dispersibility: Traditional oil-soluble initiators disperse poorly in aqueous phases.
-
Hydrolytic Stability: Some initiators easily hydrolyze and become ineffective in water.
-
Curing Efficiency: Water evaporation requires extra energy, potentially slowing cure speed.
Water-Based Specialty Photoinitiators:
-
Water-Dispersible TPO Emulsions: Particle size <200nm, stable suspension.
-
Ionic Photoinitiators: e.g., initiators containing quaternary ammonium groups, offering both water solubility and reactivity.
-
Microencapsulation Technology: Encapsulating oil-soluble initiators in a water-permeable polymer shell.
Q10: How to optimize photoinitiator system performance through blending techniques?
A single initiator rarely meets complex application needs. Scientific blending is essential.
Classic Blending Strategies:
-
Wavelength-Complementary: e.g., TPO (long-wave) blended with 184 (mid-wave) to broaden absorption.
-
Depth-Complementary: Combining surface-cure types (e.g., DMPA) with deep-cure types (e.g., 819).
-
Synergistic: Free-radical initiators paired with amine or thiol synergists to increase conversion rate.
Blending Ratio Reference:
-
General System: TPO:184 = 1:2 (total loading 3-4%).
-
White System: Increase proportion of deep-cure initiator (e.g., 819 up to 2%).
-
Thick Film System: Increase cationic initiator proportion to ensure through-cure.
Part 4: Sourcing, Safety & Regulations
Q11: What key metrics should be evaluated when assessing a photoinitiator supplier?
Choosing a reliable supplier is more critical than simply comparing prices.
Supplier Evaluation Checklist:
-
Completeness of Technical Documentation: Are MSDS/SDS, TDS, COA standardized and complete?
-
Batch Consistency: Request quality consistency data for recent batches (last 6 months).
-
Technical Support Capability: Does the supplier offer value-added services like application testing and formulation advice?
-
Regulatory Compliance: REACH registration status, FDA filings, etc.
-
Logistics & Packaging: Special storage requirements (light-sensitive, cool), minimum order quantities.
Industry Tip: Request test reports relevant to your specific application, not just generic data.
Q12: How to safely store and handle photoinitiators?
Photoinitiators are often light- and heat-sensitive chemicals, posing risks if mishandled.
Safety Guidelines:
-
Light-Protected Storage: Use amber or opaque containers, store in a cool, dark place.
-
Temperature Control: Most initiators should be stored below 25°C, some require refrigeration.
-
Personal Protective Equipment (PPE): Wear chemical-resistant gloves and safety goggles when handling; avoid inhaling dust.
-
Fire Safety: Equip appropriate extinguishers (dry powder, CO₂); avoid using water.
Q13: What international regulations pertain to photoinitiators? How to ensure compliance?
Key Global Regulatory Requirements:
European Union:
-
REACH Regulation: Registration required (>1 ton/year); monitor the SVHC Candidate List.
-
Food Contact Material Regulations: EU 10/2011, etc., specifying specific migration limits.
United States:
-
FDA 21 CFR: Lists substances permitted for food contact applications.
-
TSCA: Management of chemical substance manufacture and import.
Asian Markets:
-
China New Chemical Substance Registration.
-
Japan CSCL (Chemical Substances Control Law).
Compliance Strategy: Prioritize products already registered in your key markets, and request compliance declarations and test reports from suppliers.
Part 5: Future Trends & Innovation Directions
Q14: How will the adoption of UV LED curing technology reshape the photoinitiator market?
The rapid growth of UV LEDs is reshaping PI technology roadmaps.
Technical Impact:
-
Innovation in Molecular Design: Moving towards narrow-band absorption and high molar extinction coefficients.
-
Formulation Simplification Trend: LED’s single-band output reduces the need for broad-spectrum absorption blends.
-
New Application Scenarios: Low-temperature curing enables UV technology for heat-sensitive substrates (e.g., plastic films).
Market Forecast: By 2026, the market share of LED-dedicated photoinitiators is projected to surpass traditional products, with an annual growth rate exceeding 15%.
Q15: How are sustainability and environmental requirements driving photoinitiator innovation?
Amid the green chemistry wave, PIs face a dual challenge: being eco-friendly themselves and enabling sustainable downstream products.
Innovation Directions:
-
Bio-based Raw Materials: Synthesizing initiator monomers from renewable resources.
-
Design for Degradability: Initiator residues that are biodegradable at end-of-life.
-
Non-Migrating Systems: 100% reactive macromolecular initiators, zero migration.
-
Water-based Technologies: Reducing VOC emissions.
Cutting-edge Case: Photoinitiators derived from natural products (e.g., chalcones) are entering pilot-scale production.
Q16: What new demands does digital manufacturing (e.g., 3D printing) place on photoinitiators?
The precision of digital manufacturing requires “smarter” initiator responses.
Technical Demands:
-
Two-Photon Initiators: For micro/nano-scale ultra-high precision printing.
-
Visible Light Initiators: Suitable for sensitive applications like bioprinting.
-
Programmable Response: “Smart” initiators with tunable response thresholds to light intensity/wavelength.
Development Bottleneck & Breakthrough: Currently, no single initiator perfectly meets the demands for high speed, high precision, and low shrinkage simultaneously. Hybrid-mechanism initiators (free-radical-cationic hybrid) are currently the most promising direction.
Part 6: Cost Optimization & Procurement Strategy
Q17: How to reduce photoinitiator costs without compromising performance?
Cost control isn’t about buying the cheapest option, but optimizing value for money.
Systematic Optimization Strategies:
-
Precise Dosing: Determine the minimum effective loading via DOE experiments to avoid overuse.
-
Localized Sourcing: Consider domestic quality suppliers (e.g., Jiuri New Materials, Yangfan New Materials) to reduce logistics and tariff costs.
-
Bulk Purchase Agreements: Sign annual framework agreements with suppliers to lock in prices.
-
Formulation Consolidation: Reduce the variety of initiators used to lower management and testing costs.
Cost Pitfall Warning: Avoid pursuing low unit price alone while neglecting total cost of use (e.g., loading level, curing energy consumption, defect rate).
Q18: What key evaluations should be conducted during the sample testing phase?
Sample testing is a critical step to avoid batch failure risks.
Standardized Testing Protocol:
-
Basic Performance Tests: Curing speed (tack-free time), hardness development curve.
-
Aging Performance: QUV accelerated aging (assessing yellowing, gloss loss).
-
Migration Testing: If for food packaging, conduct specific migration testing.
-
Application Simulation: Small-batch trial runs on actual production lines.
Testing Record Advice: Establish a Photoinitiator Evaluation Matrix to quantitatively record all performance metrics for easy comparison between batches.
Conclusion: A Systems Thinking Approach to Photoinitiator Selection
Selecting a photoinitiator is not an isolated procurement decision. It’s a systems engineering project involving light source matching, formulation synergy, process adaptation, and regulatory compliance. In this era of rapid technological iteration, designers of curing systems need to:
-
Adopt a Full Lifecycle Perspective: From storage stability and handling safety to final product durability.
-
Maintain Technological Openness: Stay informed about new initiators and blending technologies.
-
Strengthen Supplier Partnerships: Establish technology-sharing mechanisms with key suppliers.
-
Balance Performance and Cost: Precisely define requirements based on the application scenario to avoid over-engineering.
As UV curing technology evolves towards greater environmental friendliness, efficiency, and intelligence, photoinitiators—as core materials in this field—will inevitably accelerate their pace of innovation. Only by deeply understanding their principles, mastering selection methods, and staying abreast of regulatory dynamics can you make optimal decisions in this fast-changing market, creating a true competitive edge for your products.
The post What is the core role of photoinitiators in modern industry? appeared first on Changhong Chemical.
]]>The post Why Do the Leveling Agents You Choose Always Cause Problems? appeared first on Changhong Chemical.
]]>I. Three Mainstream Leveling Agents: Characteristics, Application Scenarios & Pitfalls
1.1 Mixed Solvent-Based Leveling Agents: Cost-Effective Emergency Fixes—Avoid Overdosing
These were my go-to “emergency solutions” when I first entered the industry. Essentially a blend of high-boiling-point solvents—formulated with aromatic hydrocarbons, ketones, and esters—their core function is to adjust solvent evaporation rates. I recall a client complaining that nitrocellulose lacquers developed whitening and failed to achieve adequate gloss during construction in southern China’s rainy season. On-site testing revealed the surface skin formed too quickly due to rapid solvent evaporation, trapping internal solvent. We added 5% of a mixed solvent-based flow agent (aromatic hydrocarbons + esters compounded) to the formulation, and the issue was resolved instantly. Core Characteristics & Usage Guidelines- Application Scenarios: Only addresses cratering, whitening, and insufficient gloss caused by excessively fast solvent dryingor poor binder solubility.
- Key Controls:
- Evaporation Rate: Too low leads to reduced film hardness (I once saw a 7% addition result in a soft film after 3 days).
- Dosage Range: 2%–7% (based on total paint volume); exceeding 7% severely prolongs drying time.
- Unique Advantages: For vertical coating (e.g., nitrocellulose lacquer), it improves flow, boosts gloss, and prevents fogging under high temperature and humidity.
- Pitfall Warnings: Must be used synergistically with other Leveling Agents; standalone use yields limited results and increases sagging risk.
1.2 Acrylic Leveling Agents: High Versatility & Excellent Recoatability
These are the current “workhorses” in the market, and their acrylic copolymer structure grants superior compatibility. In the industrial coating projects I oversee today, 80% use acrylic Leveling Agents. Their core mechanism lies in functional groups in the molecular structure: −COOH and −OH adjust compatibility, alkyl esters provide surface activity, and molecular weight directly impacts spreading performance—this explains why acrylic Leveling Agents of different models exhibit vastly different flow speeds. Core Characteristics & Usage GuidelinesStandout Advantages:- Excellent critical compatibility, suitable for the vast majority of coating systems.
- Built-in foam inhibition and defoaming capabilities, reducing the cost of additional defoamers.
- Superior recoatability: Models with minor −OH/−COOH groups enable recoating up to 5 times without wrinkling (lab-tested).
- Must match polarity via testing (I once caused edge craters in polyurethane coatings by skipping compatibility checks).
- Molecular weight selection aligns with coating viscosity: high-molecular-weight models for high-viscosity coatings, low-molecular-weight models for low-viscosity systems.
1.3 Silicone-Based Leveling Agents: Dual Flow & Defoaming Effects—Modification Is Critical
Silicone-based Leveling Agents boast a core advantage of low surface tension (polydimethylsiloxane has a surface tension of ~20 mN/m), delivering far stronger flow and defoaming performance than other types. However, compatibility is their Achilles’ heel. Early in my career, I used unmodified polydimethylsiloxane directly, resulting in severe cratering in an entire batch of coatings and a loss of nearly 100,000 RMB. I later learned that unmodified siloxanes are incompatible with most coating systems and must undergo modification. Modified Types & Application Scenarios| Modification Method | Core Advantages | Coating Systems |
| Polyether Modification | Best compatibility, strong defoaming power | Water-based coatings, polyurethane coatings |
| Alkyl Modification | Enhanced scratch resistance | Solvent-based industrial coatings |
| Fluorine Modification | Superhydrophobic effect | Special protective coatings |
II. 4 Critical Points for Flow Agent Use: From Lab to Mass Production
2.1 Selection Logic: Prioritize Coating Type First, Then Functional Needs
Many users only focus on “flow performance” when selecting Leveling Agents, ignoring the coating’s inherent properties. My 经验 (experience) is:- Solvent-based coatings: Prioritize acrylic (high versatility) or modified silicone (for high flow demands).
- Water-based coatings: Polyether-modified silicones are the first choice (excellent compatibility, low defoaming risk).
- Room-temperature curing coatings (e.g., nitrocellulose lacquer): Synergistic use of mixed solvent-based + acrylic Leveling Agents.
- High-temperature curing coatings: Prioritize acrylic (good heat resistance, no interference with curing reactions).
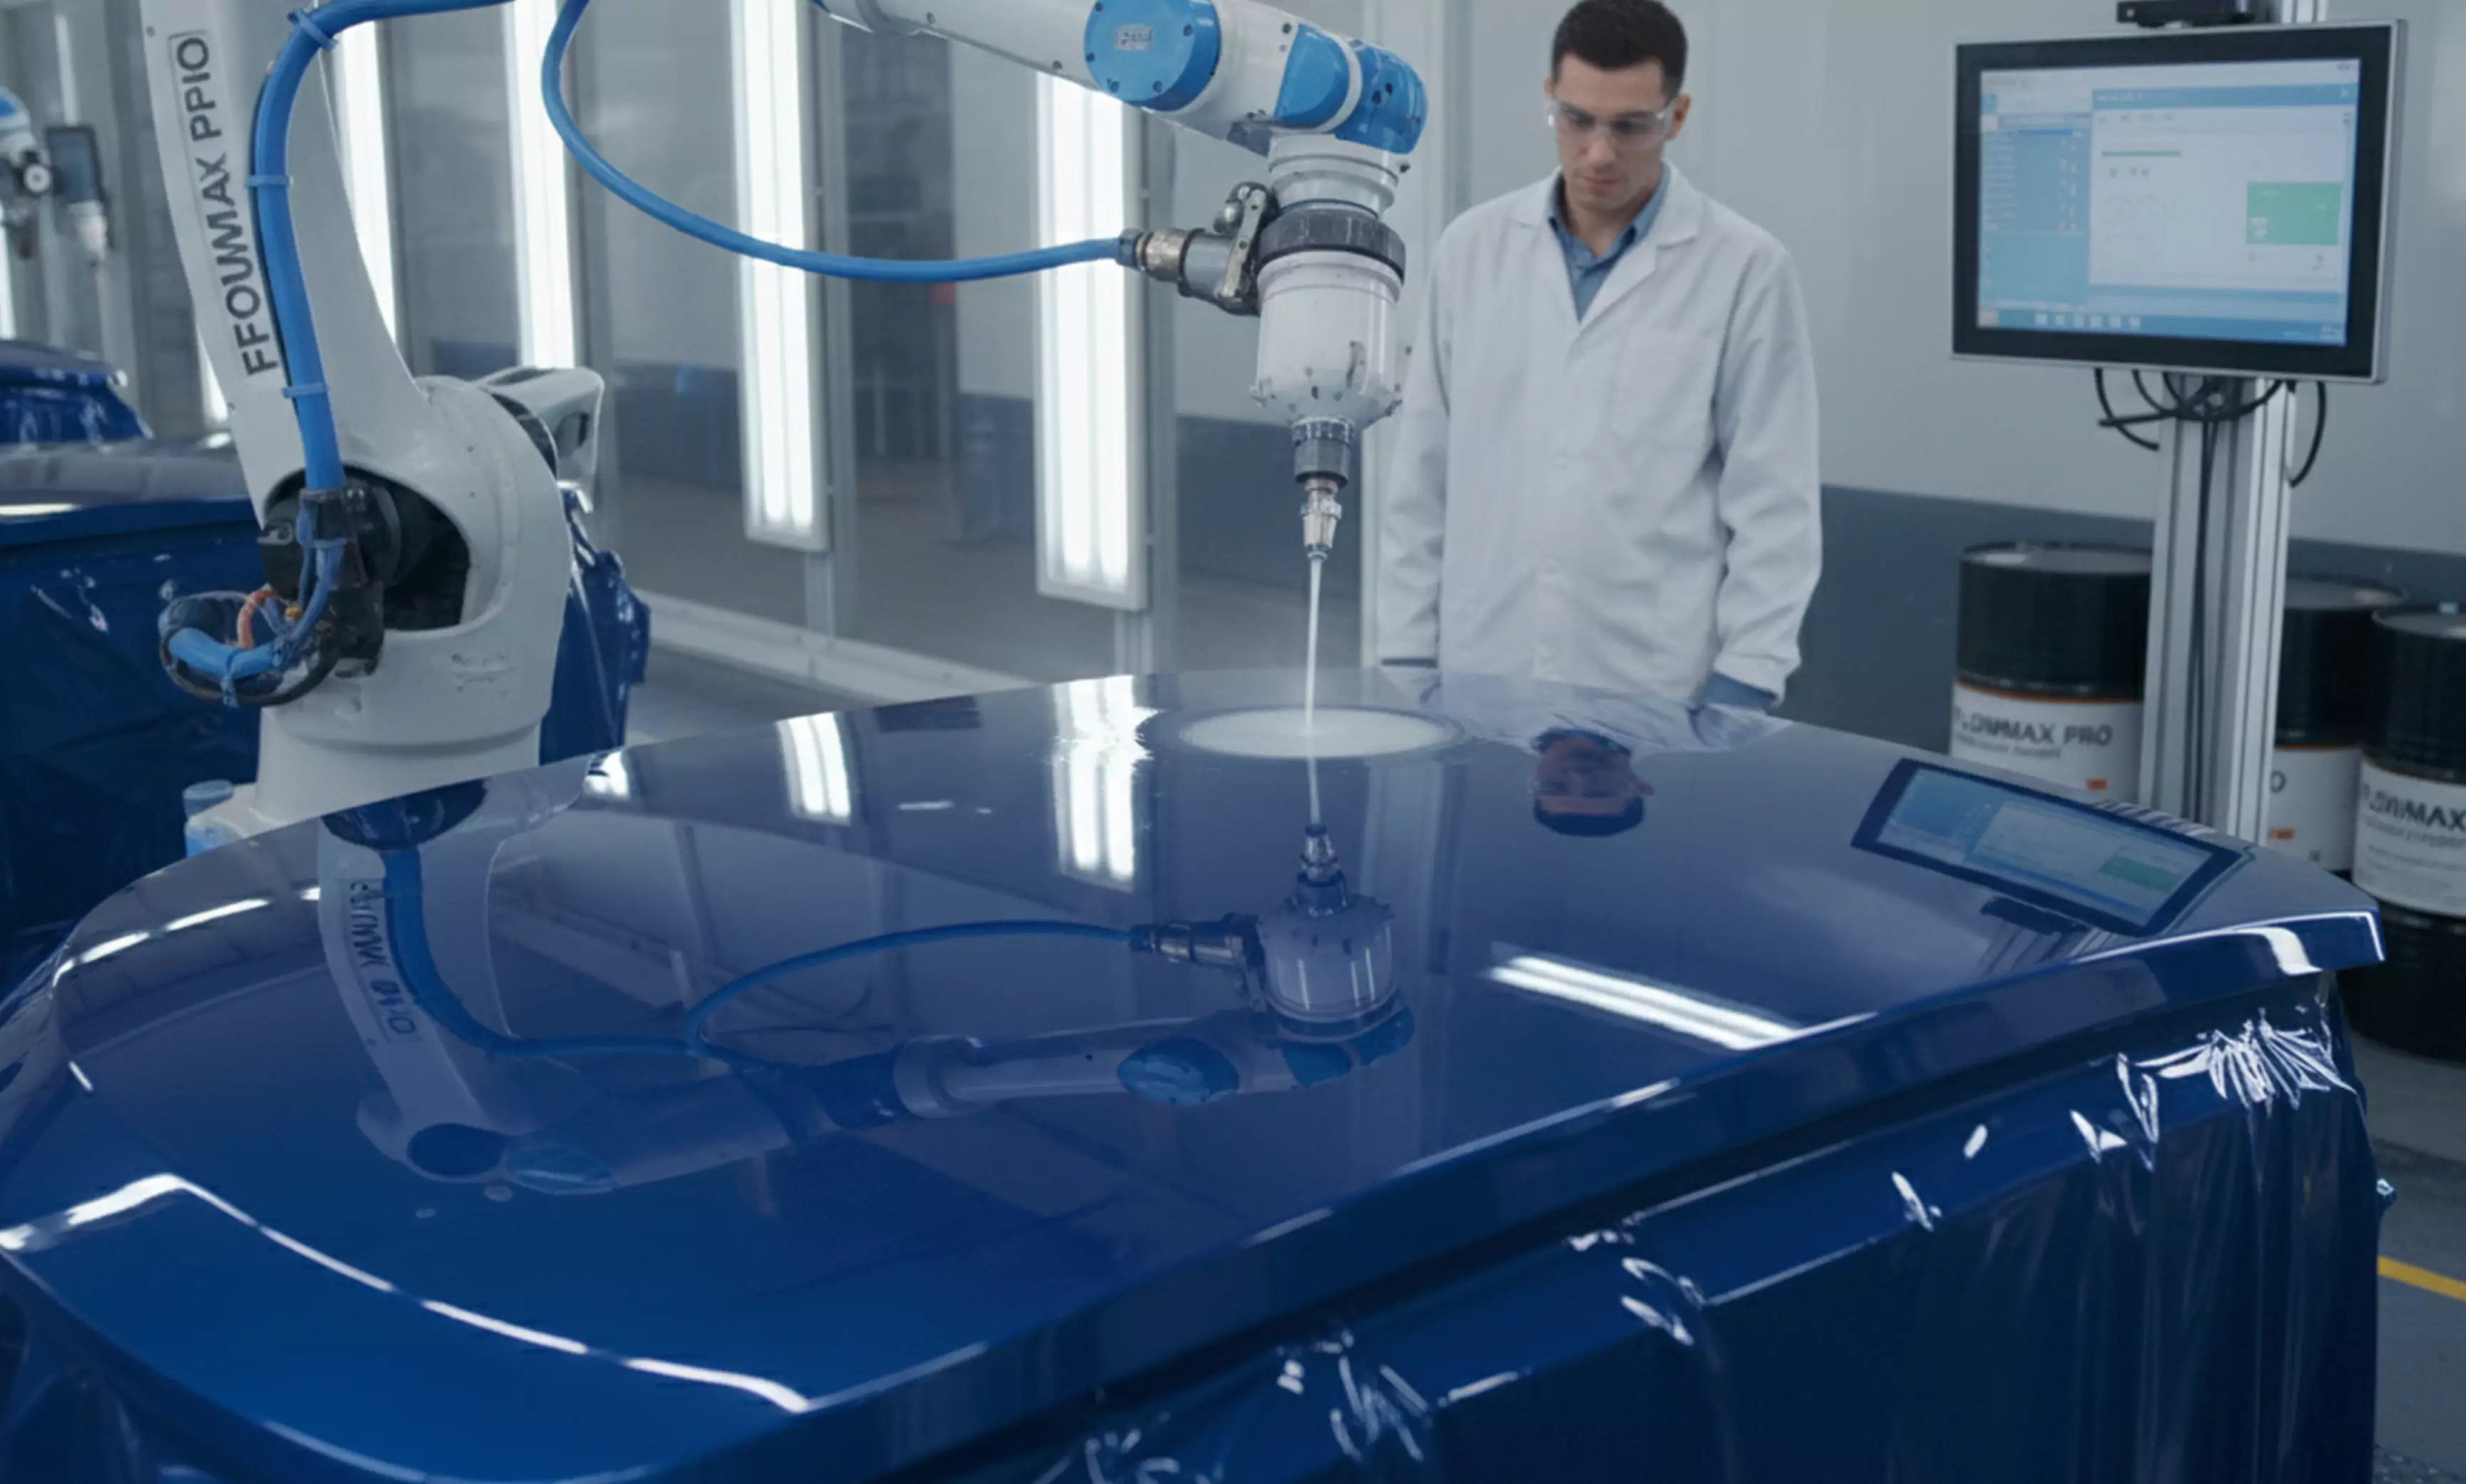
2.2 Dosage Control: Less Is More—Gradient Testing
Dosage is the most error-prone step: too little yields no effect; too much triggers cratering, sagging, poor recoatability, and a host of other issues. Standard Lab Workflow:- Conduct small-sample tests at gradients of 0.1%, 0.3%, 0.5%, and 1.0% (based on total paint volume).
- Inspect the film layer after 48 hours: check flowability, gloss, and presence of cratering.
- Confirm the optimal dosage, then run a 10x scale-up pilot test to avoid mass production risks.
2.3 Coating Application Methods: Adaptation Tips for Different Scenarios
Flow agent performance is directly impacted by application methods—a detail often overlooked:- Brushing/Rolling: Choose low-molecular-weight acrylic Leveling Agents(fast spreading, reduces brush marks).
- Spraying: Prioritize modified silicone-based Leveling Agents(low surface tension, rapid spreading, minimizes orange peel).
- Vertical Coating: Compound mixed solvent-based + acrylic Leveling Agents(prevents sagging and maintains gloss).
2.4 Mixing Techniques: Uniform Dispersion Is Key
In many cases, Leveling Agents fail not because of poor product quality, but improper mixing. My on-site operational standards:- Mixing Speed: 300–500 r/min (too fast introduces air bubbles; too slow causes uneven dispersion).
- Mixing Time: Adjust based on flow agent type:
- Mixed solvent-based: 3–5 minutes (easy to disperse).
- Acrylic/silicone-based: 5–8 minutes (full dispersion required for high-molecular-weight products).
- Note: Let the mixture stand for 10 minutes before construction to release air bubbles generated during mixing.
III. 3 High-Frequency Pain Points & Solutions for Flow Agent Use
3.1 Poor Recoatability: Balancing Flow and Recoatability
This is the most common issue, especially with silicone-based Leveling Agents. My solutions:- Prioritize acrylic Leveling Agentswith −OH/−COOH groups (optimal recoatability).
- If silicone-based agents are mandatory, choose polyether- or acrylic-modified models and limit dosage to ≤0.5%.
- Validation: Conduct a “coat-dry-recoat” cycle test to check for wrinkling/edge craters in the second coat.
3.2 Cratering: Is the Flow Agent Misselected?
Cratering stems from two core causes: incompatibility between the flow agent and coating or excessive dosage. Follow these steps to resolve:- Elimination Method: Apply a small mixture of paint and flow agent to a glass slide; edge craters indicate incompatibility.
- Adjustment Plan: Switch modified types (e.g., replace silicone with polyether-modified) or reduce dosage (cut by 0.2% each time).
- Case Study: We solved cratering in polyurethane coatings by replacing silicone-based Leveling Agentswith acrylic ones and reducing dosage from 0.8% to 0.4%.
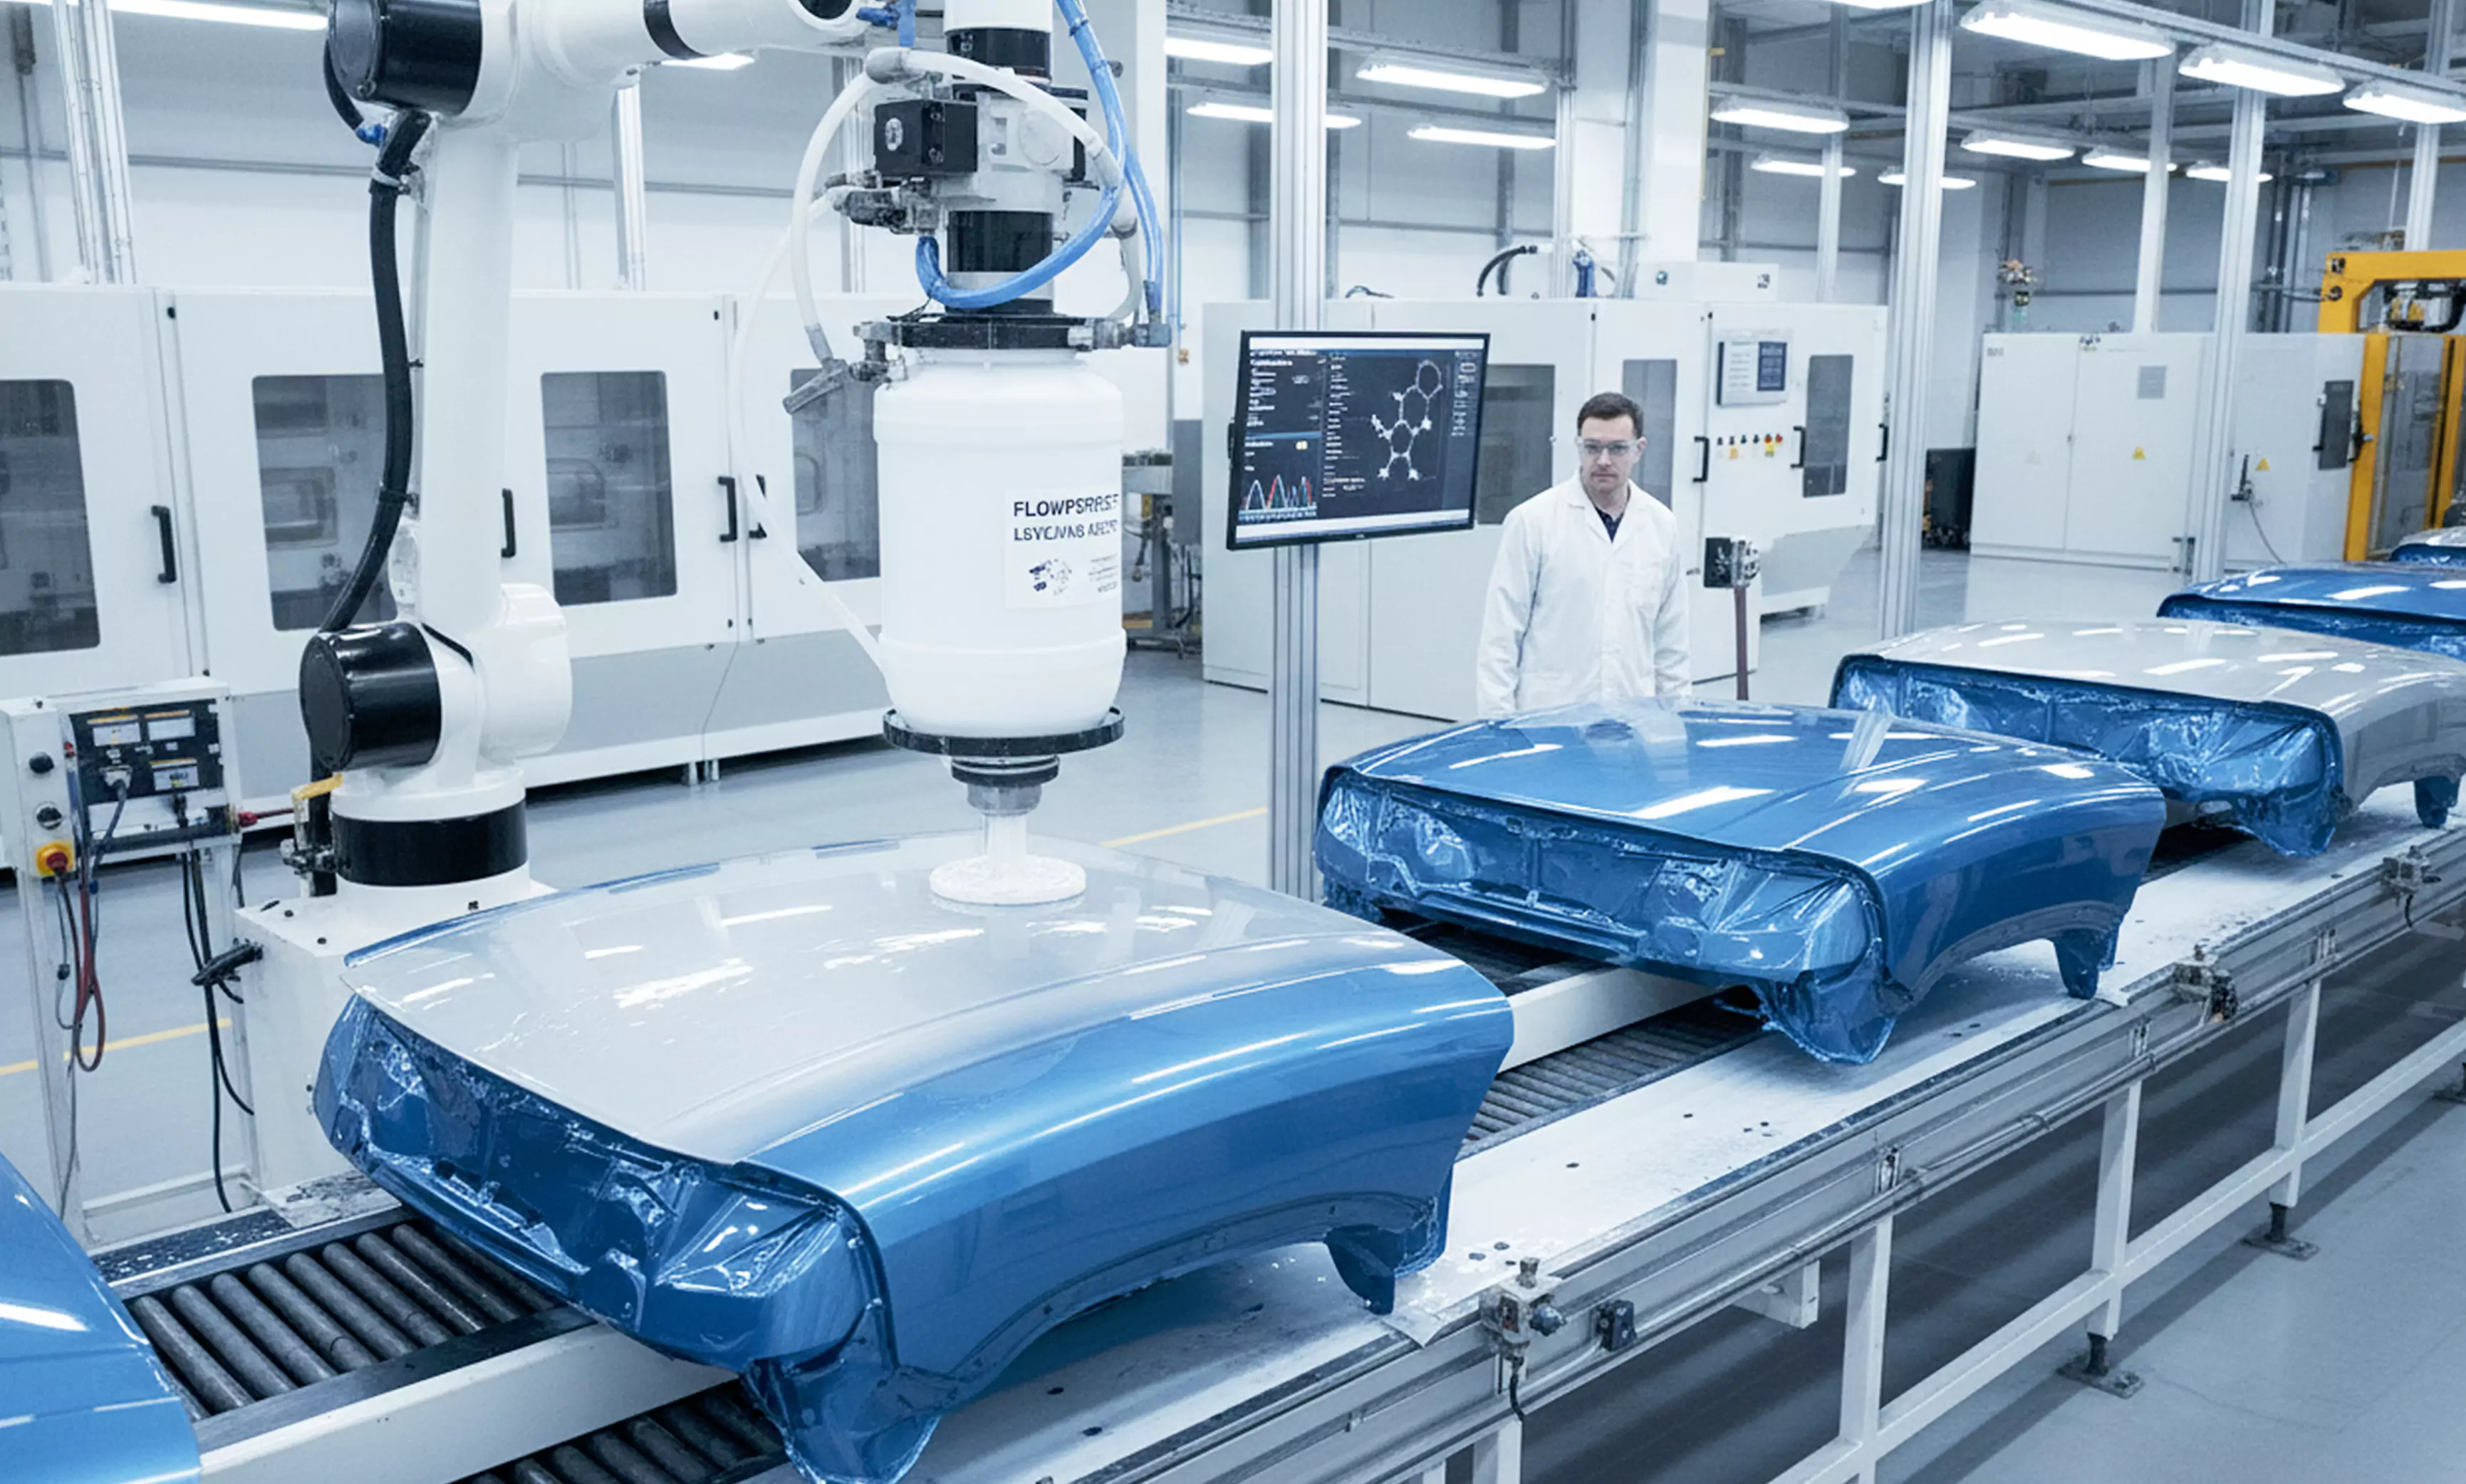
Leveling agent
3.3 Compatibility Testing: 3 Rapid Validation Methods
Many users find compatibility testing cumbersome—3 simple methods suffice:- Glass Slide Coating Method: Apply the mixture to a glass slide; no edge craters/delamination after 24 hours = qualified.
- Storage Stability Test: Place in a 50℃ oven for 7 days; no precipitation/floating layer = qualified.
- Gloss Change Test: Gloss variation before/after addition ≤5% (avoids gloss loss from poor compatibility).
IV. Future Trends: Multifunctional Flow Agent Development
With stricter environmental regulations, single-functional Leveling Agents can no longer meet market demands. I’m currently developing multifunctional Leveling Agents (flow + scratch resistance + stain resistance) via graft copolymerization of acrylates and fluorine-modified silicones. These agents maintain flow performance while boosting film scratch resistance and stain resistance. Such multifunctional Leveling Agents will become the mainstream, especially for high-end furniture coatings, automotive refinish coatings, and other sectors. If you have relevant needs, feel free to connect with me—we can explore customized solutions together.Closing: What Flow Agent Issues Have You Encountered?
There are no absolute standards for flow agent selection and use—only the most suitable solutions for your system. All the insights shared here are distilled from years of lab experiments and project practice. Have you faced unsolvable flow issues in your work? For example, selection for special coating systems, construction challenges in extreme environments, or balancing recoatability with flow performance? Leave a comment below, and let’s discuss solutions together!Related product references: For formulation review or sourcing comparison, see CHLUMIAO HO-17/17EH and CHLUMIAO HS-502/503/504/603/605/608/101.
The post Why Do the Leveling Agents You Choose Always Cause Problems? appeared first on Changhong Chemical.
]]>The post From I2959 to LAP: My journey of upgrading hydrogel photocuring technology appeared first on Changhong Chemical.
]]>LAP’s core advantages go far beyond simply “good water solubility.”
Its greatest innovation lies in perfectly combining efficient photoinitiation with excellent biocompatibility within the cell-friendly blue light window of 405 nm. This is like equipping delicate surgical procedures with a sharper, safer scalpel. I conducted comparative experiments: in the same GelMA prepolymer solution, 0.1% (w/v) LAP cured nearly twice as fast under a 405 nm light source compared to the same concentration of I2959 under 365 nm, and the curing depth and uniformity were visibly improved. This directly means that we can better maintain structural fidelity when constructing tissue engineering scaffolds.II. Delving into the Molecular Level: Deconstructing the “Efficiency” and “Safety” of LAP
Many product manuals only tell you the results, but as frontline researchers, we must understand the “why” behind them. This can help you avoid many application pitfalls.1. Lithium Phosphate Salt Structure: The Dual Code of Water Solubility and Cell Compatibility
The full chemical name of LAP is “phenyl(2,4,6-trimethylbenzoyl)lithium phosphate.” This “lithium salt” structure is key. It gives LAP astonishing water solubility—reaching approximately 47 mg/mL in pure water, which is nearly dozens of times higher than I2959. High solubility leads to a homogeneous solution state, which is the physical basis for uniform crosslinking.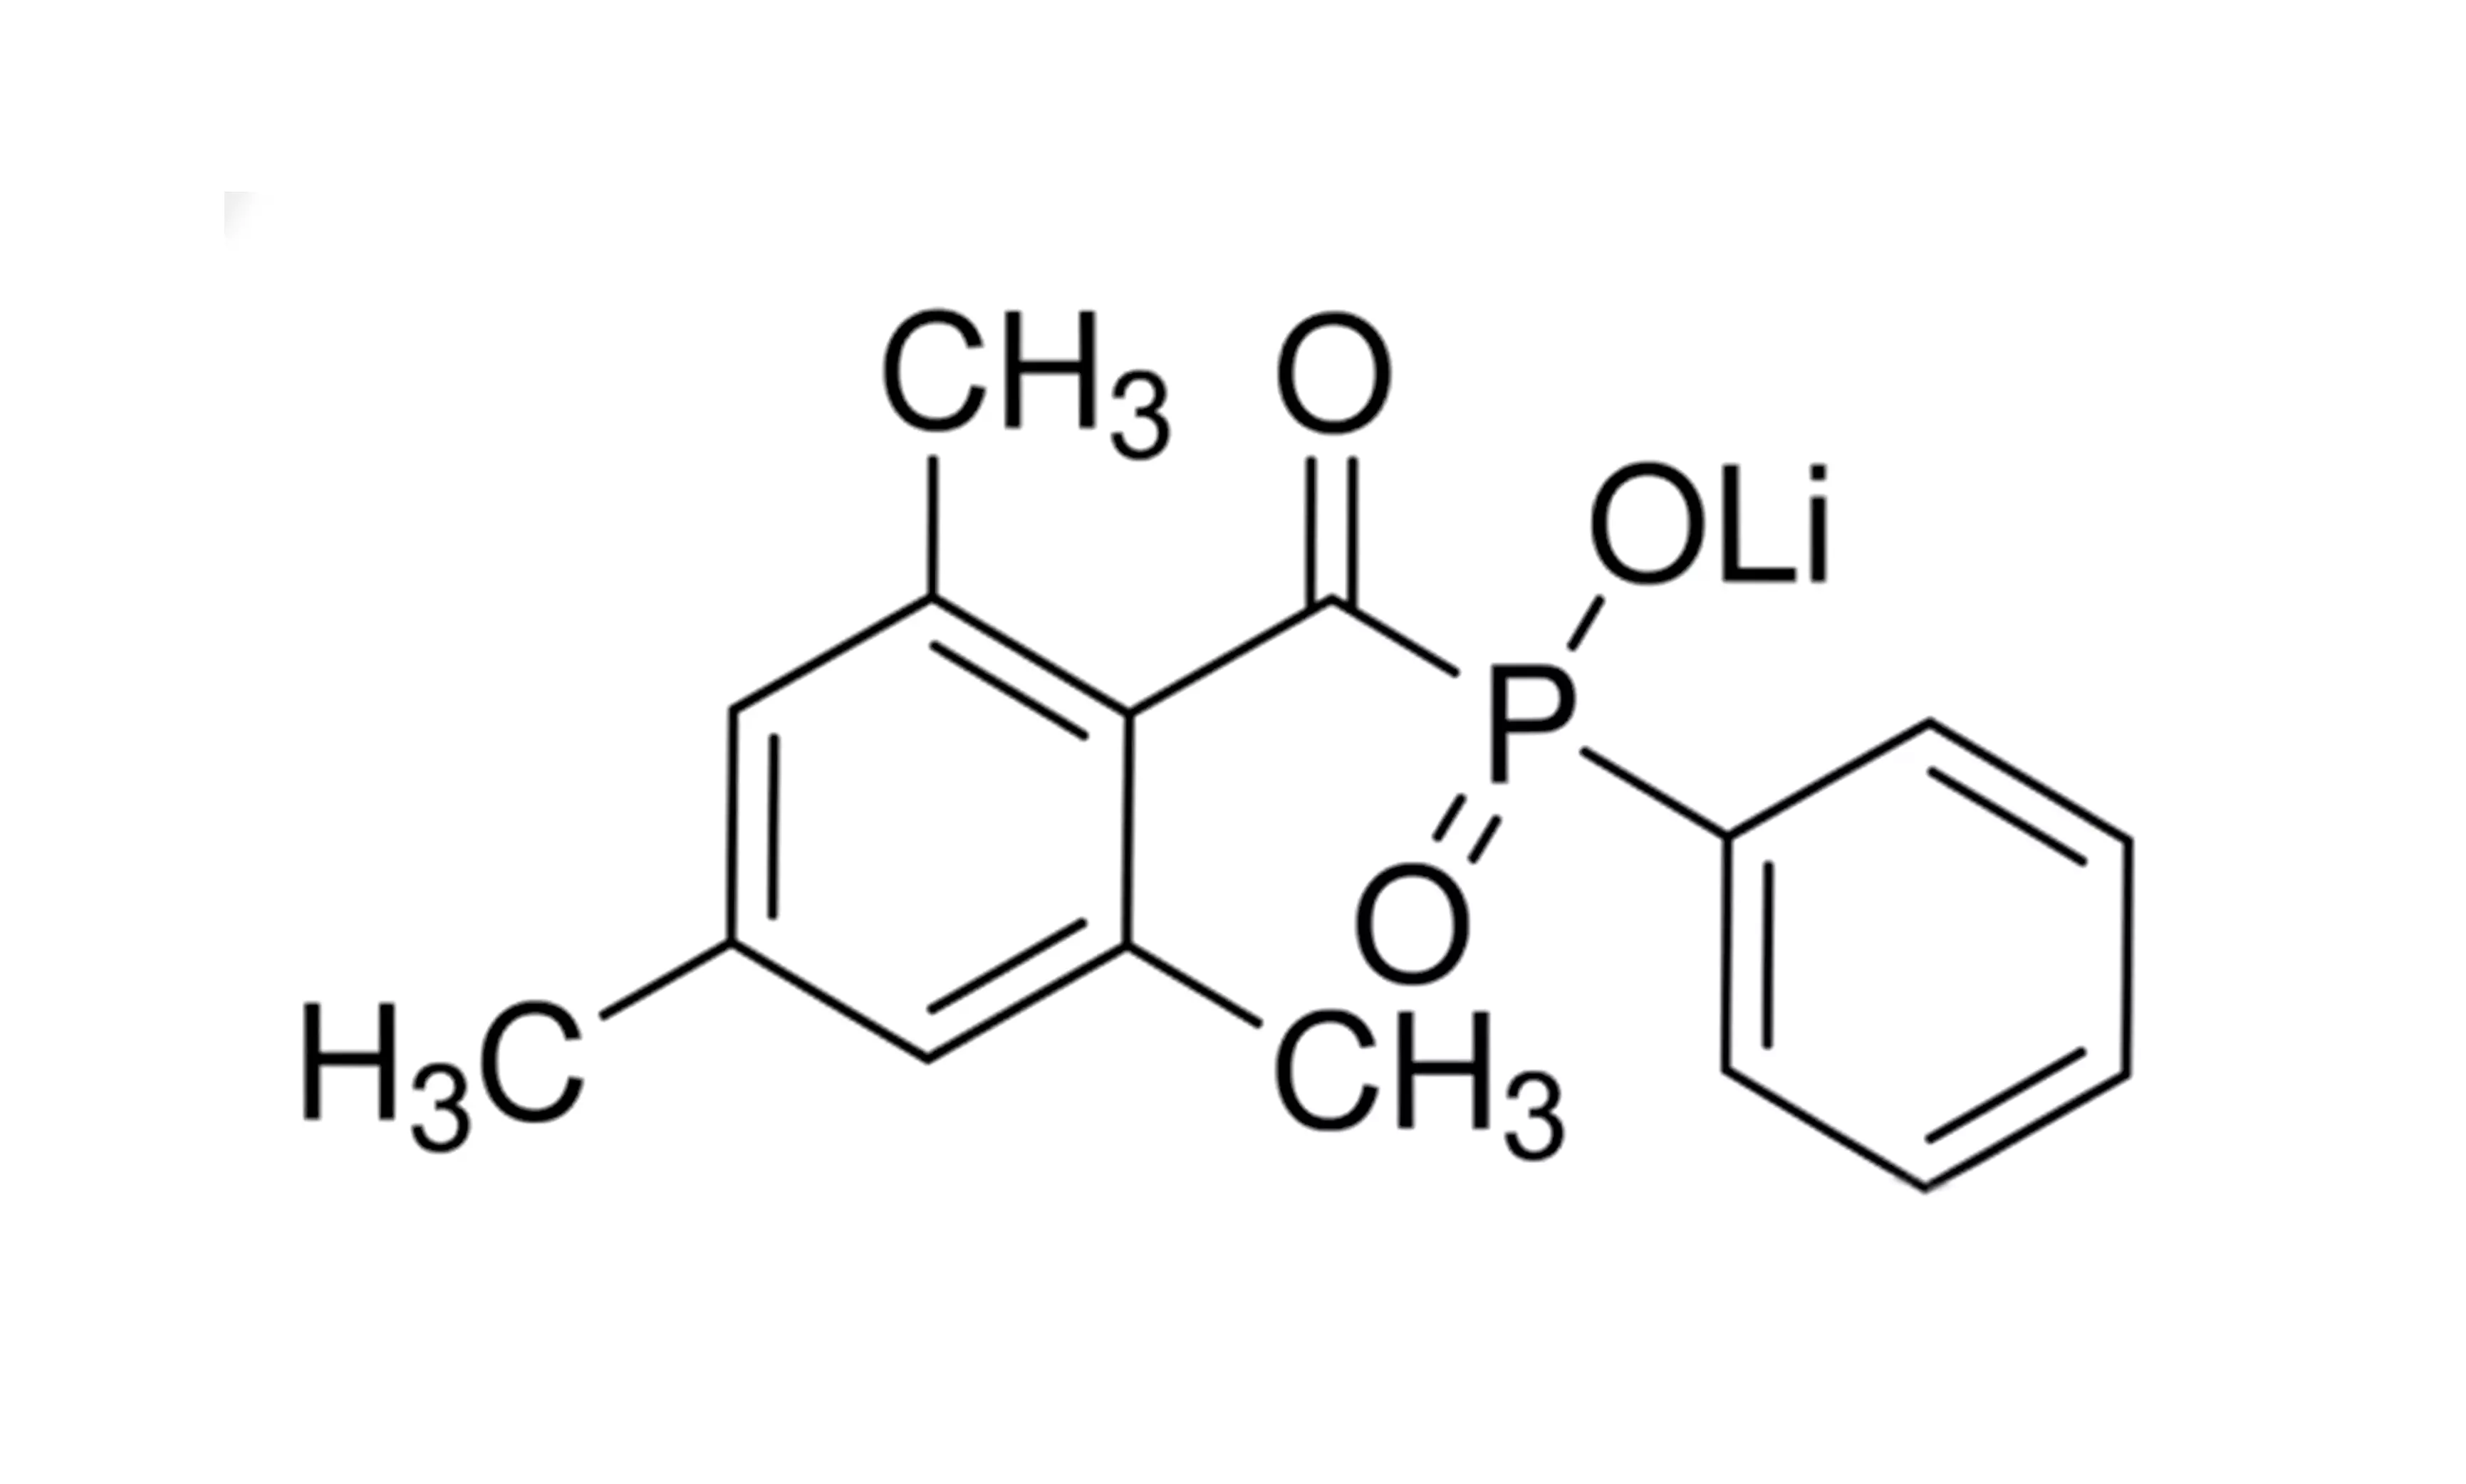
LAP photoinitiator
2. 405 nm Blue Light Excitation: A Leap from “Tolerable” to “Friendly”
The maximum absorption wavelength of LAP is around 384 nm, perfectly matching the 405 nm blue light LED. This is a strategic advantage. It is a consensus that ultraviolet light (especially below 365 nm) poses a risk of DNA damage. 405 nm blue light, however, is significantly safer. In our team’s experiments encapsulating mesenchymal stem cells, we found that the 24-hour cell survival rate in the group using 405 nm curing was 15%-20% higher on average than the group using 365 nm UV curing.My Practical Checklist: Light Source Selection and Parameter Optimization
- Preferred light source:
- Light intensity is key:
- Exposure time:
III. Laboratory Practical Guide: How to Effectively Use LAP?
Even the best theory needs practical application. Below are the steps and suggestions I’ve summarized to help you avoid common pitfalls.1. Preparation and Storage: Details Determine Success
LAP is a powder, and while stable, it is sensitive to moisture and light. My practice is as follows:- Stock Solution Preparation:
- Working Concentration:
2. Fine-Tuning for Specific Applications
- High-Precision Biological 3D Printing:
- Direct Cell Encapsulation:
- A question I am often asked:
III. Laboratory Practical Guide: How to Effectively Use LAP?
Even the best theory needs practical application. Below are the steps and suggestions I’ve summarized to help you avoid common pitfalls.1. Preparation and Storage: Details Determine Success
LAP is a powder, and while stable, it is sensitive to moisture and light. My practice is as follows:- Stock Solution Preparation:
- Working Concentration:
2. Fine-Tuning for Specific Applications
- High-Precision Biological 3D Printing:
- Direct Cell Encapsulation:
- A question I am often asked:
IV. Looking Ahead: After LAP, where is the next breakthrough point?
LAP has significantly advanced the field of biomanufacturing. However, based on discussions with my colleagues, the next frontier may be “dynamic photocuring.” Currently, we use one-time, irreversible curing. But in the future, will it be possible to develop photoinitiator systems that respond to specific wavelengths (such as far-red light or two-photon excitation), and whose curing degree or mechanical properties can be “adjusted on demand” or “locally erased”? Imagine printing a cardiac patch and then being able to remotely and gradually adjust its hardening process using non-invasive deep-tissue light to better match the growth rhythm of the native tissue. This might require entirely new molecular designs, such as coupling LAP’s photosensitive groups with reversible reaction Finally, I’d like to pose this question to you: What are the biggest challenges you’ve encountered when using LAP in your specific research or application? Is it controlling the mechanical properties of the solidified gel, or achieving long-term stability in co-culture with specific cell types? Please share your experiences; let’s discuss this together.Related product references: For formulation review or sourcing comparison, see CHLUMINIT TMO and CHLUMINIT 819.
The post From I2959 to LAP: My journey of upgrading hydrogel photocuring technology appeared first on Changhong Chemical.
]]>The post Benzophenone: More Than Just “Polarity” appeared first on Changhong Chemical.
]]>Hi, I’m Starry, and I’ve been working in the chemical industry for almost fifteen years, dealing with various solvents, monomers, and additives every day. If you’re a newly-minted cosmetics formulator, a UV curing engineer, or simply curious about the chemical secrets behind sunscreen, you might be confused by the textbook concept of “molecular polarity.” Don’t worry, this article is here to help. I’ll not only explain why benzophenone is polar, but also share how this seemingly dry concept of polarity can be both a blessing and a curse in actual production and application, and how we can utilize it to solve practical problems.
I. Where Does Polarity Come From? An Intramolecular “Power Play”
Textbooks state that the polarity of benzophenone originates from the carbonyl group (C=O), which is correct. However, in my view, it’s more like a “mixed family”: two “laid-back” nonpolar benzene rings flanking a “dominant” polar carbonyl group.
The Carbonyl Group: An Unignorable “Center of Power”
- Electronegativity difference is the essence:
The electronegativity difference between oxygen (3.44) and carbon (2.55) is as high as 0.89, meaning that the shared electron pair is strongly biased towards the oxygen atom.
The result is that the carbonyl carbon end carries a partial positive charge (δ+), and the oxygen end carries a partial negative charge (δ-), like a tiny magnet.
- My personal observation:
I remember once in a client’s laboratory, they were measuring benzophenone using Fourier transform infrared spectroscopy (FTIR). The C=O stretching vibration peak was strong and sharp, around 1680 cm⁻¹. The engineer pointed to the screen and said, “Look, this is its ‘identity card’ of polarity. The stronger the polarity of the environment, the more this peak position might shift.” At that moment, the abstract concept became a tangible peak on the screen.
Overall Polarity: The Carbonyl Group Calls the Shots
Although the two benzene rings try to “neutralize” this polarity, the carbonyl group’s polarity is too strong, and ultimately the overall charge distribution of the molecule remains uneven. Simply put, one end of the molecule is slightly positive, and the other end is slightly negative, with a dipole moment greater than zero. This determines its fundamental character in the world (solvents) – a “two-faced” molecule with both hydrophilic (carbonyl) and lipophilic (benzene rings) tendencies. This characteristic is the cornerstone of all its applications.
II. How Does Polarity Influence Its Fate? A Practical Interpretation of Solubility and Reactivity
Knowing that it has polarity is only the first step; the key is to understand how polarity affects its behavior. This directly relates to how we choose solvents and design processes when using it.
Solubility: The Golden Rule for Predicting Miscibility
One of the most frequent questions my clients ask me is, “Starry, will this benzophenone dissolve in my system?” My answer is always based on an empirical rule: like dissolves like.
Its preferred friends (solvents):
- Polar solvents:
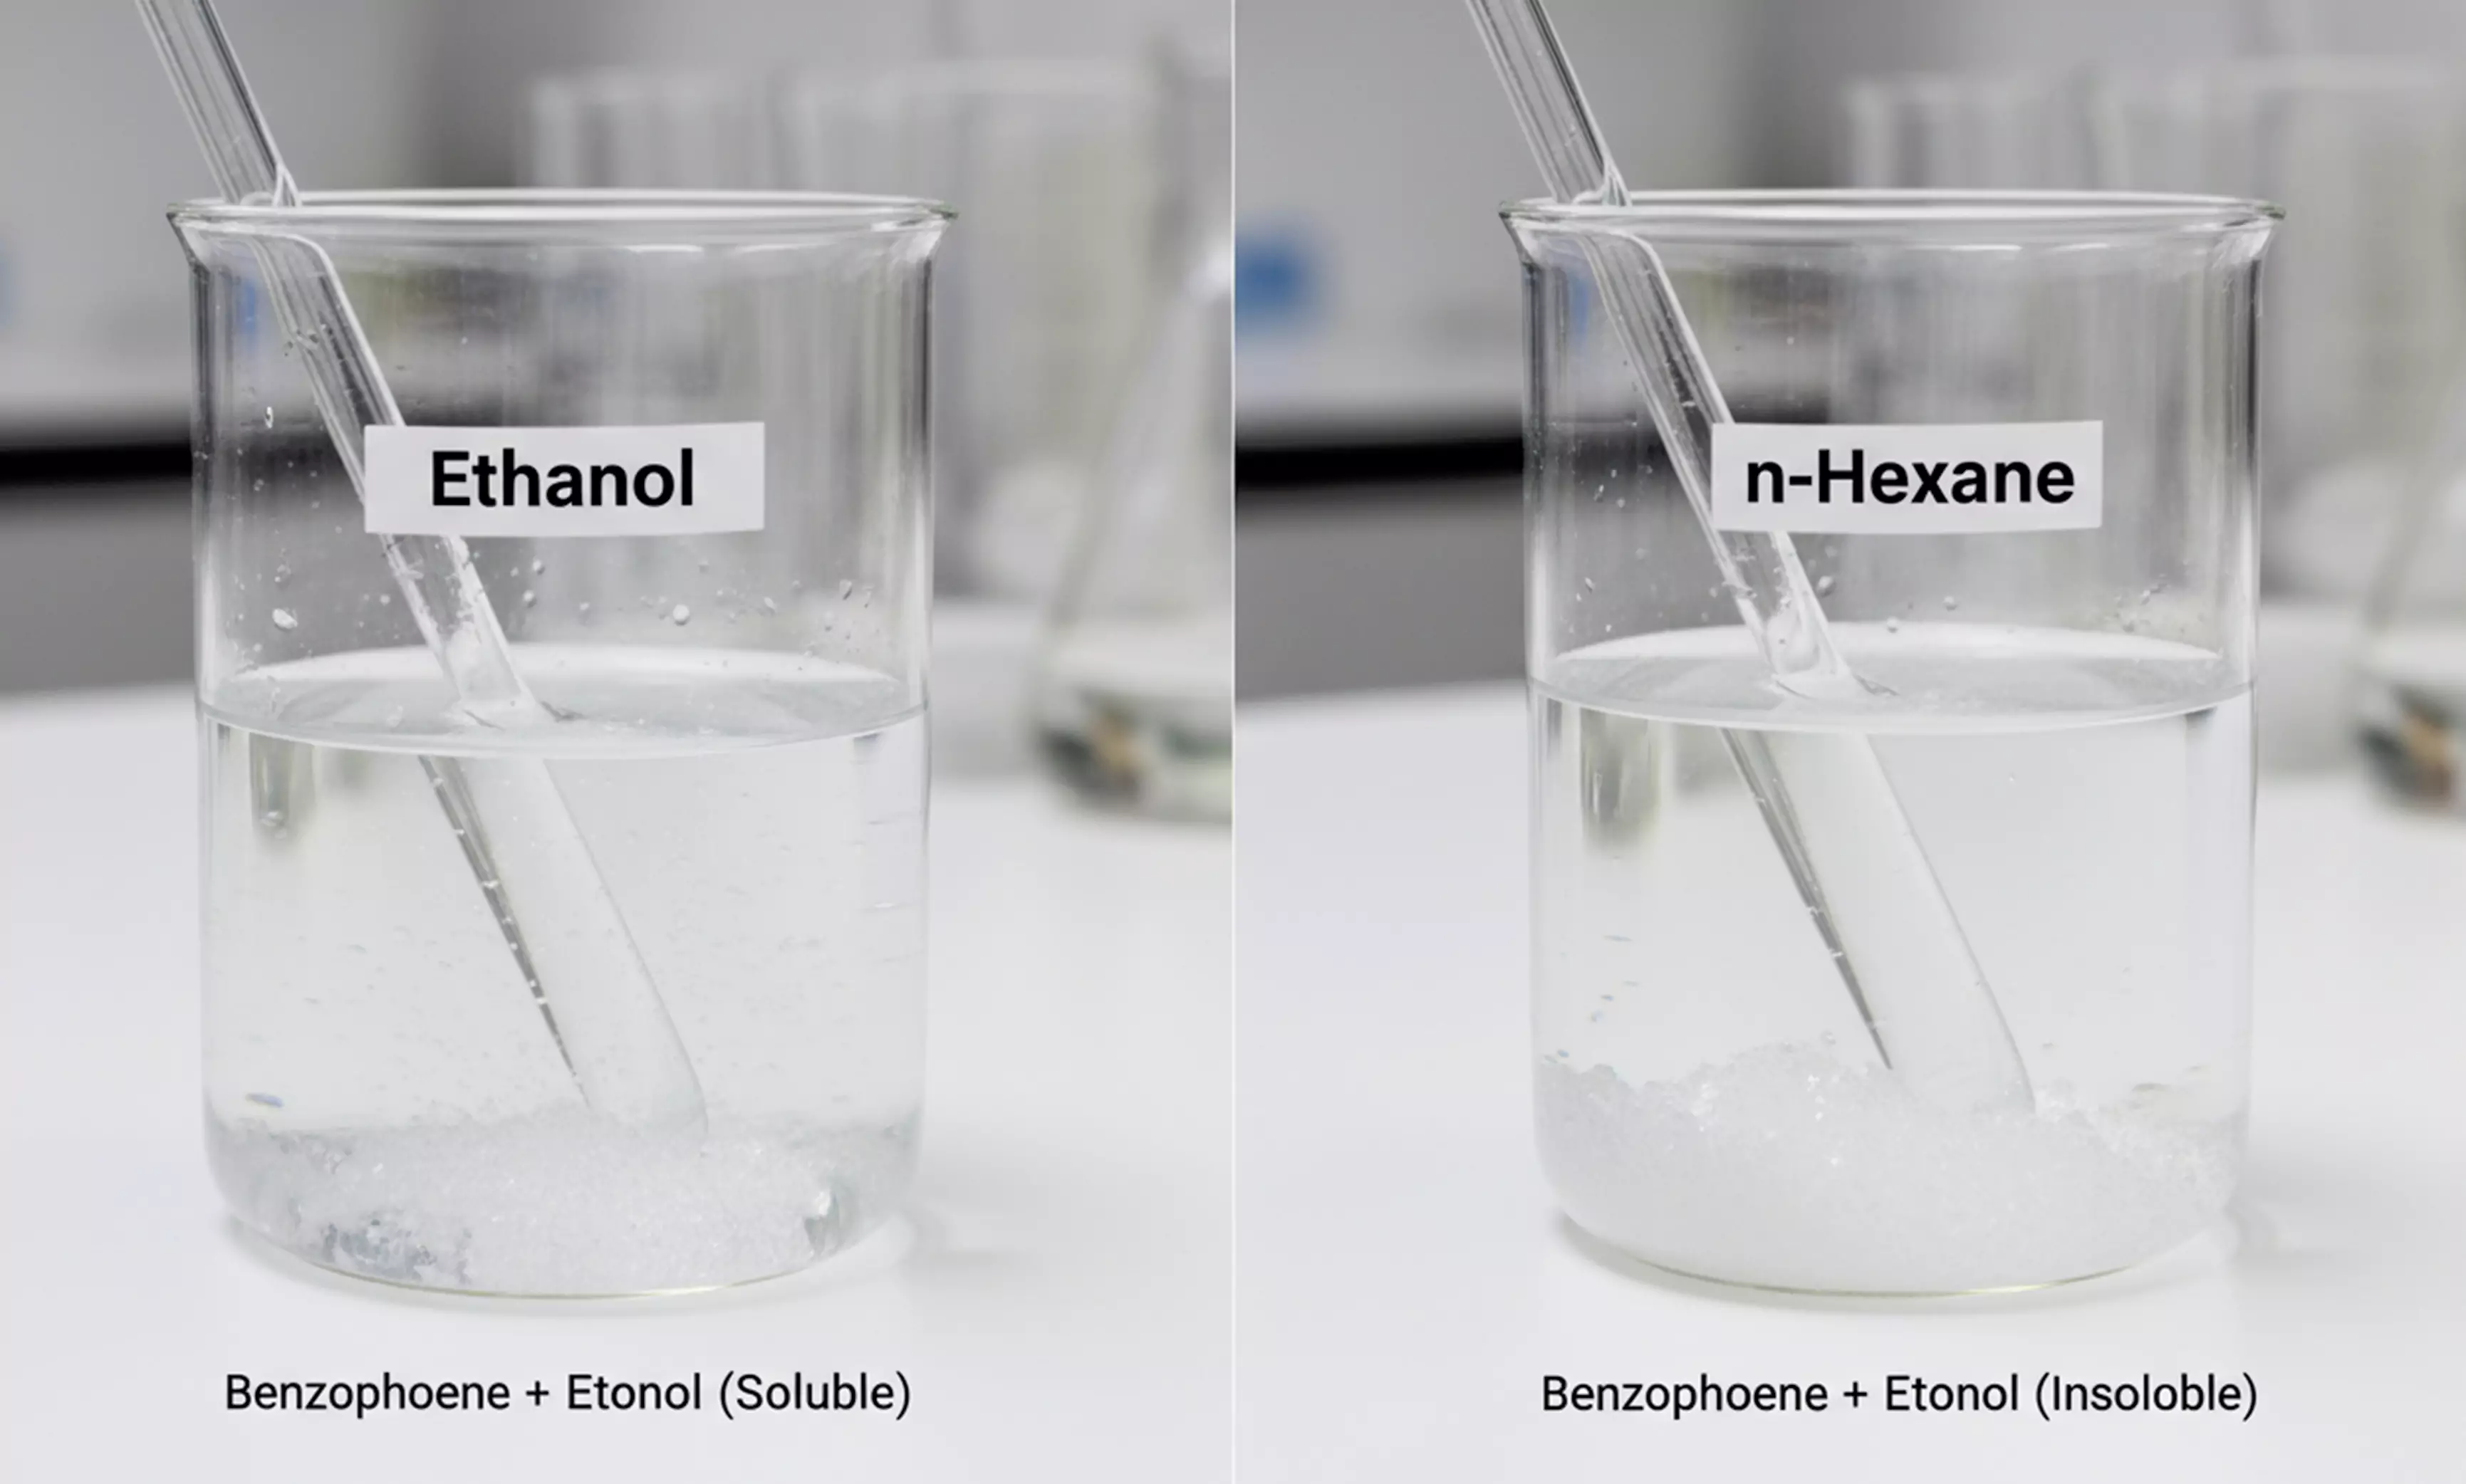
Such as ethanol, acetone, and ethyl acetate. Its carbonyl group can form dipole-dipole interactions with the polar parts of these solvents, and even hydrogen bonds (if the solvent is an alcohol), so the solubility is usually very good.
- Moderately polar to non-polar aromatic solvents:
Such as toluene and xylene. Although the solvent itself is non-polar, there are π-π conjugation interactions between the benzene rings, which allows them to “get along well” with the benzene rings of benzophenone, so the solubility is also good.
- A word of caution:
If you are using a completely non-polar, long-chain alkane as your base oil phase (such as mineral oil), the dissolution of benzophenone may be slower and require heating or vigorous stirring. I often advise clients to conduct a simple solubility pre-test to avoid problems during large-scale production.
Photochemical Reactions: The Solvent is the “Director”
This is the most fascinating aspect of benzophenone, and the reason it shines in the UV curing field. Its photochemical reaction pathway is highly dependent on the polarity of the solvent (medium).
- In non-polar solvents (such as toluene):
Like in a “quiet” environment, after being excited by light, it mainly follows the hydrogen abstraction pathway, generating a reactive species called a “ketyl radical.” This radical is the “pioneer” that initiates the polymerization of acrylate monomers.
- In polar solvents (such as acetonitrile):
The environment becomes “active,” and the excited benzophenone may undergo single-electron transfer or even ionic dissociation processes. Here, I propose a bold hypothesis: with the future popularization of water-based UV systems, can we consciously utilize this ionization pathway in a polar aqueous environment to design more efficient and environmentally friendly new photoinitiator mechanisms? This might be the next research hotspot.
- A practical case study:
We once had a client who manufactured UV inks, but the curing speed was always unsatisfactory. After reviewing their process, I found that they were using a very low-polarity reactive diluent. I suggested that they incorporate some higher-polarity monomers (such as hydroxyethyl acrylate), which not only improved the solubility and uniformity of the benzophenone photoinitiator but also subtly altered the polarity of the reaction microenvironment, thereby optimizing the radical generation efficiency. Ultimately, the curing speed increased by approximately 15%.
III. How to Harness Polarity? Application Strategies from Sunscreens to Curing Agents
Having understood the principles, let’s look at how to effectively utilize the “two-faced” characteristics.
As a sunscreen agent (e.g., BP3): Balancing Polarity and Stability
Benzophenone derivatives (such as BP3 and BP2) are classic broad-spectrum ultraviolet absorbers. Their polarity plays a crucial role here:
- Providing Compatibility:
Moderate polarity allows them to disperse to some extent in the oil phase of skincare products, and also to lightly bind to the stratum corneum of the skin through hydrogen bonds and other interactions, reducing loss due to sweat or friction and providing longer-lasting protection.
- Achieving Intramolecular “Stabilization”:
For example, 2-hydroxybenzophenone (BP2), its hydroxyl group at the 2-position can form an intramolecular hydrogen bond with the adjacent carbonyl group, forming a six-membered ring.
This structure not only enhances molecular polarity but also greatly improves its photostability and UV absorption efficiency, preventing it from being rapidly photodegraded. This is the ingenuity of chemical structure.
As a photoinitiator: The Trade-off between Solubility and Efficiency
- In UV adhesives and inks, benzophenone is a common photoinitiator partner (often used in conjunction with amine co-initiators).
- The core challenge:It must be ensured that it is completely and uniformly dissolved in the resin system of prepolymers and monomers. Any precipitation will lead to uneven curing and performance defects.
My list of suggestions:
- Pre-dissolve first:
It is recommended to pre-dissolve benzophenone with a small amount of a highly polar monomer (such as hydroxyethyl acrylate mentioned above) before adding it to the main resin. This can prevent localized crystallization.
- Consider compatibility:
If the overall polarity of the system is very low, using benzophenone alone may not be effective. Consider using a combination with other more lipophilic initiators (such as TPO), or, as mentioned earlier, adjust the monomer ratio.
- Control temperature:
In winter, the low temperature reduces the solubility of benzophenone in some systems. Before production, the raw materials or the system can be appropriately warmed to ensure uniform mixing.
Finally, here’s a question for you:
In the product or process problems you’ve encountered, could the “polarity” of a certain component be secretly causing the trouble? Thinking about its solubility and interactions from a different perspective might open up new possibilities.
The post Benzophenone: More Than Just “Polarity” appeared first on Changhong Chemical.
]]>The post Chemical Additives Usage Guide: How to Solve Five Common Problems? appeared first on Changhong Chemical.
]]>Engineers working with paints and inks often encounter frustrating problems, such as uneven paint application, bubbling, and incorrect color. These problems are often not due to the main raw materials, but rather to the wrong selection of small amounts of “additives.” Below, I have compiled five of the most common problems and their solutions, based on practical experience in production. I hope this will be helpful to everyone.
Problem 1: What to do if the ink dries too slowly when UV printing on plastic film?
Specific situation:
Printing patterns on very thin plastic films (such as PE and PP films) used for packaging bags, using LED UV printing. The production line speed is required to be very fast (over 150 meters per minute), but the ink doesn’t dry completely, or dries too slowly, affecting efficiency.
Why this happens:
Traditional UV ink “photoinitiators” (which can be understood as “drying catalysts”) are designed for old-style mercury lamps and are not very “sensitive” to the specific ultraviolet light (mainly 395 nanometers) emitted by modern energy-saving LED lights, so the reaction is slow.
Solutions:
- Change the “catalyst”:
Replace the main ingredient with a photoinitiator of the “TPO” type, which is particularly good at absorbing 395-nanometer light, so it dries faster.
- Add a “helper”:
Using only TPO may still leave the surface slightly sticky (due to air inhibition). A small amount of an “amine” type co-initiator (such as EDB) can be added to eliminate air interference and ensure thorough drying of the surface.
- Note the side effects:
Avoid using the old-fashioned “benzophenone” (BP). Although it is effective, it tends to yellow the film and has a strong odor.
- How to determine if it’s working:
Use professional instruments to measure whether the conversion rate of the reactive components in the ink exceeds 95%; or use tape to test if the printed pattern is removed by the tape.
Question 2: When producing water-based coatings, stirring and filling generate a lot of foam that is difficult to eliminate. What can be done?
Specific situation:
When making latex paint, high-speed machine stirring, pump transportation, and final filling into buckets all introduce a lot of air, creating stable foam. This results in incomplete filling of the buckets and an unsightly appearance.
Why this happens:
Inexpensive mineral oil defoamers initially break down the foam, but their effect diminishes over time, and the foam reappears. Adding too much can also cause “cratering” in the paint film (small pinhole-like pits).
What to do:
• Choose the right type:
Use a composite defoamer, ideally one containing both “polyether-modified silicone” and “hydrophobic silica particles.” The former acts like a “spear,” quickly puncturing large bubbles, while the latter acts like “sand,” continuously adsorbing and eliminating small bubbles, resulting in a more lasting effect.
• Check key data:
Ask the supplier for a “long-term foam suppression” test report to see if the foam remains at a very low level for half an hour.
- Pay attention to addition:
Do not add it all at once. Add it in two stages: add half during pigment grinding (to eliminate production foam), and add the other half before the paint is finished (to prevent foaming during filling). After adding, stir gently for a while to ensure thorough mixing.
• How to determine if it’s effective:
Place the finished paint in a 50°C oven for two weeks (to simulate long-term storage), then take it out and shake it to see how much foam is present; examine the surface of the sprayed paint film under a magnifying glass to check for smoothness.
Question 3: When applying a thick layer of paint to construction machinery, the paint tends to sag on vertical surfaces, but a smooth finish is desired. How can this be balanced?
Specific situation:
When painting large equipment like excavators and agricultural machinery, the paint has a high solid content (it’s quite viscous). When sprayed onto large vertical metal plates, it tends to sag before drying. However, for aesthetic reasons, a very smooth finish is desired after drying.
Why this happens:
To prevent sagging, the paint needs to be “thicker” (thixotropic), but this hinders its ability to flow and level. Conversely, to achieve a smooth finish, the paint is more prone to sagging. This is a contradiction.
What to do:
- Use two different components for different functions:
Anti-sagging: Add a small amount of fumed silica (e.g., R972). It acts like a network, making the paint “thicker” when stationary, preventing it from flowing easily, without significantly affecting the gloss.
- Promoting leveling:
Add a small amount of a high-molecular-weight acrylic leveling agent (e.g., BYK-361N). This primarily evens out the surface tension of the paint, helping it flow and level.
- Adjusting the “evaporation rate”:
Add a slow-drying solvent (e.g., S-150) to keep the paint surface “wet” for a longer time, allowing more time for leveling without causing severe sagging.
- How to determine if it’s right:
Use a specialized “sagging meter” to test whether a wet paint film of a specific thickness sags; after drying, measure whether the gloss is high enough and the surface is smooth enough.
Question 4: We produce universal color pastes, but they cause problems (color separation, mottling) when used in different paint systems. What can we do?
Specific situation:
The color paste manufacturer sells its color pastes to different paint manufacturers. Some manufacturers use alkyd resins, while others use acrylic or polyurethane resins. The color paste works well in one system, but when switched to another system, the pigments aggregate (flocculate) or the color becomes uneven.
Why this happens:
The “dispersant” in the color paste acts like a hand, holding the pigment particles and keeping them stably dispersed. The resins in different paints are like different “environments,” and some “environments” can pull the “hand” of the dispersant away, leaving the pigments uncontrolled and causing them to clump together.
What to do:
- Choose a “hand” that holds tightly:
Use block copolymer dispersants. They have multiple “hands” that firmly grasp the pigments and are less likely to be pulled apart by different resin “environments.”
- Choose a “hand” with strong adaptability:
The chain extending from this “hand” (solvation chain) should be of medium polarity (e.g., a polyester chain), so that it can remain stable in both polar and non-polar resins, ensuring broad compatibility.
- Conduct mixing tests:
Mix the color paste with all the resins that the customer might use and perform a “finger rub test”: Scrape the mixture onto a black and white test card, rub a portion with your finger, and compare the color of the rubbed and unrubbed areas. If the colors are consistent, then there is no problem.
- How to determine if it’s good:
After mixing the color paste with at least 5 common resins, the fineness should not change, and there should be no sedimentation or clumping after one week.
Question 5: UV white ink easily turns yellow. How can we keep it white for a long time?
Specific situation:
UV white ink used for high-end labels and packaging looks very white when freshly printed, but after a while, or after being exposed to light for a long time, it turns noticeably yellow, which significantly affects its appearance.
Why does this happen?
Firstly, some photoinitiators in the ink (such as ITX and BP) are prone to yellowing themselves or after reaction; secondly, white is the most sensitive to yellowing, and light exposure triggers a continuous oxidation reaction, leading to increasing yellowing.
What to do:
- Avoid the source:
resolutely avoid using photoinitiators that are prone to yellowing, such as ITX and benzophenone (BP), and also avoid systems that require “amines” as co-initiators.
- Use a good combination:
We recommend the combination of Irgacure 184 and TPO. 184 is responsible for drying the surface, and TPO is responsible for drying the deeper layers. These two work together effectively, and both are low-yellowing varieties.
- Add a “protective umbrella”:
Add a small amount of a composite light stabilizer, which contains “hindered amine light stabilizers (HALS)” and “ultraviolet absorbers (UVA)”. The former acts like a “bodyguard” to capture free radicals that cause yellowing, and the latter acts like “sunscreen” to absorb ultraviolet light, preventing yellowing from two aspects.
- How to determine if it’s good:
Use a colorimeter to measure. The whiteness L value should be high (>92) and the yellowness b value should be low (<1.0) immediately after curing; after a period of accelerated aging under ultraviolet light.
In summary
Solving the problems related to these chemical additives is actually quite simple: first, understand the specific circumstances under which the problems occur; then, identify exactly which step in the process is causing the problem; next, select an additive specifically designed to address that particular issue; and finally, set clear standards to verify whether the problem has truly been solved.
By following this approach, and through repeated trials and data collection, you can gradually move away from relying solely on experience and trial-and-error, and your work will become much more efficient and effective.
The post Chemical Additives Usage Guide: How to Solve Five Common Problems? appeared first on Changhong Chemical.
]]>The post Challenges and Opportunities in Industrial UV Curing appeared first on Changhong Chemical.
]]>
Part 1: Basic Principles and Common Selection Pitfalls
Q1: What are the core differences between free radical and cationic photoinitiators? How to choose between them in practical applications?
Scenario Pain Point: Engineers often struggle with choosing between these two systems when developing new formulations, especially when the product needs to balance multiple performance requirements. In-depth Analysis: Free radical systems (such as TPO, 819) have fast reaction speeds and lower costs, but are sensitive to oxygen and have a higher curing shrinkage rate (usually 5-10%). Cationic systems (such as iodonium salts, sulfonium salts) have lower curing shrinkage (1-3%), are not inhibited by oxygen, and have strong post-curing effects, but are sensitive to moisture and have a slower initial reaction speed. Changhong Solution: We don’t simply recommend a specific product, but instead establish a four-step selection matrix: Substrate Compatibility Testing: Pre-test adhesion performance on different substrates such as plastics, metals, and glass. Curing Environment Assessment: Analyze whether the production line is in a nitrogen environment, air environment, or a partially isolated environment. Prioritization of Final Performance Requirements: Rank requirements such as weather resistance, flexibility, and chemical resistance by priority. Mixed System Design: 70% of industrial applications actually use mixed systems. For example, our CHG-8010 series combines free radical and cationic photoinitiators at the molecular level, achieving both fast surface drying and complete deep curing, with shrinkage controlled to below 4%.Q2: Why is the selection of photoinitiators for water-based UV systems so difficult? How can migration problems be fundamentally solved?
- Scenario Pain Points: Water-based UV coatings are growing rapidly in the wood and plastic coating fields, but traditional oil-soluble photoinitiators have poor dispersibility in the aqueous phase and high migration risks, especially in sensitive applications such as food packaging and toys.
- Real Industry Case: A children’s furniture company exporting to the EU repeatedly failed UV coating migration tests, facing substantial fines.
- CHG-W Series Water-Based Photoinitiators: By introducing polyethylene glycol segments and carboxylic acid groups, the photoinitiatormolecules possess self-emulsifying capabilities, forming stable dispersions of 50-100nm in the aqueous phase.
- Migration Blocking Mechanism: After polymerization, the active groups of the product cross-link with multifunctional monomers in the system, becoming “locked” in the polymer network. According to third-party testing, in an 8-week accelerated migration test, the migration amount of CHG-W803 was only 3% of that of traditional ITX.
Part Two: In-Depth Solutions for High-End Manufacturing Scenarios
Q3: How to balance the conflict between “fast positioning” and “final strength” in UV curing of automotive structural adhesives?
Scenario Pain Point: Automotive body-in-white structural adhesives need to achieve initial positioning within 30 seconds (to meet production line cycle time), but the final strength takes 24 hours to fully develop, affecting subsequent processes.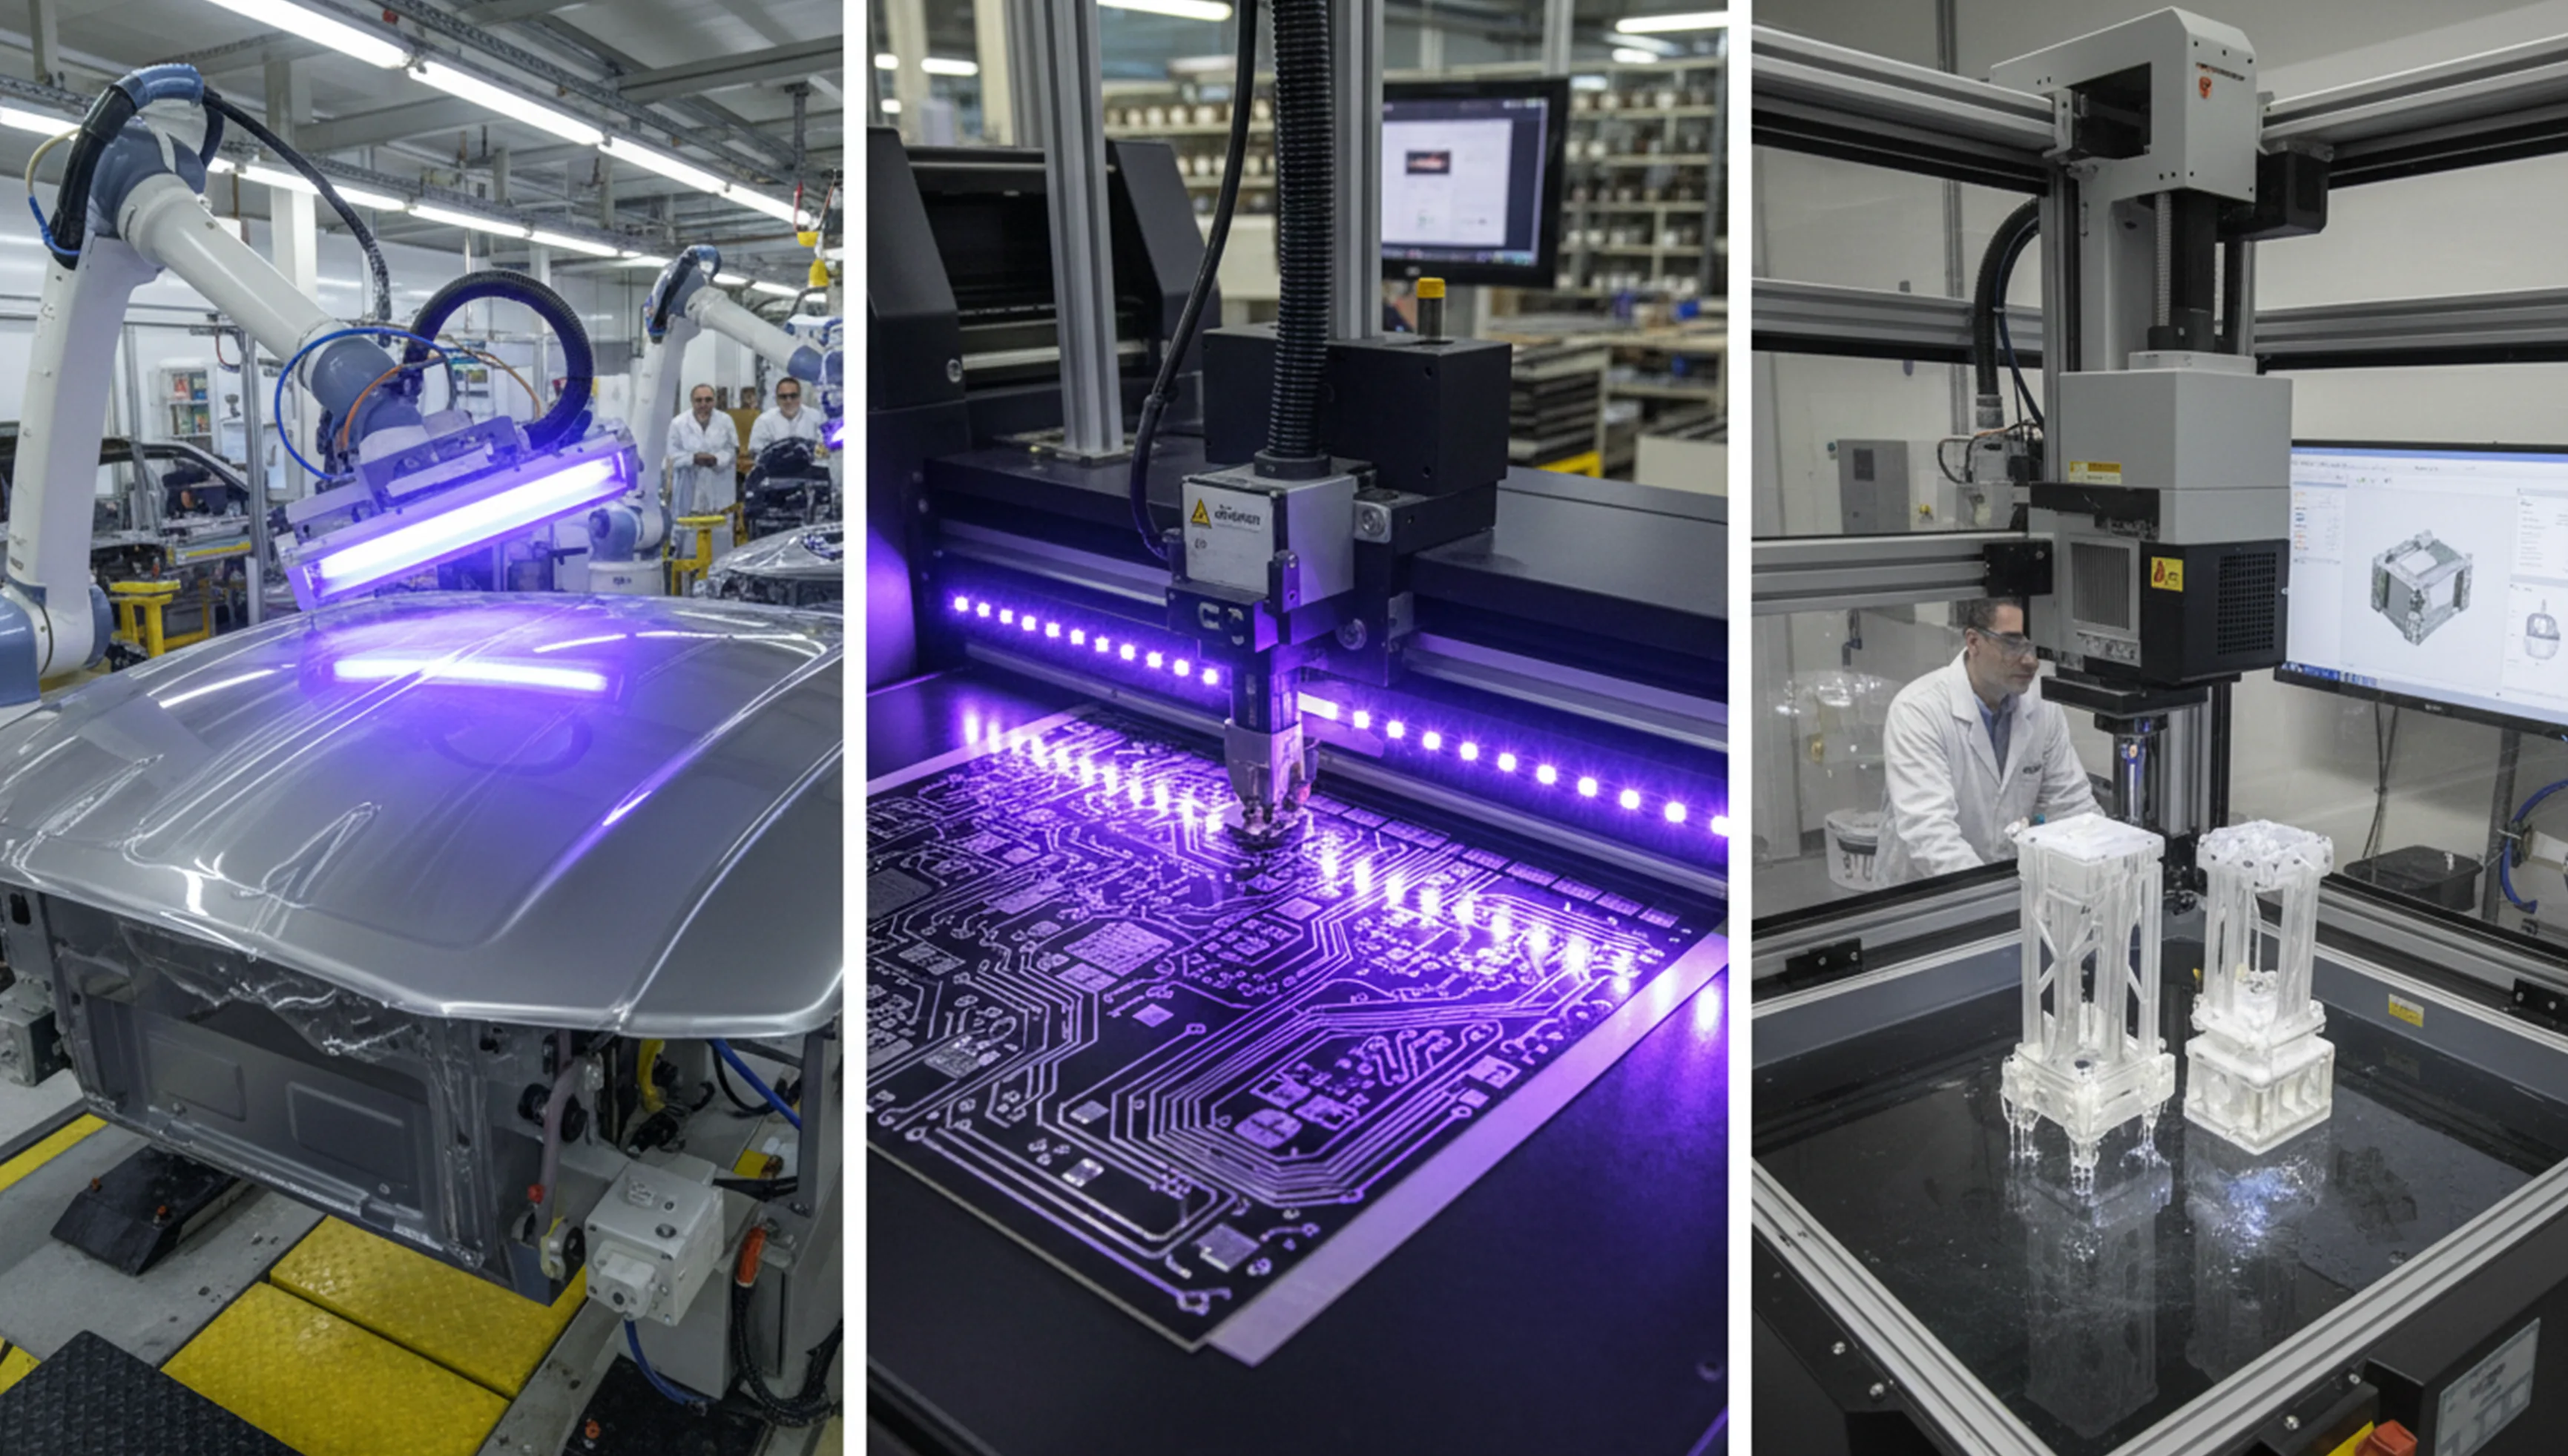
We have developed a dual-stage triggered curing system:
Stage One: Fast Positioning (0-30 seconds)- Using CHG-A501 high-activity acylphosphine oxide, gelation occurs in 3 seconds under a 1500mW/cm² LED light source.
- Initial shear strength reaches 2MPa, meeting the requirements for part handling.
- The system contains CHG-A502 latent cationic initiator, which reacts slowly at ambient temperature.
- Combined with our proprietary CH-Monomer A10 monomer, an interpenetrating network structure is formed.
- After 24 hours, the tensile strength reaches 35MPa, and the impact toughness is 50% higher than traditional solutions.
Process Adaptation Highlights:
We provide customers with a light intensity-time curve optimization solution for their production lines: First station: High light intensity (2000mW/cm²) short-time irradiation (5 seconds) – achieving surface curing. Second station: Medium light intensity (800mW/cm²) long-time irradiation (25 seconds) – ensuring deep curing. Under natural conditions: The latent system continues to react, maximizing strength.Part 3: Special Applications and Emerging Technological Challenges
Problem Description: UV-curable adhesives used in electronic packaging experience yellowing, cracking, and bubbling during reflow soldering, leading to chip packaging failure. We address this challenge from three dimensions:| Traditional approach: | Changhong Solution: | Performance improvements: |
| Ordinary free radical initiator | Cationic + epoxy resin system | Heat distortion temperature increased by +50℃ |
| Simple addition of inorganic filler | Surface-treated nano-SiO₂ gradient distribution | Coefficient of thermal expansion reduced by 60% |
| Single-point curing | Gradient illumination + post-curing process package | Internal stress reduced by 70% |
Q4: How to solve the problem of surface curing but incomplete curing at the bottom when UV curing thick coatings (>500μm)?
Scenario Pain Point: In thick coating applications such as industrial anti-corrosion coatings and floor coatings, traditional UV systems can only cure the top 200-300μm, leaving the underlying resin insufficiently reacted.Our solution is based on the principle of light intensity attenuation compensation:
Technical Core: Gradient Absorption Photoinitiator System Surface Layer (0-200μm): CHG-D301 – High absorption rate, rapid reaction to form a “protective layer” Middle Layer (200-400μm): CHG-D302 – Medium absorption rate, penetrates the surface layer to continue the reaction Bottom Layer (400-500μm+): CHG-D303 – Low absorption rate, efficiently utilizes residual light Combined with process innovation: Dual-wavelength light source solution: We recommend customers use a 395nm + 365nm combined LED light source. Viscosity adjustment technology: Adding our CHG-D310 flow additive reduces the system viscosity, allowing the photoinitiator to redistribute through diffusion during the curing process. Result: In a 500μm transparent coating, the bottom curing degree increased from the traditional 65% to 92%, and the pencil hardness reached 2H.HQ5: How can 3D printing photosensitive resins simultaneously meet the demands for high precision and low shrinkage?
Scenario Pain Point: Especially in dental models and precision parts printing, a shrinkage rate of 0.1% can lead to assembly failure. We optimize the entire chain from materials to equipment and processes: Material Level: Low-shrinkage monomer design: Development of spirocyclic ester monomers, which undergo ring-opening polymerization during curing, with volume expansion compensating for shrinkage. CHG-3D701 initiator: Optimized specifically for 405nm LED lasers, achieving a quantum efficiency of 0.85 (industry average 0.65). Equipment Collaboration: Established a parameter sharing library with mainstream 3D printer manufacturers, providing pre-optimized exposure parameter packages for different brands of equipment (such as Formlabs and UnionTech). Practical Case: Dental Crown Printing Traditional Resin: Shrinkage rate 1.8%, edge precision deviation ±50μm CHG-3D701 System: Shrinkage rate 0.3%, edge precision ±15μm Post-processing time reduced by 40% (no secondary thermal curing required)Part 4: Process Adaptation and Production Stability
Q6: How should corresponding photoinitiators be selected for different light sources (mercury lamps, LEDs, lasers)?
Scenario Pain Point: When factories switch to LED lighting, they find that the curing efficiency of their original formulas decreases by 30-50%. We have the most comprehensive light source testing platform, covering:- Traditional mercury lamps: 200-450nm full spectrum
- LED light sources: 365nm, 385nm, 395nm, 405nm, 415nm mainstream wavelengths
- Special light sources:Excimer lamps (172nm, 222nm), laser light sources (355nm, 532nm)
- Mercury lamp to LED conversion: The key is the selection of long-wavelength photoinitiators. We provide a CHG-LED conversion evaluation package, including samples of three photoinitiators with different absorption wavelengths, allowing customers to quickly test the best matching solution.
- Multi-wavelength synergy:For complex shaped workpieces, a dual-wavelength photoinitiator system (CHG-DW401+DW402) is recommended to ensure sufficient curing even in shaded areas.
- Light intensity attenuation compensation: LED light sources experience approximately 10-15% light intensity attenuation after 2000 hours of use. Our CHG-LA series has a wider “dose-curing degree” platform, ensuring curing stability throughout the light source’s lifespan.
Q7: How to ensure sufficient curing in high-pigment content systems (such as colored paints and black UV inks)?
Scenario Pain Point: In black UV inks, carbon black absorbs most of the ultraviolet light, making curing extremely difficult. This usually requires adding excessive amounts of photoinitiators, leading to odor and migration problems. We have developed a photon upconversion and scattering utilization technology:Photon Redistribution Mechanism:
CHG-P401: Possesses fluorescent properties, absorbing short wavelengths (e.g., 365nm) and emitting long wavelengths (e.g., 405nm). CHG-P402:scattering agent is coated on the surface of pigment particles, converting direct light into scattered light and increasing the light path.Layered Curing Design:
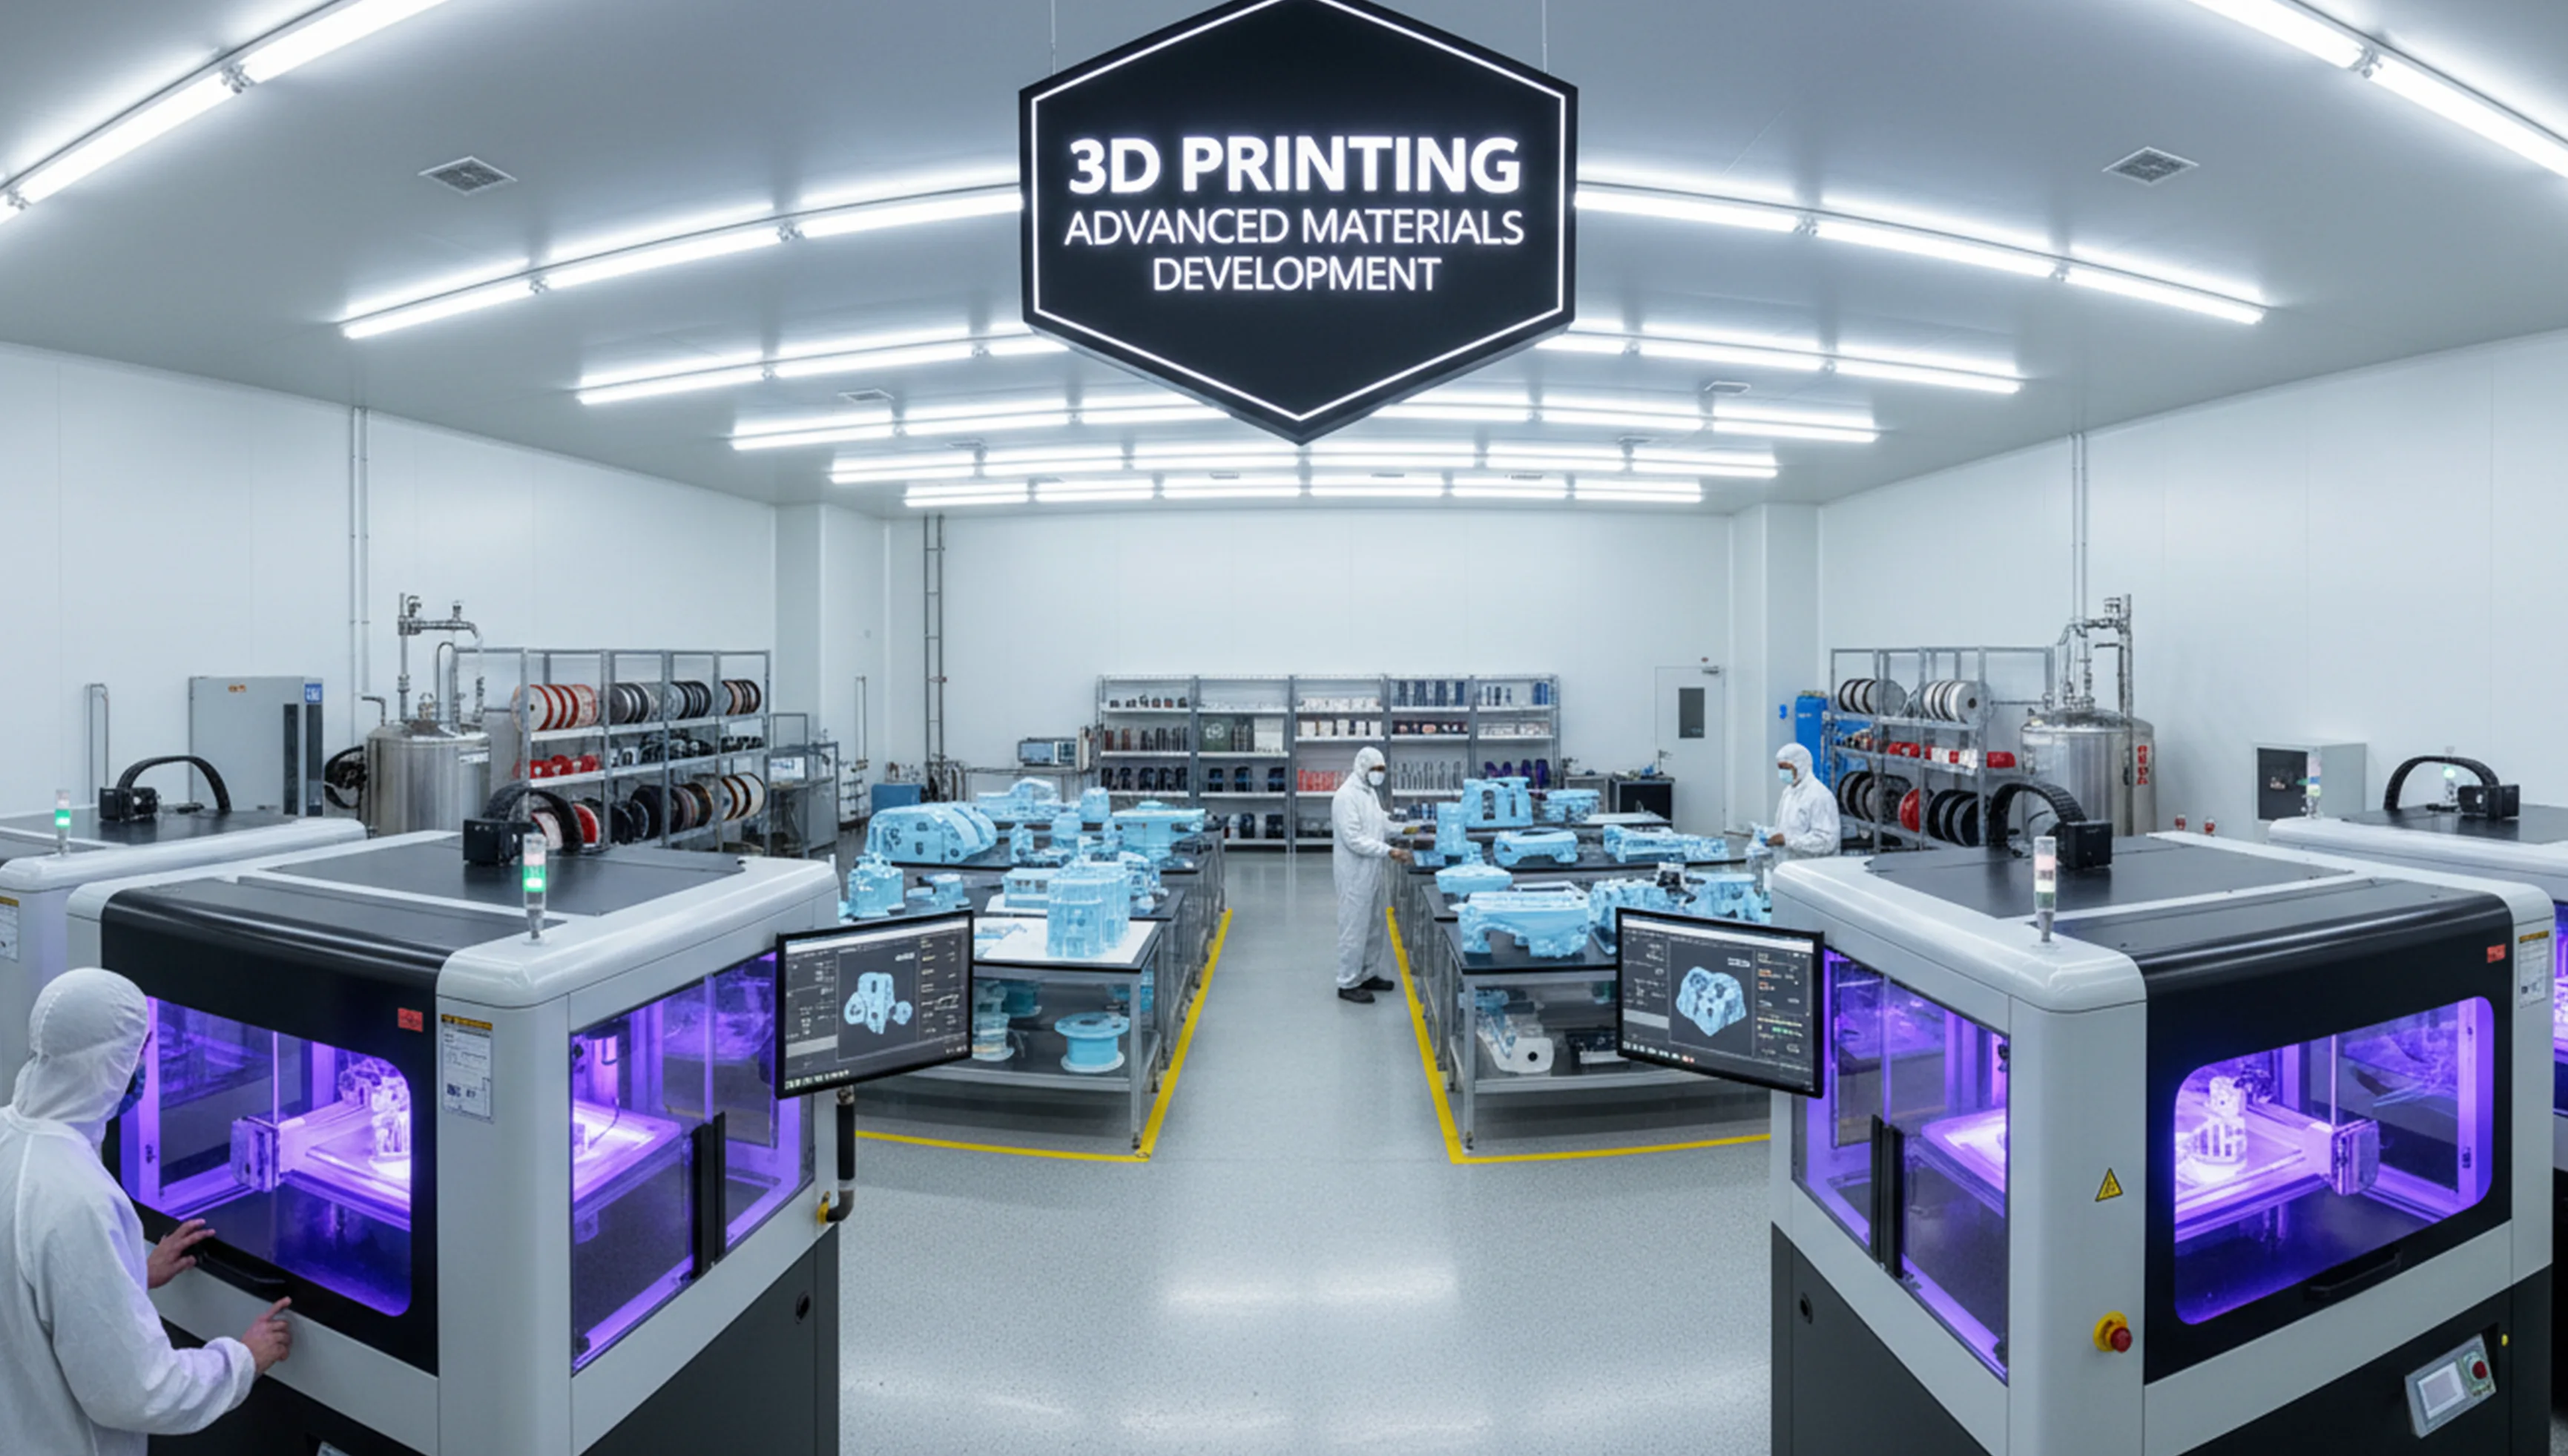 Traditional Solution: Uniform addition of photoinitiator – excessive absorption in the surface layer, insufficient in the bottom layer.
Changhong Solution: Gradient distribution design
– Surface layer: Low concentration, preventing over-curing and brittleness
– Middle layer: Medium concentration, core reaction zone
– Bottom layer: High concentration, compensating for light intensity attenuation
Traditional Solution: Uniform addition of photoinitiator – excessive absorption in the surface layer, insufficient in the bottom layer.
Changhong Solution: Gradient distribution design
– Surface layer: Low concentration, preventing over-curing and brittleness
– Middle layer: Medium concentration, core reaction zone
– Bottom layer: High concentration, compensating for light intensity attenuation
Actual Results:
Black UV ink (5% carbon black content) is completely cured at a thickness of 50μm. Total photoinitiator usage is reduced by 25%, and odor is reduced by 2 levels. Improved storage stability (viscosity increase <5% after 6 months).Conclusion: From Product Supplier to Technology Enabler
Through in-depth analysis of the 20 scenarios above, we can clearly see that the complexity of modern UV curing technology far surpasses simple product selection. Changhong Chemical, with its core strategy of “technology-driven scenario adaptation,” has built a full-link support capability from molecular design to process implementation.Our core values:
– Deep understanding of scenarios: Not just providing product parameters, but understanding your production line, your end applications, and your real challenges. – Full-cycle technical support: Providing continuous technical upgrades and process optimization from initial consultation to stable mass production. – Quantifiable performance improvements: Every solution comes with clear performance improvement indicators and verification methods. – Sustainable cost optimization: Helping customers establish long-term cost advantages through technological means, not just simple price reductions. The future of UV curing technology lies in precise matching and deep collaboration. Let’s explore together and transform the precision of chemistry into industrial value.Related product references: For formulation review or sourcing comparison, see CHLUMINIT 20108 and CHLUMINIT 938.
The post Challenges and Opportunities in Industrial UV Curing appeared first on Changhong Chemical.
]]>The post How to Choose a UV Absorber? appeared first on Changhong Chemical.
]]>Have you ever noticed that plastic chairs left by the window for a long time become brittle and crack, or that the coating on outdoor railings becomes mottled and faded? This is because ultraviolet (UV) light is silently “decomposing” the materials. UV absorbers are like “invisible sunscreen” specifically designed for polymer materials. They absorb harmful UV rays from sunlight and convert them into harmless heat, thus protecting plastics, coatings, rubber, and other materials from “sunburn” and aging.
Choosing the right “sunscreen” is crucial. It needs to meet several core conditions: strong absorption of harmful UV rays in the 290-400nm range, resistance to high-temperature processing, good compatibility with the material, and it must be stable, safe, and not leach out. Different materials require different “sunscreen” protection. Below, we will review several mainstream types of UV absorbers and see what each is best suited to protect.

Category 1: Benzophenone-based compounds (most commonly used, wide range of applications)
This type of UV absorber is the most widely used. Its core characteristics are good compatibility and excellent heat resistance. Most of them can be used in light-colored or transparent products, making them the “standard sunscreen” in the plastics and coatings industries.
2,4-Dihydroxybenzophenone
Appears as light-colored needle-shaped crystals or white powder, almost insoluble in water, but easily soluble in organic solvents such as acetone and ethanol. It can absorb ultraviolet light with a wavelength of 280-340 nm, has a wide range of applications, and can be used in various materials such as polyvinyl chloride, polystyrene, epoxy resin, coatings, and synthetic rubber. The conventional addition amount is 0.1%-1%. A drawback is that its light stabilization effect is not outstanding and usually needs to be used in combination with other additives.
• 2-Hydroxy-4-methoxybenzophenone (UV-9)
A light yellow or white crystalline powder, odorless, with good heat resistance (does not decompose at 200°C), and hardly absorbs visible light, making it particularly suitable for light-colored and transparent plastic products. It is easily soluble in most organic solvents, insoluble in water, and can absorb 280-340 nm ultraviolet light. It is suitable for polyvinyl chloride, polymethyl methacrylate (plexiglass), ABS resin, cellulose resin, etc., with an addition amount of 0.1%-1.5%. It can also be used in paints and synthetic rubber. It has high safety, and in some countries, the maximum addition amount is limited to 0.3% when used in products that come into contact with food.
• 2-Hydroxy-4-n-octyloxybenzophenone (UV-531)
A light yellow or white crystalline powder with low density and low volatility. It has excellent compatibility with various plastics and strongly absorbs 270-330 nm ultraviolet light. It is mainly suitable for polyethylene, polypropylene, polystyrene, ABS resin, polycarbonate, etc., with an addition amount of 0.1%-1%. When used with antioxidants, the sun protection effect is significantly improved. It has very low toxicity, and several countries allow its use in food-contact plastic products (such as polyethylene and polypropylene containers), with specific usage limits for different materials (0.2%-1%).
Category 3: Salicylate Esters (High Cost-Effectiveness, Suitable for Low-End Plastics)
These UV absorbers are inexpensive and readily available, but they have a narrow absorption wavelength range and provide moderate sun protection. They are mainly used in plastic products that do not require high weather resistance, making them an “economical sun protection option.”
1. Phenyl Salicylate
A colorless crystalline powder with a faint wintergreen oil scent, easily soluble in organic solvents such as ether and benzene, and almost insoluble in water and glycerol. It has a narrow absorption wavelength range and is mainly used in plastic products due to its high cost-effectiveness. Approved by the US Food and Drug Administration (FDA) for use in acrylic resin products that come into contact with food (such as acrylic tableware).
2. Resorcinol Monobenzoate
A white crystalline powder, slightly soluble in water and benzene, and easily soluble in acetone and ethanol. Its sun protection performance is similar to that of benzophenone derivatives. Mainly used in polyvinyl chloride, cellulose resins, and polystyrene, with a typical addition amount of 1%-2%. Suitable for low-end products where cost is a concern and high weather resistance is not required.。
Category 4: Other Special Types (Adapted to Specific Scenarios)
This category of UV absorbers has special absorption bands or different mechanisms of action, and is mainly used for specific materials or scenarios with special requirements, making them highly targeted.
1. Reaction Product of o-Nitroaniline and p-Cresol
Colorless or light yellow crystals, insoluble in water, easily soluble in organic solvents such as gasoline, benzene, and acetone, and not easily decomposed by concentrated acids or bases. It absorbs UV light at 270-280 nm (a relatively unique wavelength). It is mainly used in resins such as polyester, chlorinated polyester, cellulose acetate, polyvinyl chloride, and polyacrylonitrile. Its stability in transparent products is better than in colored products, with an addition amount of 0.1%-0.5%.
2. 2,2′-Thiobis(4-tert-octylphenoxy)nickel (Nickel Complex)
Green powder, primarily suitable for polyolefin materials such as polyethylene and polypropylene. It is particularly effective in protecting plastic films and fibers from UV damage and can also improve the processing performance of the material. When used in combination with other UV absorbers, the sun protection effect is significantly enhanced. However, its disadvantages include its dark color, which can color the product, and the possibility of turning the product grayish-black at high temperatures. It is also toxic, requiring extra caution during use.
3. Tris(1,2,2,6,6-pentamethylpiperidinyl) phosphite (Hindered Amine)
White crystalline powder, easily soluble in organic solvents, sparingly soluble in water, and has good compatibility with polyolefins. Its unique feature is that it does not absorb UV light itself, but it can capture active free radicals generated during material degradation. Its sun protection efficacy is 2-4 times that of conventional UV absorbers, and it can also improve the material’s resistance to thermal oxidative aging. Suitable for plastics such as polyethylene and polypropylene, it has low toxicity, but poor heat resistance. The processing temperature should not exceed 270℃, and it is not suitable for long-term use in hot water.
4. 4-Benzoyloxy-2,2,6,6-tetramethylpiperidine (Hindered Amine)
White crystalline powder, with good heat resistance (decomposition temperature above 280℃), insoluble in water, and easily soluble in organic solvents such as toluene and acetone. Its mechanism of action is similar to the previous one; it does not directly absorb ultraviolet light, but efficiently scavenges active free radicals, providing several times the sun protection effect of conventional products. It is compatible with various plastics such as polypropylene, polyethylene, polystyrene, and polyamide, and is especially suitable for polyolefin products. It is non-coloring and non-polluting, and exhibits excellent synergistic effects when used in combination with antioxidants and UV absorbers.
5. 2,4,6-Tris(2′-n-butoxy-phenyl)-1,3,5-triazine
Light yellow powder, slightly soluble in n-butanol, insoluble in water, and absorbs ultraviolet light in the 300-380nm range. Its sun protection performance is superior to benzophenone-based UV-9 and UV-531. It is suitable for plastics such as polyvinyl chloride, polyoxymethylene, and chlorinated polyether, with an addition amount not exceeding 1%. Its drawbacks include slight discoloration, causing the product to have a light yellow tint, and poor compatibility with some resins.。
6. Hexamethylphosphoramide
A colorless or light yellow transparent liquid with a slightly fishy and astringent odor, it is miscible with most plasticizers and solvents and is known as a “highly effective weather-resistant agent for polyvinyl chloride.” When added to polyvinyl chloride films (2-5 parts), it not only significantly improves weather resistance and cold resistance but also lowers the processing temperature by approximately 10°C. Furthermore, it can also be used as an excellent solvent for polymers such as polyamide, polyurethane, and polyphenylene sulfide, making its applications even more extensive.

Conclusion: The Core Value and Selection Techniques of UV Absorbers
In summary, UV absorbers are the “longevity secret” of polymer materials. Whether it’s everyday plastic tableware and appliance casings, or outdoor plastic pipes and coatings, their protection is indispensable. When choosing, there’s no need to blindly pursue “high performance”; the key is to match the material and application scenario: for polyolefins (polyethylene, polypropylene), benzotriazole or hindered amine types are preferred; for transparent/light-colored products, benzophenone types (UV-9, UV-531) are preferred; for low-end products, salicylate types can be used; and for products in contact with food, strict adherence to dosage limits is required.
With the development of the materials industry, UV absorbers are also upgrading towards “high efficiency, low toxicity, and broad compatibility.” In the future, they will better meet the sun protection needs of various materials, protecting every polymer product in our lives, extending their service life, and maintaining their excellent performance.
The post How to Choose a UV Absorber? appeared first on Changhong Chemical.
]]>