Mennyi ideig kell gyógyítani a gél lakkot?
Harold vagyok, a CHROMÉCLAIR márkamenedzsere, ez egy hema mentes gél lakk márkák.
Természetesen ez egy nagyon fontos kérdés. A zselés körömlakk "teljes kikeményedése" két lépést igényel, és a szükséges idő több kulcsfontosságú tényezőtől függ.
Általában a teljes folyamat (az első rétegtől a végső letörlésig) általában 6-20 percig tart, de a "teljes kikeményedés" elérése a legkeményebb állapotig hosszabb időt vesz igénybe.
Itt van egy részletes bontás:
1. A géllámpa alatt történő kikeményedési idő (alaplépés)
Ez az UV- vagy LED-lámpa alatt töltött időre utal, amikor a gél fotokémiai reakcióban folyékonyból szilárddá alakul át. Ez a lépés feltétlenül szükséges, és nem hagyható ki.
Rétegenkénti idő:
Alapbevonat: Általában 30-60 másodpercet igényel.
Színes gél: Általában 30-60 másodpercet igényel. Ha a szín nagyon sűrű vagy sötét (pl. fekete, vörös), 60 másodpercre is szükség lehet a teljes kikeményedéshez. A színes zselé minden egyes rétegének kikeményedése szükséges.
Felső réteg: 60 másodpercet igényel. Néhány letörölhető fedőlakk (alkoholos törlést igényel) 60-90 másodpercet igényelhet, míg a letörölhetetlen fedőlakkok (nem ragadós) legalább 60 másodpercet igényelnek a teljes fényesség és tartósság biztosításához.
Teljes gyógyulási idő becslés: Egy tipikus körömszerviz (alaplakk + két színes réteg + fedőlakk) összesen 3,5-4 percet vesz igénybe a lámpa alatt.
A gyógyulási időt befolyásoló legfontosabb tényezők:
Lámpa teljesítménye: A nagyobb teljesítmény nagyobb fényintenzitást és gyorsabb gyógyulást biztosít. Az újabb LED-lámpák általában gyorsabbak és hatékonyabbak, mint a hagyományos UV-lámpák.
Gél márka: A különböző márkák eltérő összetételűek, és a fotoiniciátors nem biztos, hogy bizonyos hullámhosszaknak is megfelelnek. Mindig tartsa be a géltermék használati utasításában szereplő ajánlott száradási időket, mivel ezeket az optimális eredmények érdekében tesztelték az adott formulával.
Körömvastagság: A vastagabb alkalmazások hosszabb kikeményedési időt igényelnek, hogy az alapréteg teljesen kikeményedjen.
Izzó típusa: A LED izzók gyorsabban gyógyítják a LED formulákhoz tervezett zseléket, míg a régebbi UV-csöveknek több időre van szükségük.
2. A "teljes gyógyulás" két szintjének megértése
Ez egy gyakran félreértett fogalom, amely megkülönböztetést igényel:
Első szint: Operatív gyógymód
Jelentése: A gél a lámpából való eltávolításkor teljesen megszilárdult, nem ragadós felületű (no-wipe top coat) vagy olyan, amelyről a felesleges gél alkohollal letörölhető (wipe-off top coat). A körmökhöz hozzá lehet érni és normálisan lehet kezelni anélkül, hogy ujjlenyomatot hagynának vagy deformálódnának.
Idő: Azonnal elérhető. Miután a fedőlakk megszilárdult és letörölte (ha szükséges), a körmök "megszáradtak", és azonnal folytathatja tevékenységét anélkül, hogy aggódnia kellene az elkenődés miatt.
Második szint: Mély/teljes kúra
Jelentése: A gél elérte az 100% belső térhálósodási reakciót, elérte a maximális tervezett keménységet, kopásállóságot és kémiai stabilitást. Ez a kémiai reakció a lámpából való eltávolítás után is lassan folytatódik.
Idő: Ez a folyamat körülbelül 24 órát vesz igénybe.
Ebben az időszakban a köröm keménysége tovább növekszik.
A gél felvitele után 12-24 órán át ajánlott kerülni a forró víznek (pl. fürdő, szauna), az éles tárgyakkal való érintkezést és a nagy koncentrációjú oldószereket (pl. körömlakklemosó, alkohol, mosogatószer) a fényesség és a tartósság megőrzése érdekében.
Az elégtelen gyógyítás kockázatai
A lámpa alatti nem megfelelő kikeményedési idő egy sor problémához vezethet:
Ragadós kivitel: A felület nem szárad meg megfelelően.
Gyenge tartósság: Hajlamos a felemelkedésre vagy a teljes hámlásra.
Egyenetlen szín: Ráncosodást vagy következetlen árnyalatmélységet mutathat.
Bőrirritáció: Ez a legsúlyosabb kockázat! A kikeményítetlen gél monomerek behatolhatnak a bőrbe, ami hosszan tartó expozíció esetén kontakt dermatitist vagy allergiás reakciókat okozhat.
| Lépések | Szükséges idő | Utasítások |
| Minden egyes színes gélréteg gyógyítása | 30-60 másodperc | A sötét, vastag gélek hosszabb kikeményedési időt igényelnek. |
| Alapbevonat/fedőréteg kikeményítése | 30-60 másodperc | Rétegenként legalább 60 másodpercig szárítson |
| Teljes feldolgozási idő (lámpa alatt) | Körülbelül 3-5 perc | Az alkalmazott rétegek számától függően |
| Működési gyógyítás (érintésszáraz) | Azonnal | A lámpával történő expozíció után teljesen megszilárdult - azonnal kezelhető. |
| Teljes kikeményedés (maximális keménység elérése) | Körülbelül 24 óra | Kerülje a forró vízzel vagy erős kémiai oldószerekkel való hosszabb ideig tartó érintkezést ebben az időszakban. |
Legjobb gyakorlatok:
Kövesse az utasításokat: Mindig tartsa be a termékek és az UV/LED körömlámpák kézikönyveiben megadott ajánlott száradási időket.
Jobb félni, mint megijedni: Ha bizonytalan, a 10-20 másodperccel hosszabb keményítés sokkal biztonságosabb, mint az alulkeményítés.
Vékony rétegben alkalmazza: Több vékony réteg alaposabban kikeményedik és jobb eredményt ad, mint egyetlen vastag réteg.
Rendszeresen cserélje ki a lámpákat: A körömlámpák (különösen az UV-izzók) idővel elhasználódnak, ami a fényerősség csökkenéséhez vezet. Az egyenletes gyógyítási teljesítmény biztosítása érdekében rendszeresen cserélje ki őket.
 Hogyan lehet a gél lakkot hosszabb ideig tartóvá tenni?
A zselés körömlakk élettartamának meghosszabbítása szisztematikus folyamat, amelynek minden lépése - az előkészítéstől az utókezelésig - kulcsfontosságú. Ha követed ezeket a részletes lépéseket és technikákat, a manikűröd könnyen 3-4 hétig vagy még tovább is eltarthat.
I. Alapítványi előkészítés: A siker sarokköve (A legkritikusabb lépés!)
Ez a legfontosabb, mégis a legtöbbet figyelmen kívül hagyott lépés. Ha a köröm felülete olajat, nedvességet vagy port tartalmaz, a gél nem tud biztonságosan kötni.
Gyengéd alakítás: Használjon körömreszelőt a köröm formájának finomításához. Kerülje a túlzott csiszolást, hogy elkerülje a köröm gyengülését.
A körömfelület csiszolása: Ez egy kulcsfontosságú lépés. Egy 180/240-es szemcseméretű polírozócsíkkal finoman és egyenletesen polírozza le a teljes körömfelületet. A cél a felületi fényes réteg eltávolítása, mikrokarcolások létrehozása, amelyek fokozzák a gél tapadását.
Vigyázat! Ne alkalmazzon túlzott erőt, mert ez károsíthatja a körömágyat. A lecsiszolt felületnek mattnak kell tűnnie.
Alapos tisztítás:
Használjon porkefét a csiszolási maradékok eltávolításához.
Óvatosan törölje át a köröm felületét 90%+ tiszta alkohollal átitatott vattakoronggal vagy nem szőtt ruhával, hogy eltávolítsa a maradék olajat és port.
Soha ne érintse meg kézzel a lecsiszolt körömfelületet, mivel a bőrolajok azonnal beszennyezik a megtisztított felületet.
II. Pályázati folyamat: Részletek határozzák meg a sikert
Kötőanyag/primer használata:
Az alapréteg felhordása előtt használjon savas vagy nem savas kötőanyagot (Primer). Ez mélyen kiszárítja és zsírtalanítja a köröm felületét, miközben megváltoztatja annak pH-értékét, lehetővé téve, hogy az alaplakk jobban "megragadja" a körmöt.
A vékony alkalmazás a kulcs:
Akár alaplakkot, akár színes zselét, akár fedőlakkot alkalmaz, szigorúan tartsa be a "vékony rétegek, több réteg" elvet.
Gél adagolásakor mindig törölje le a felesleges gélt a keféről a flakon nyílásához.
A vastag rétegek UV-fényben nem tudnak teljesen kikeményedni, ami nem teljes polimerizációhoz vezet. Ez nemcsak hámlást okoz, hanem allergiás reakciókat is kiválthat. A vékony rétegek lehetővé teszik a fény teljes behatolását, így biztosítva az alapos kikeményedést.
Tökéletes éllefedettség:
Az egyes rétegek (alaplakk, színes zselé, fedőlakk) felvitelekor az ecset hegyét óvatosan tekerje körbe a köröm szabad széle körül (a körömágybőr vége).
Ez a lépés olyan, mintha egy védő tömítőanyagot alkalmazna a köröm szélén, amely hatékonyan megakadályozza, hogy a nedvesség és az olajok beszivárogjanak, és emelést okozzanak.
Teljes gyógyulás biztosítása:
Minden lámpaciklust megfelelően kell időzíteni. Szigorúan kövesse a géltermékekre és a lámpára vonatkozó utasításokat.
A sötét zselék (pl. fekete, vörös) és a fedőlakkok hosszabb száradási időt igényelnek (legalább 60 másodperc ajánlott).
Az elégtelen gyógyulás a ragacsos gélek, a hámlás és az allergiás reakciók elsődleges oka.
III. Az ápolás után: szokások a hosszabb élettartamért
Még a hibátlanul felhelyezett zselés körmök is gyorsan romolhatnak a rossz napi szokások miatt.
Viseljen kesztyűt: Mindig viseljen gumikesztyűt a háztartási munkák (különösen a mosogatás és a súrolás), a kertészkedés, illetve minden olyan tevékenység során, amely vegyi tisztítószerekkel vagy forró vízzel kapcsolatos. A forró víz és a vegyi anyagok erodálják a fedőlakkot és a színgélt, ami elszíneződést és kiemelkedést okoz.
Kerülje a visszaélésszerű használatot: Soha ne használja őket eszközként üvegek kinyitásához, tárgyak piszkálásához vagy kemény felületek megütéséhez. Ez a zselé megrepedhet vagy felemelkedhet az igénybevételi pontoktól.
Gyakran alkalmazzon körömágybőr olajat: Naponta többször is kenje be körömágybőrének tövét és a környező bőrfelületet körömágyolajjal. Ez fenntartja mind a körömágybőr, mind maguknak a körmöknek a rugalmasságát, megelőzve a kiszáradást, a repedezést és a hámlást. Ez segít elkerülni az apró repedéseket, amelyek megragadhatják a gélt és felhúzódást okozhatnak.
Kézkrémmel kapcsolatos megfontolások: A kézkrémezéskor a körömfelületet is hidratálja - nem kell szándékosan kerülni. A modern zselés fedőlakkok kiváló ellenálló képességgel rendelkeznek.
Kerülje a hosszan tartó vízzel való érintkezést: A manikűrt követő 24 órában minimalizálja a forró vízben való hosszabb áztatást (pl. fürdés, úszás), mivel a körmök és a gél még mindig a végső "mélykeményedésen" mennek keresztül ebben az időszakban.
IV. Közös problémák és megoldások
Teljes leválás: (olajmaradványok a köröm felületén), alapzselé problémák, vagy a ragasztószer használatának elmulasztása.
Emelés a csúcsoknál: Valószínűleg a peremtömítés hiánya vagy a csúcsok súlyos kopása miatt.
Buborékok vagy barázdák a közepén: Ha a zselét túl vastagon vitték fel, és belülről nem gyógyult meg teljesen, vagy ha a természetes körömfelület egyenetlen barázdákkal rendelkezik, amelyeket nem csiszoltak le megfelelően.
Top Coat viselése: A lámpa alatti elégtelen kikeményedési idő vagy a túlzott napi kopás következménye lehet. Fontolja meg, hogy egy-két hetente visszatérjen a szalonba egy új fedőlakk felvitelére a fényesség visszaállítása érdekében.
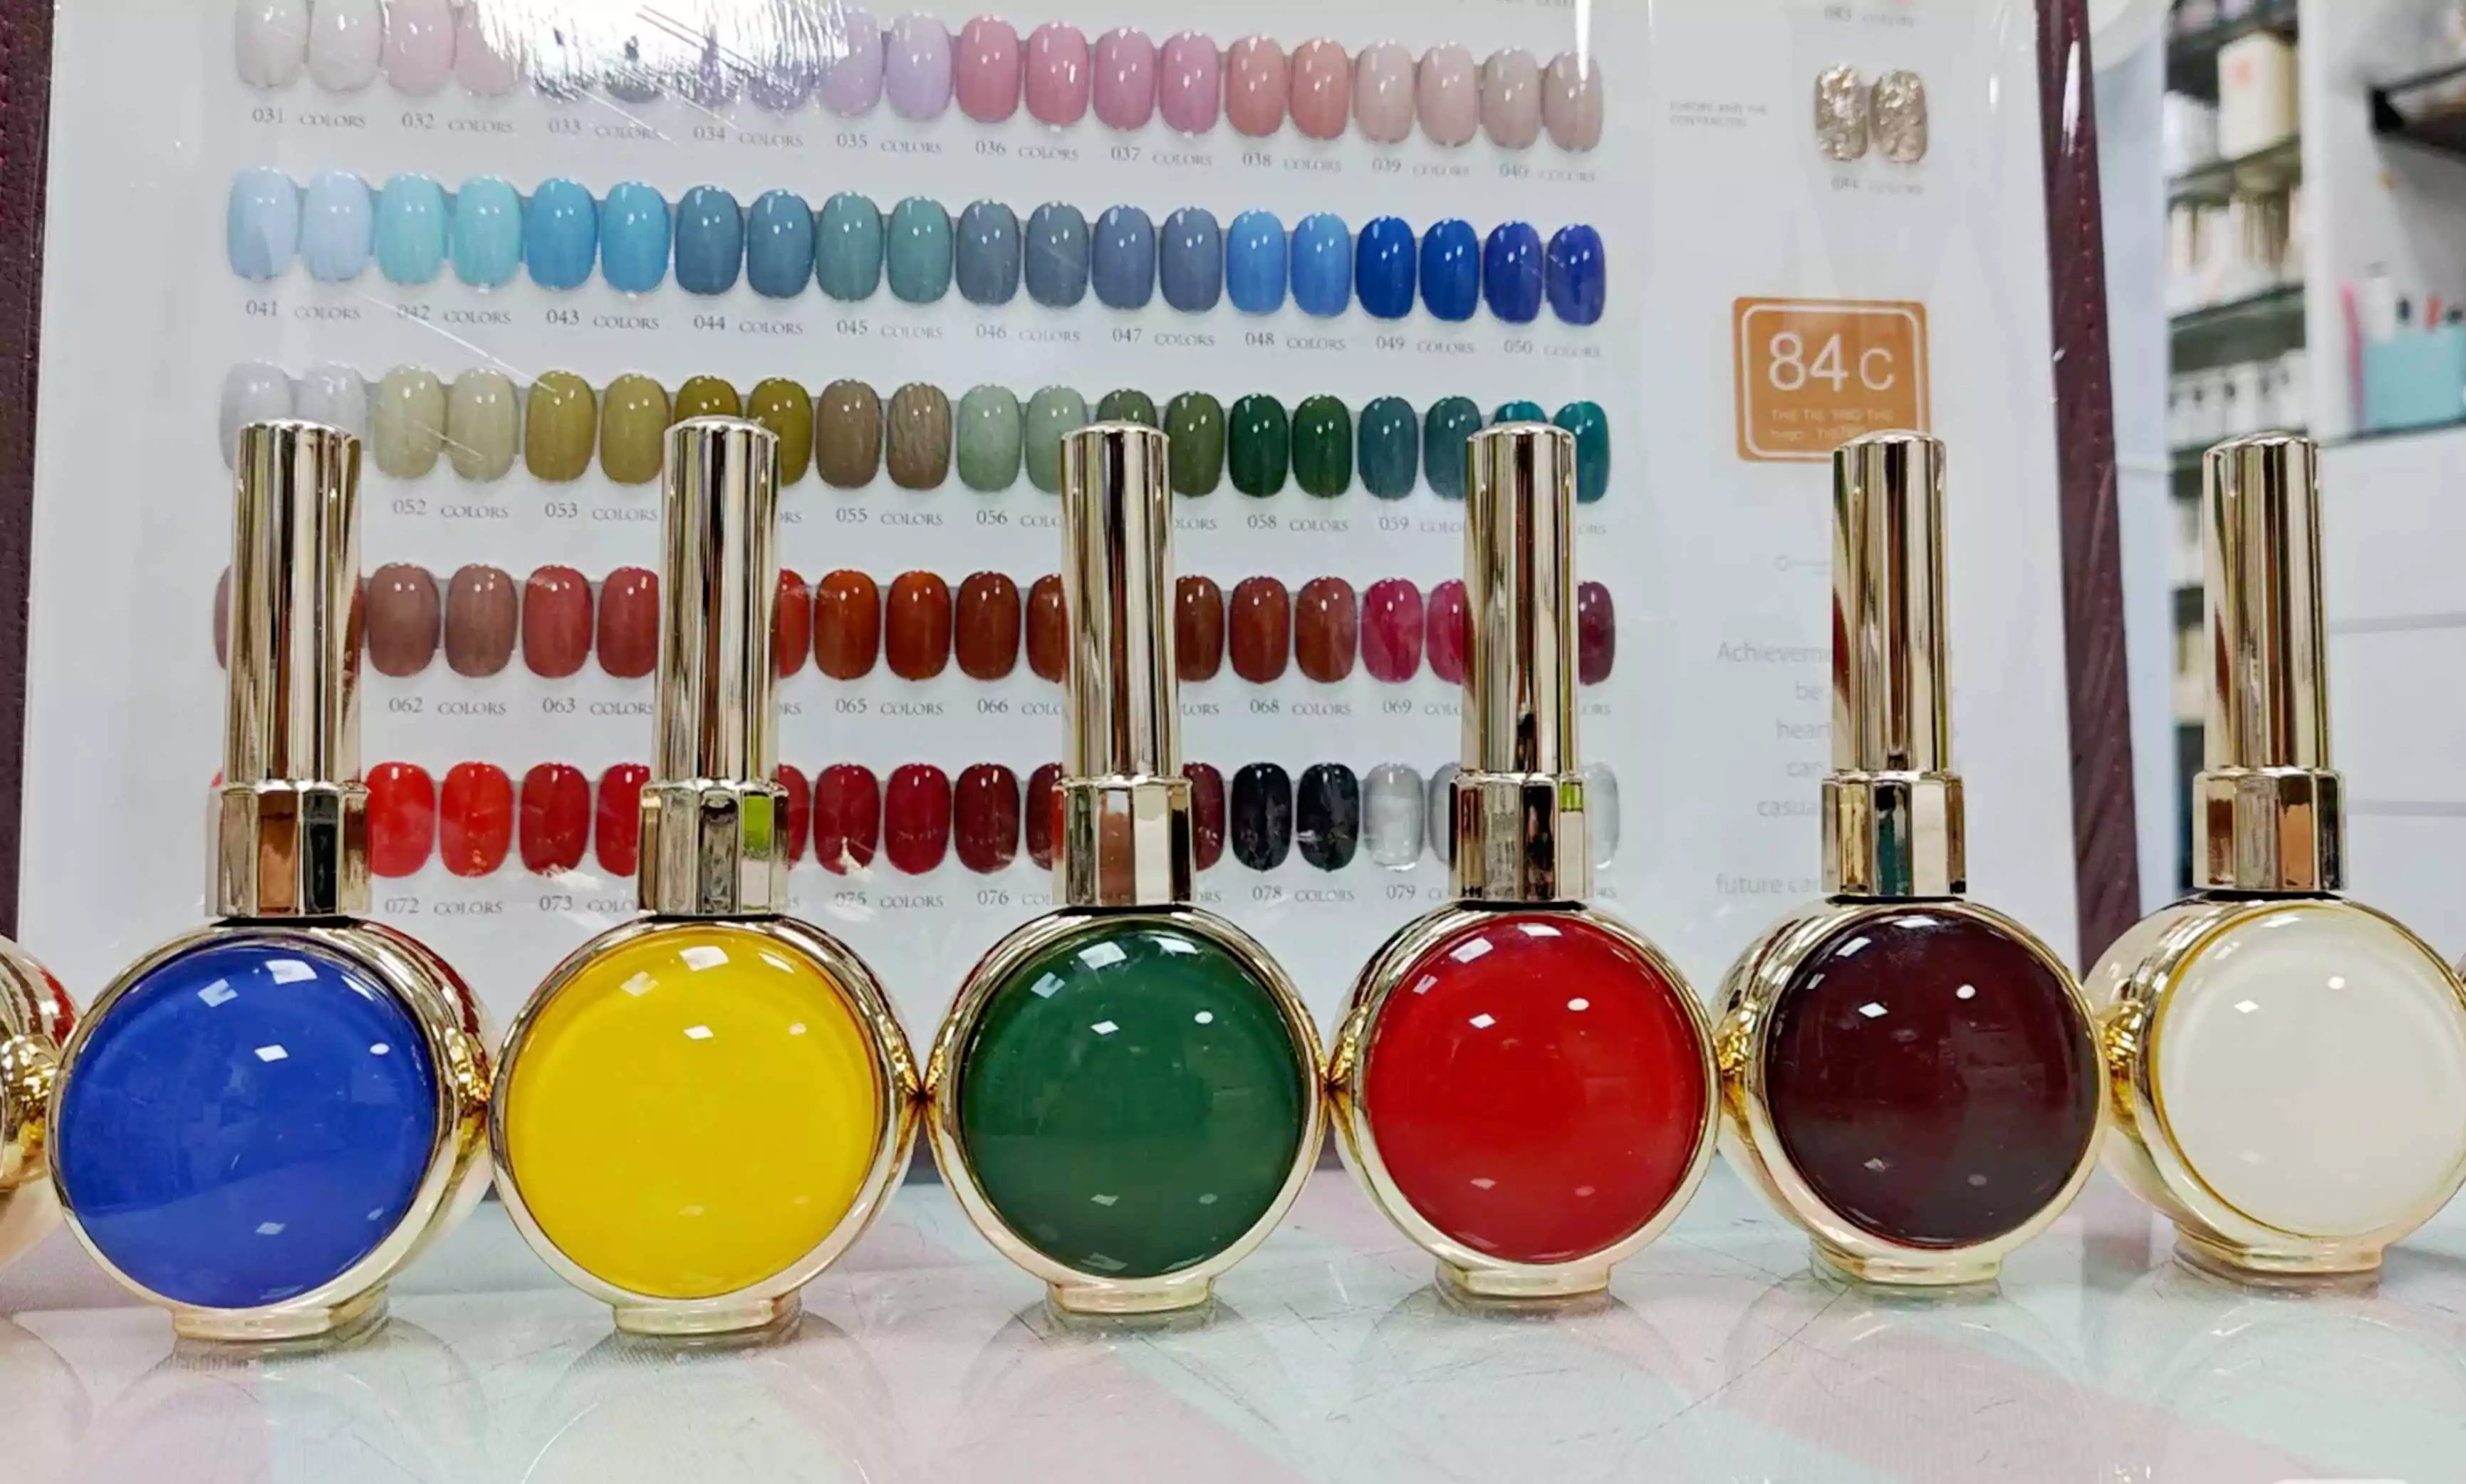
CHROMÉCLAIR kínál alaplakkok, fedőlakkok, egyszínű, fedőlakkok HEMA nélküli zselés lakk, és hema mentes macskaszem gél lakk.
Honlapjukon olyan nail art oktatóprogramok is találhatók, mint például:
Hogyan készítsük el a Color-blocking nail artot otthon?
Hogyan készítsd el a lila leopárdmintás körömdíszítést otthon?